


Keys in ARC Raiders are almost always worth opening.
Every locked door leads to real loot.
The real question is simpler and more practical:
Is opening this key worth the time, effort, and exposure it takes to reach the door?
Each key listed in this tier list links to its own detailed guide.
Those guides show the exact door location, how to reach it, and what the locked room contains, so you can decide whether opening the key fits your run.
What Keys Are in ARC Raiders
Keys in ARC Raiders are single-use items that open specific locked doors on specific maps.
Each key corresponds to:
- one fixed door
- one fixed interior space
When you use a key on a locked door, you gain access to an enclosed room or building that contains more and better loot containers than normal open-world areas. Lockers, desks, cabinets, breachables, and sometimes weapon or grenade crates appear more frequently behind locked doors.
Loot is still RNG-based, but locked rooms are always fresh.
A key guarantees access to an unlooted interior with a known layout and known container types. Especially at higher tiers, you’re executing a deal you already understand.
Once a key is used, it’s consumed.
How You Actually Get Keys
There is no targeted way to farm a specific key in ARC Raiders.
Keys enter circulation through normal gameplay:
- looting residential interiors and apartment blocks
- clearing office and administration buildings
- searching backpacks and storage containers
- looting other players
In practice, keys show up more often if you spend time inside dense interiors. Areas with lots of drawers, cupboards, and furniture naturally generate more keys over time.
Night Raids matter here. At Night:
- keys drop more often
- locked rooms roll better loot
That’s why Night is the correct time both to find keys and to use them.
Still, none of this gives you control. You don’t decide which key you get — you take what RNG hands you, or what you take off another player.
Why Getting the Right Key Is the Hard Part
Most keys are rare enough that you don’t get them when you want them — you get them eventually.
That’s fine if you’re playing casually. It’s not fine if you want to:
- run a specific locked room
- test a particular route
- or make a Night raid actually about one interior
That lack of control is exactly why LevelUpper offers ARC Raiders key delivery.
We keep live stock of keys across multiple accounts and deliver them in-raid, through normal gameplay. If you want to run a specific locked room, you don’t have to wait for RNG — you bring the key, plan the route, and execute the run properly.
Alongside keys, we also run a full ARC Raiders boosting hub covering blueprints, rare items, and other progression blockers — all done legitimately, in-raid, with safe extraction.
There’s a discount code at the end of this article if you want to skip the waiting and go straight to the run.
How to Read This Tier List
Every key in ARC Raiders opens a real room with real loot. Even the lowest-tier keys technically work.
What separates tiers is whether opening the door feels worth the effort.
Some keys give you enough value that you never regret slowing down to open them.
Others technically pay out, but leave you thinking you should’ve just kept moving.
That’s what this tier list measures.
Tier D
Tier D keys are real keys that unlock real rooms — and still aren’t worth carrying.
These rooms offer so little density, variety, or upside that they almost never justify an inventory slot, even during Night raids.
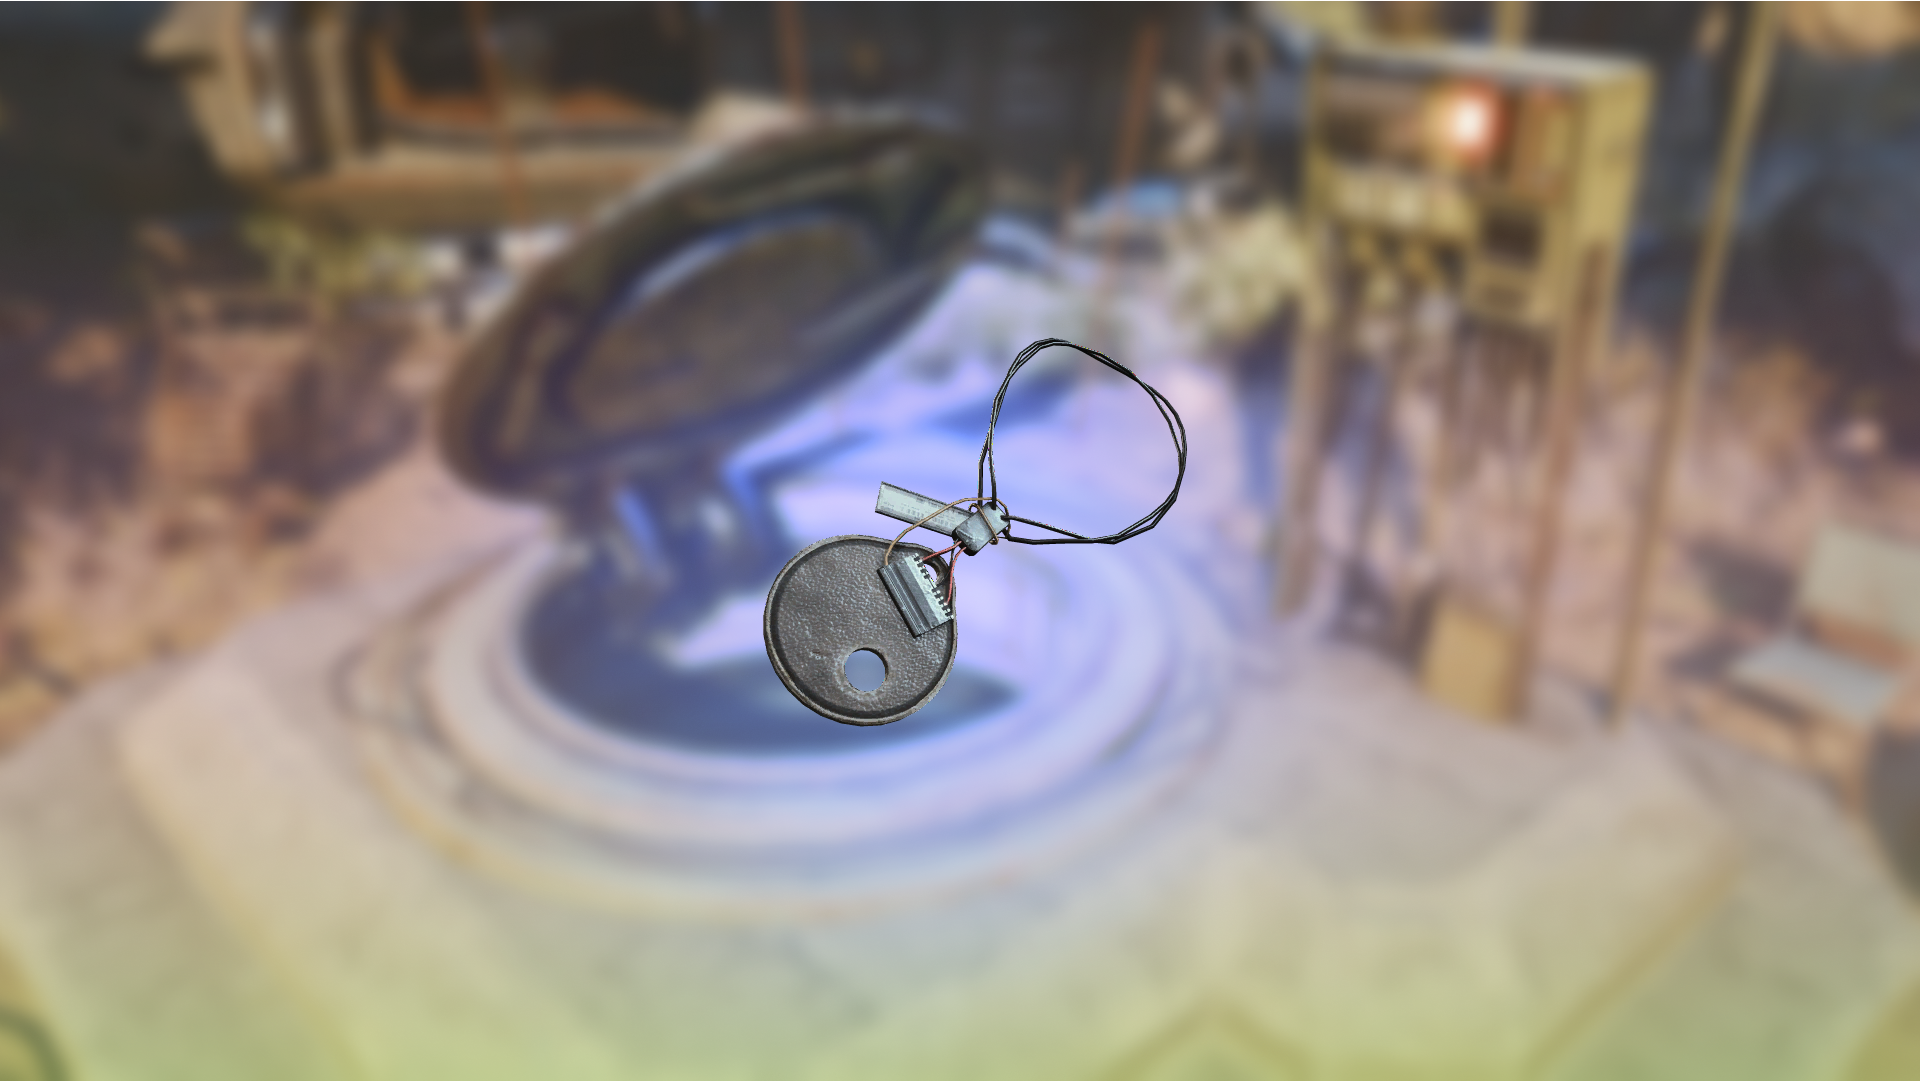
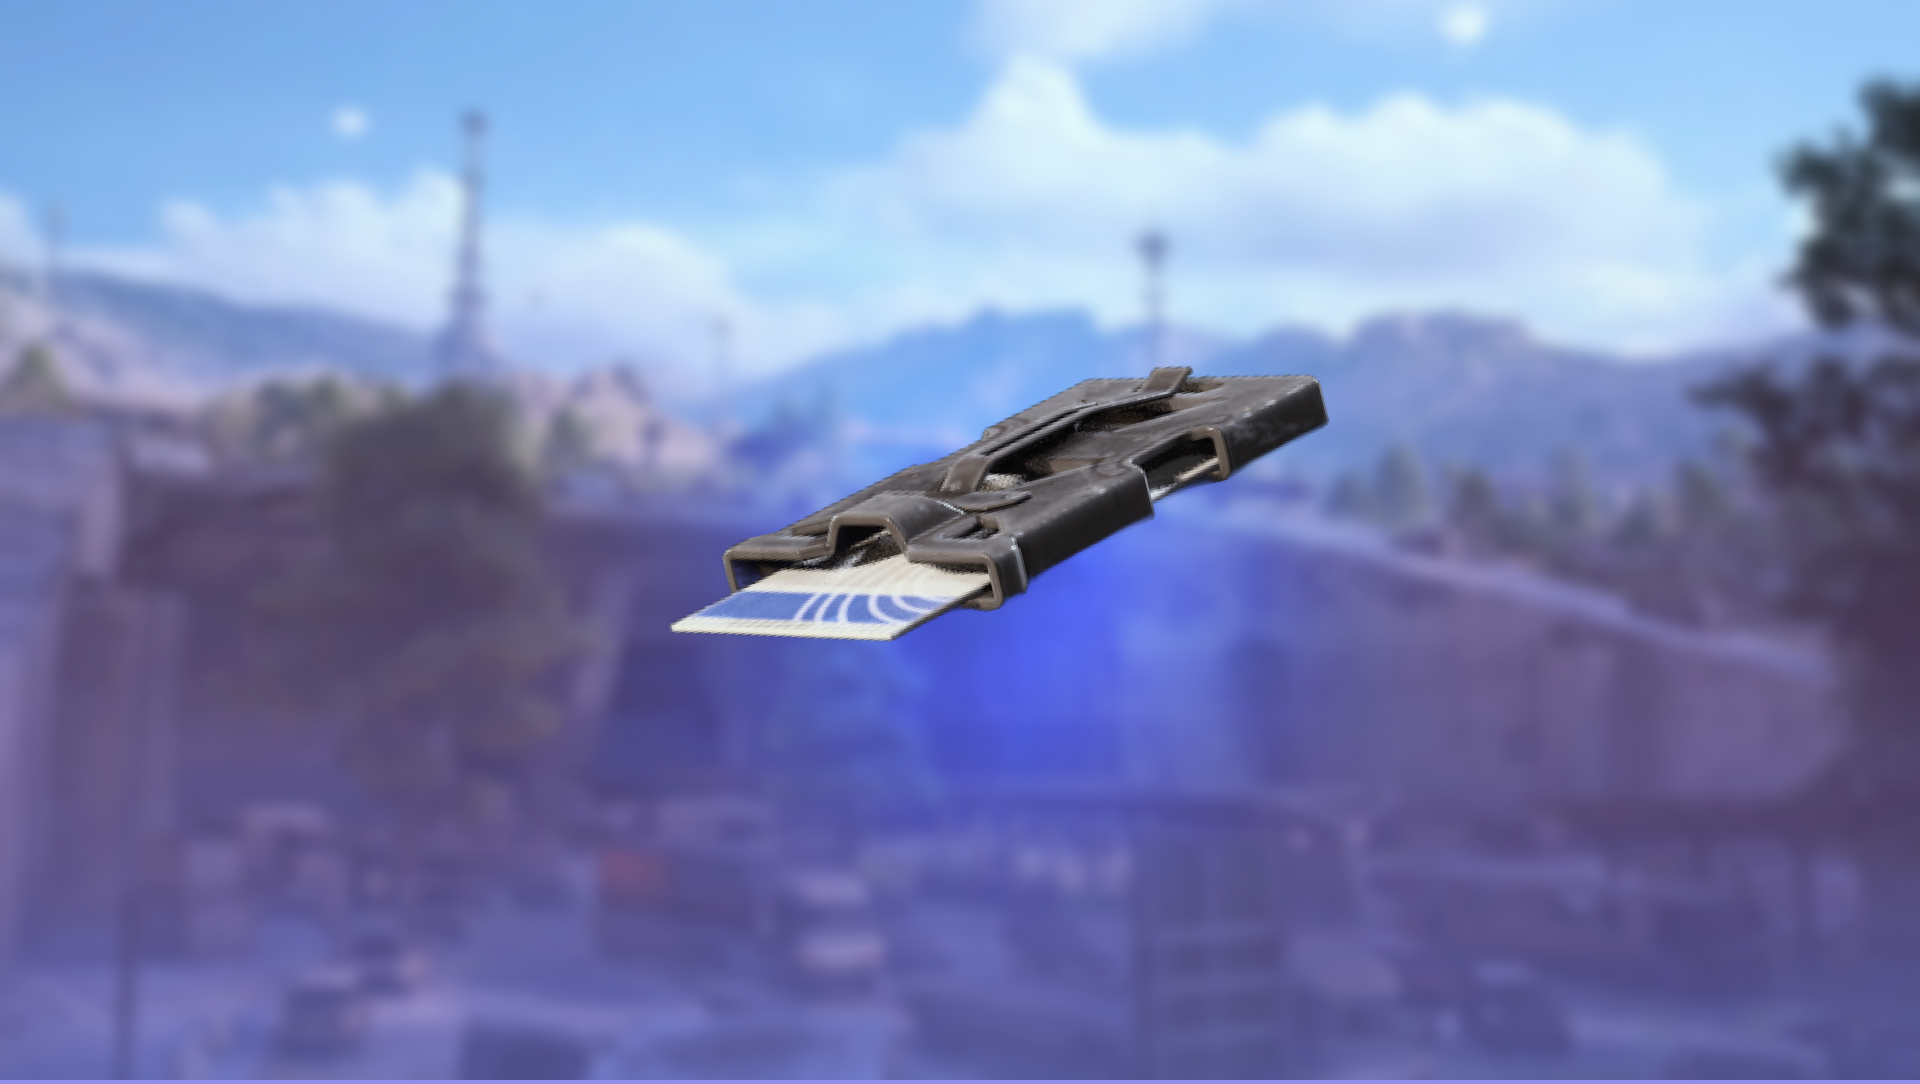
Patrol Car Key (Blue Gate)
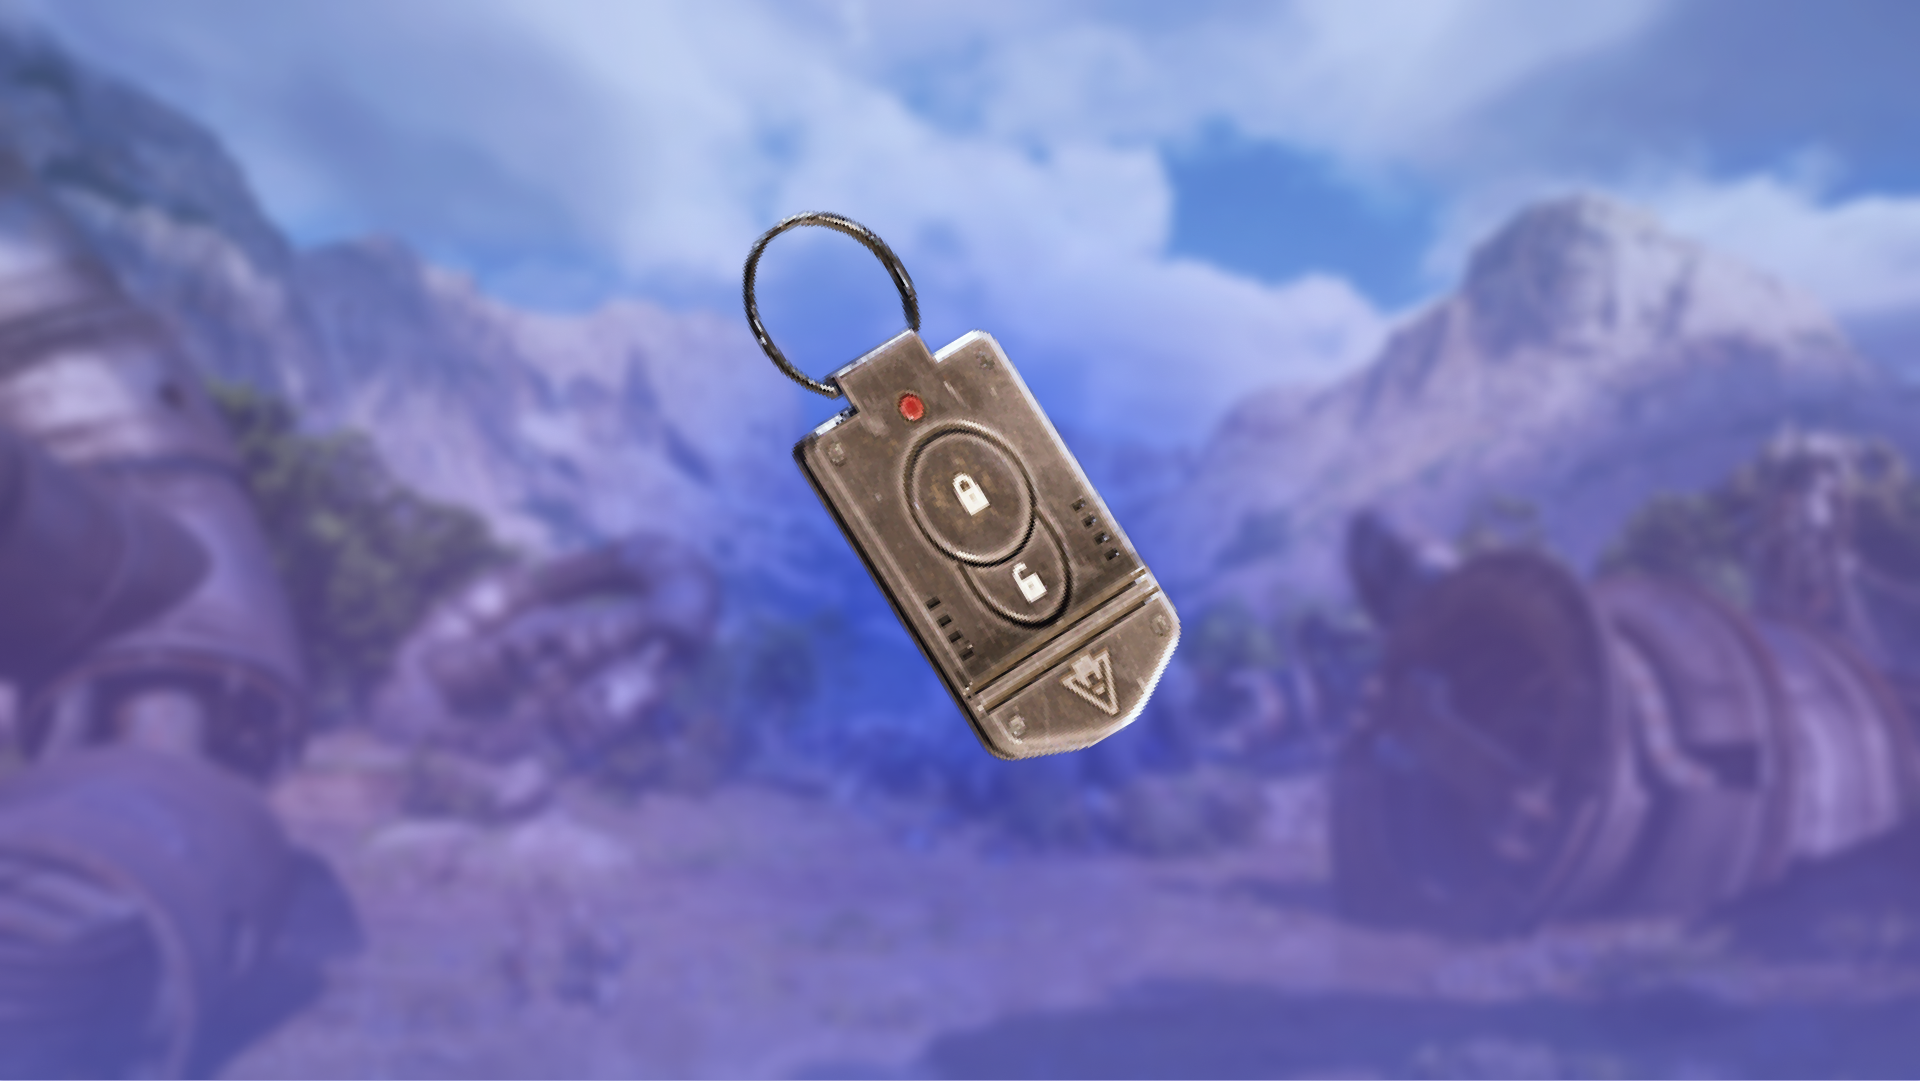
The Patrol Car Key is the clearest example of why not all locked doors are created equal. On paper, it sounds fine: a locked container, a guaranteed weapon case, a quick open. In practice, it unlocks exactly one roll — a single weapon container — and nothing else.
There’s no stacking, no density, no secondary furniture to smooth out RNG. Once the case is opened, the interaction is over. Whatever you get is whatever you get, and there is no room volume to compensate if the roll is bad.
Even during Night raids, when weapon containers roll slightly better, this door still doesn’t scale. You’re risking exposure in Blue Gate for a single outcome that could have come from dozens of other sources with less friction. That’s why most experienced players stop carrying this key entirely after the early game.
If you want a full breakdown of where the vehicle spawns and why this key never graduates beyond novelty, the Patrol Car Key guide covers it in detail — but for routing purposes, this is a skip.
Patrol Car Key GuideTier C
Tier C keys add some value, but not enough to influence routing.
They’re situational bonuses — not objectives. You bring them incidentally, not intentionally. Most of these rooms suffer from low container count and they're simply outclassed by higher tier keys.
Blue Gate Cellar Key
Blue Gate Cellar Key unlocks a small underground room that feels like it should be better than it is. The cellar simply doesn’t contain enough searchable objects to justify attention.
You’ll usually find a couple of basic containers, sometimes a breachable, and that’s it. Even with Night modifiers active, the lack of container stacking means you’re relying on very few rolls to carry the room.
Another issue is positioning. Cellars tend to sit just off main paths, which means you’re often stepping out of flow — and into angles — for minimal payoff. If you’re already clearing the building above, opening the cellar is fine. Bringing the key specifically for it isn’t.
Blue Gate Cellar Key guide goes into exact layout and container breakdowns, but the verdict remains the same: opportunistic value only.
Blue Gate Cellar GuideDam Surveillance Key

The Dam Surveillance Key looks better on the map than it performs in raids. Surveillance rooms suggest equipment, control infrastructure, maybe stacked lockers. In reality, this room is small, sparse, and overexposed.
Container count is low, usually limited to a handful of interactables with no meaningful concentration. Even at Night, when rolls improve, the room doesn’t gain enough additional value to offset the danger of Dam interiors — especially when better keys exist literally within the same map.
If you’re passing through the Dam anyway and already controlling the area, opening it doesn’t hurt. But treating this as a reason to alter your route is a mistake.
Anyone curious why this key consistently underperforms compared to other Dam doors can check the Dam Surveillance Key breakdown, but in tiering terms, it sits firmly at the bottom of “acceptable”.
Dam Surveillance GuideStella Montis Assembly Admin Key
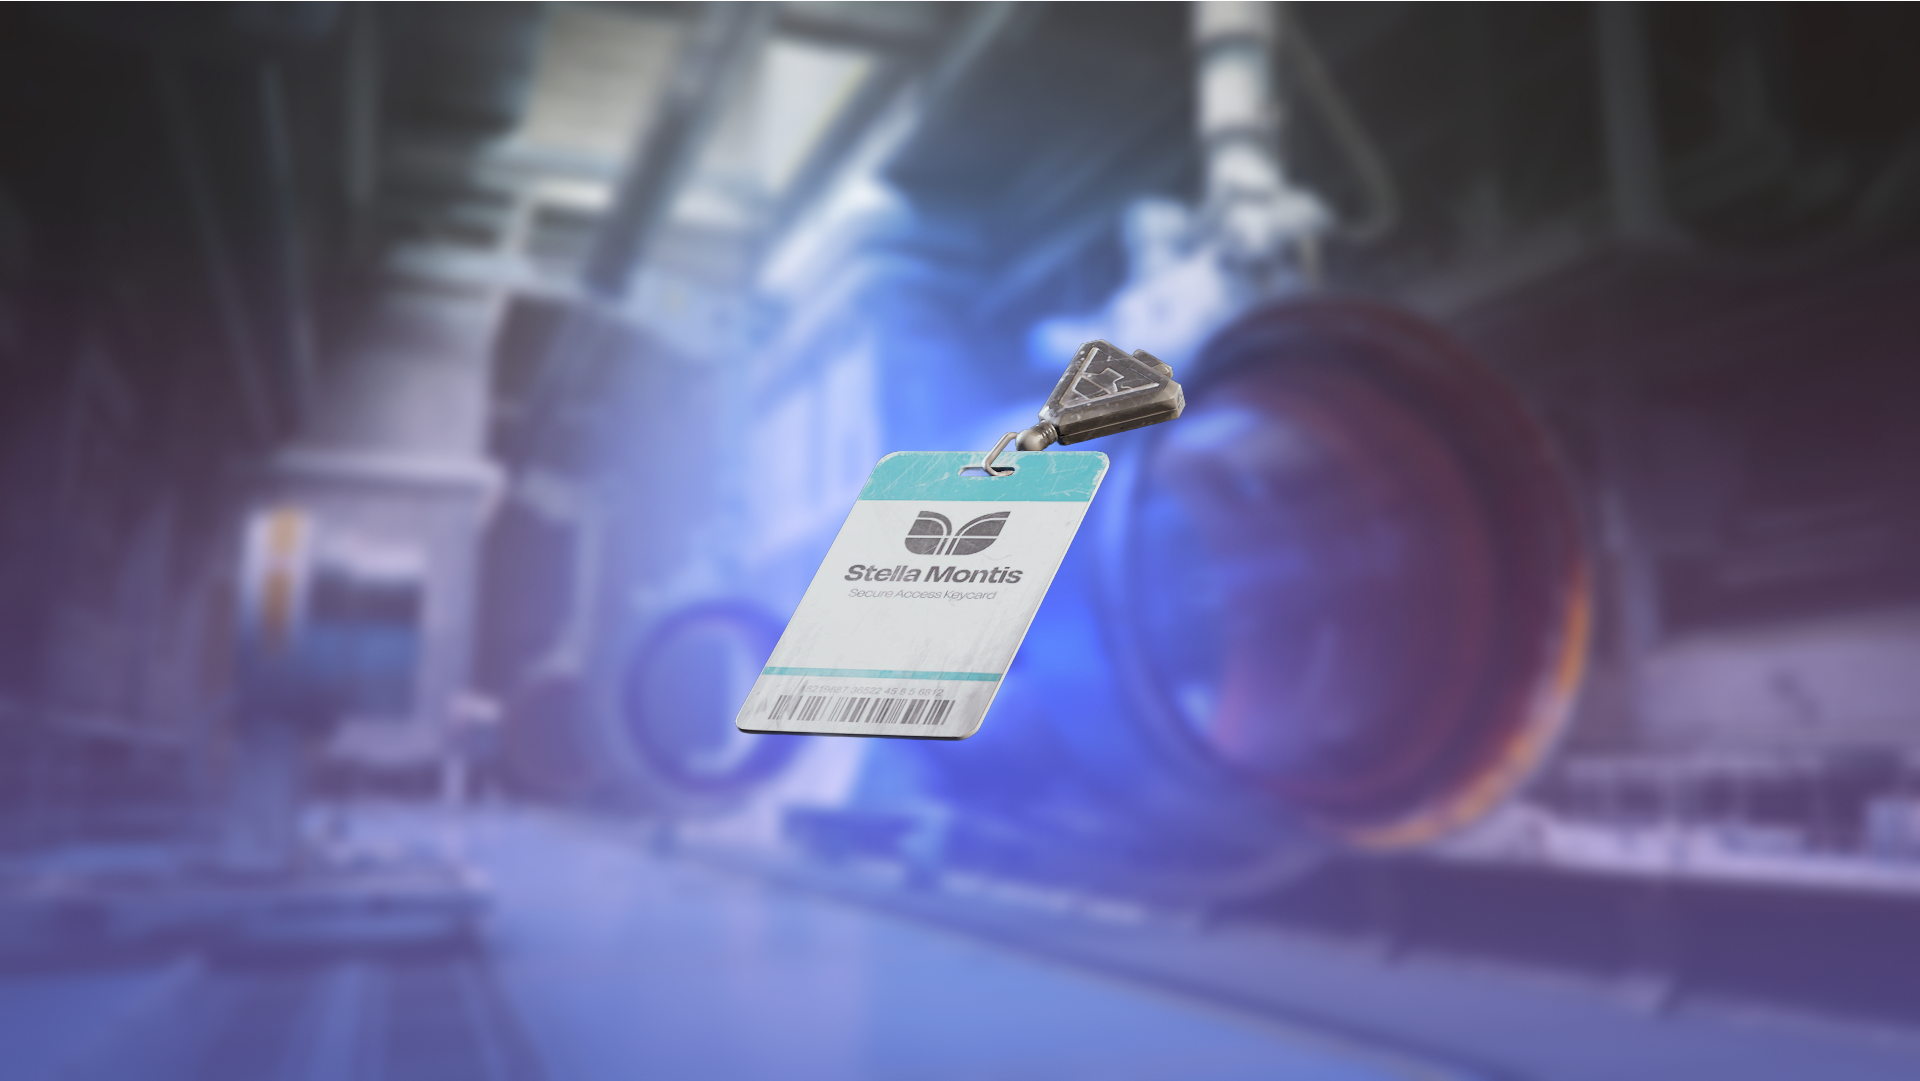
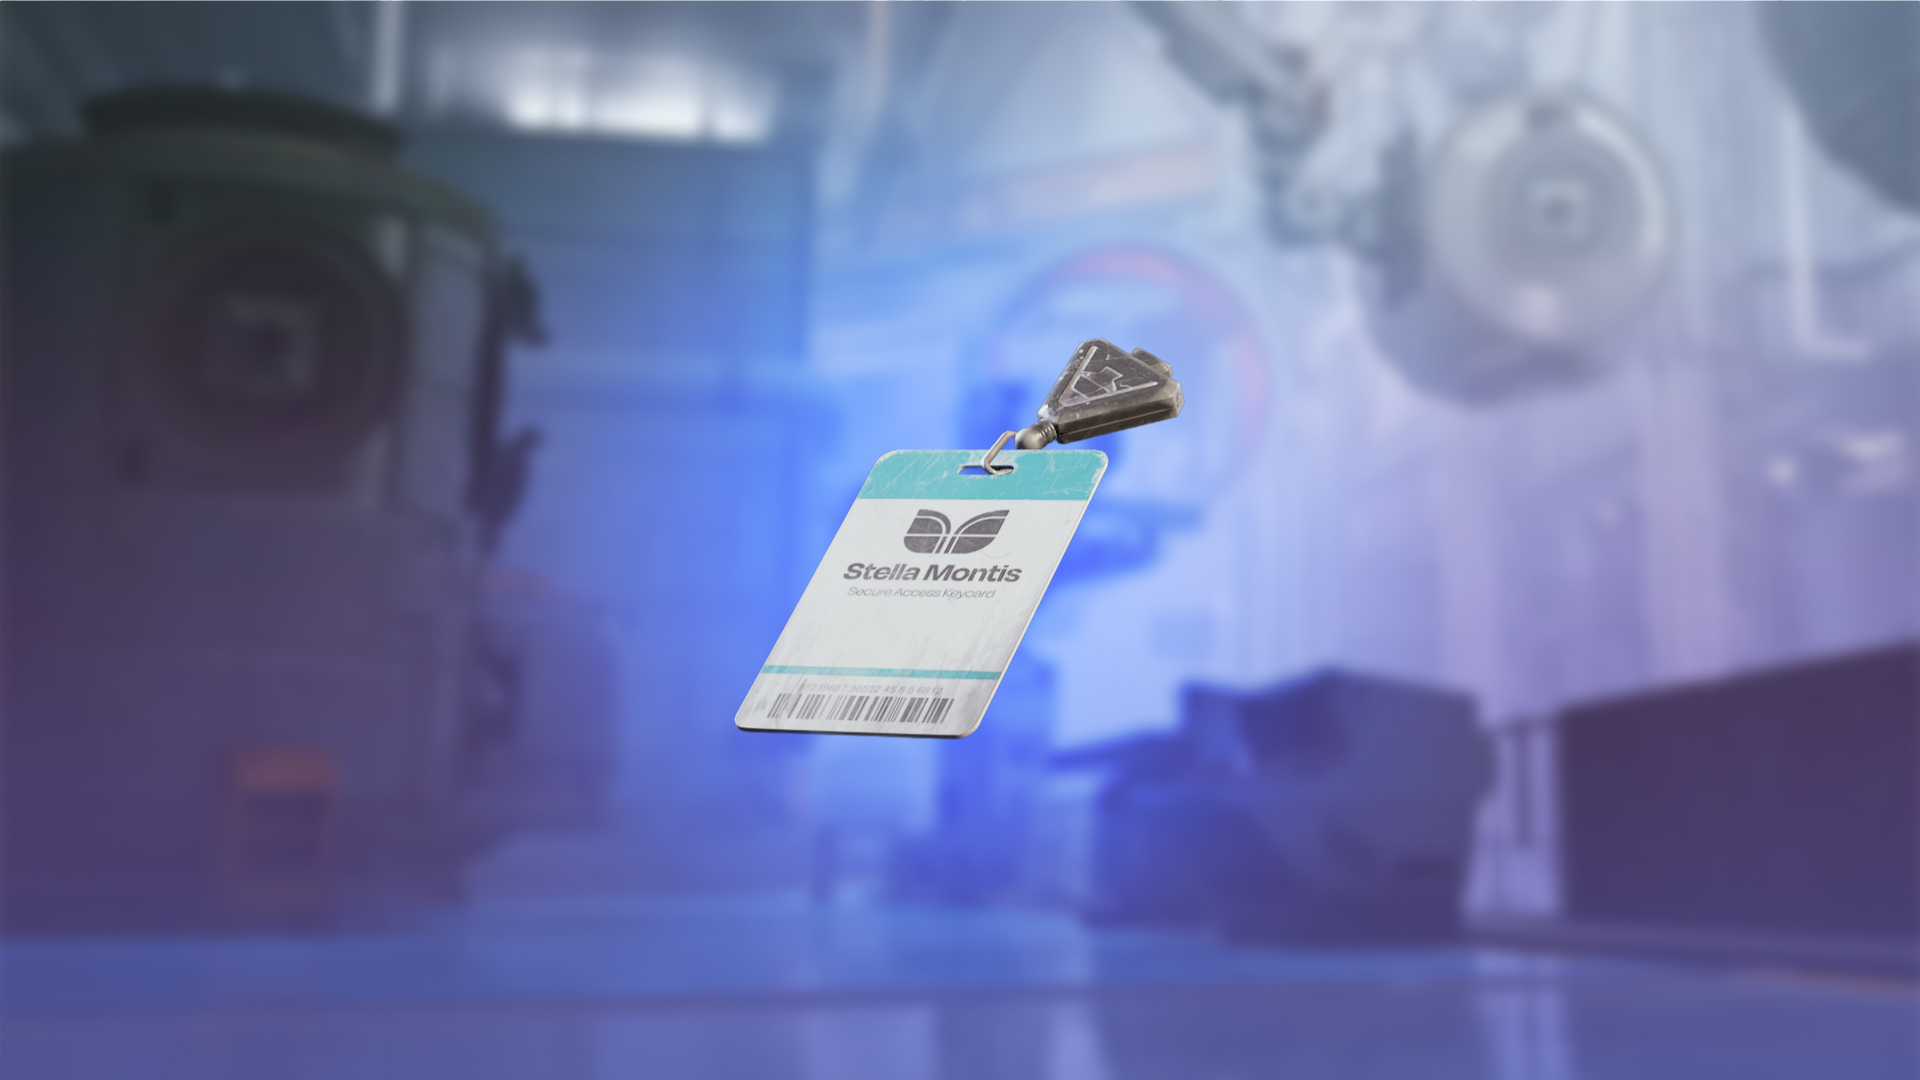
The Stella Montis Assembly Admin Key suffers from a familiar Stella Montis problem: awkward access layered on top of mediocre payoff.
The room itself isn’t terrible. You’ll find some desks, cabinets, and the occasional higher-value container. The issue is that getting to it often requires pushing through exposed corridors or committing to interior spaces that attract both ARC pressure and players — all for a room that doesn’t meaningfully outperform safer alternatives.
Night helps, but not enough. The loot improves, yet the density remains average, and the time-to-value ratio stays unfavorable.
If Stella Montis is already part of your planned route, opening this door is fine. If it isn’t, this key should not be the reason you go there. The Assembly Admin Key guide explains the access points and risks in more detail.
Assembly Admin GuideStella Montis Medical Storage Key
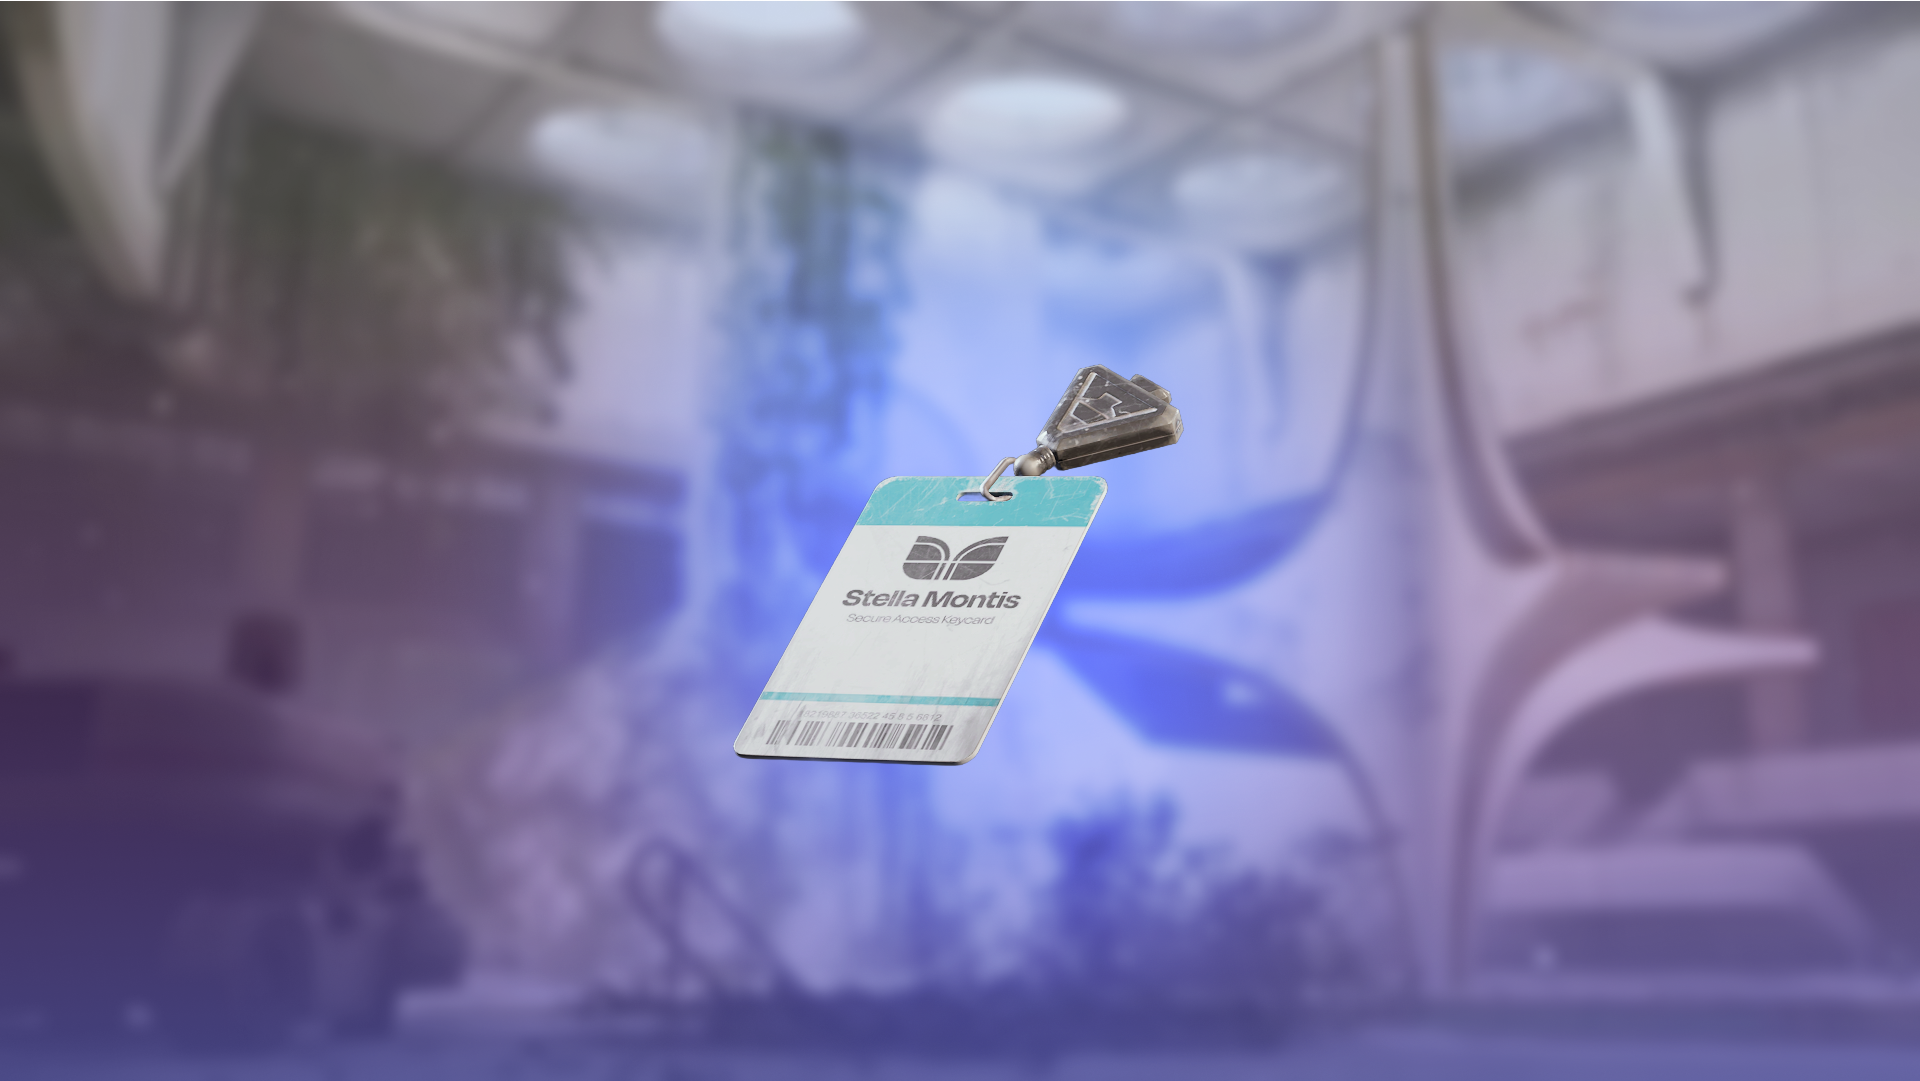
Medical rooms in ARC Raiders tend to look attractive, and Stella Montis Medical Storage Key is no exception. On good rolls, you can walk out with valuable items. The inconsistency is the problem.
Container density is only okay, and the room relies heavily on a small number of rolls to deliver value. When it hits, it feels decent. When it doesn’t, there’s nothing to fall back on — no secondary furniture, no stacked desks, no redundancy.
Add in Stella Montis routing pressure, and the key settles into a familiar pattern: useful if already nearby, forgettable otherwise.
For players trying to decide whether this key deserves a permanent inventory slot, the answer is almost always no. The Medical Storage Key guide covers expected loot profiles and why variance dominates the experience.
Medical Storage GuideBuried City Hospital Key
Compared to other Buried City interiors, Buried City Hospital Key is simply outclassed. It’s not empty, and it’s not dangerous for no reason — it just doesn’t compete with what else the map offers.
Container count is modest, layout is spread out, and while Night improves the rolls, it doesn’t increase the number of opportunities. When you contrast this with residential blocks or Town Hall-scale interiors, the difference becomes obvious over time.
If you find yourself inside the hospital anyway, opening the door adds value. Planning a Night route around it, however, is almost never optimal. Buried City Hospital Key guide lays out why this door falls behind others in the same zone.
Hospital Key GuideTier B
Tier B keys are conditional assets.
These are not keys you plan an entire run around — but they do influence how you move once you’re inside a map. The locked rooms in this tier are decent, and most keys in ARC Raiders fall in this category.
If you’re already operating in the right area, Tier B keys are the definition of “yes, open it.” The rooms are enclosed, the container count is respectable, and the value comes from steady rolls.
Dam Staff Room Key

Dam Staff Key Room opens a locked staff-only room inside the Control Tower building on Dam Battlegrounds. Once you’re on top of the dam and inside the tower, the door is immediately accessible, which makes this one of the cleanest “quick interior stop” keys on Dam.
Staff Room is medium-sized and laid out like an actual break room. Containers are spread across the space, so clearing it feels like a proper interior sweep rather than a single grab-and-go.
Inside, you’ll typically find multiple lockers, drawers and cabinets, bags and storage containers, plus general materials, components, and consumables. A security breach container can also appear if you have the relevant skill unlocked, which adds an extra high-value check when it spawns.
If you want the exact door location and a full room breakdown, the Dam Staff Room Key guide shows the route step-by-step.
Dam Staff Room GuideDam Testing Annex Key

Dam Testing Annex Key is used inside the Testing Annex facility on Dam Battlegrounds and opens locked interior rooms within the complex. The main thing to know is that there are two separate locked doors inside the Annex, and each door requires its own key. One key opens one room.
Each locked room is medium-sized, with several searchable objects inside. Expect cabinets and storage containers, bags, breachables, crafting materials and components, and a steady mix of consumables and utilities.
If you have two Testing Annex Keys, opening both rooms in the same run is the most efficient use, since the doors are close to each other. If you only have one, opening a single room is still a normal, worthwhile use of the key.
Dam Testing Annex Key guide covers where both doors are located and how the setup works.
Testing Annex GuidePower Rod Activated Door (Dam)
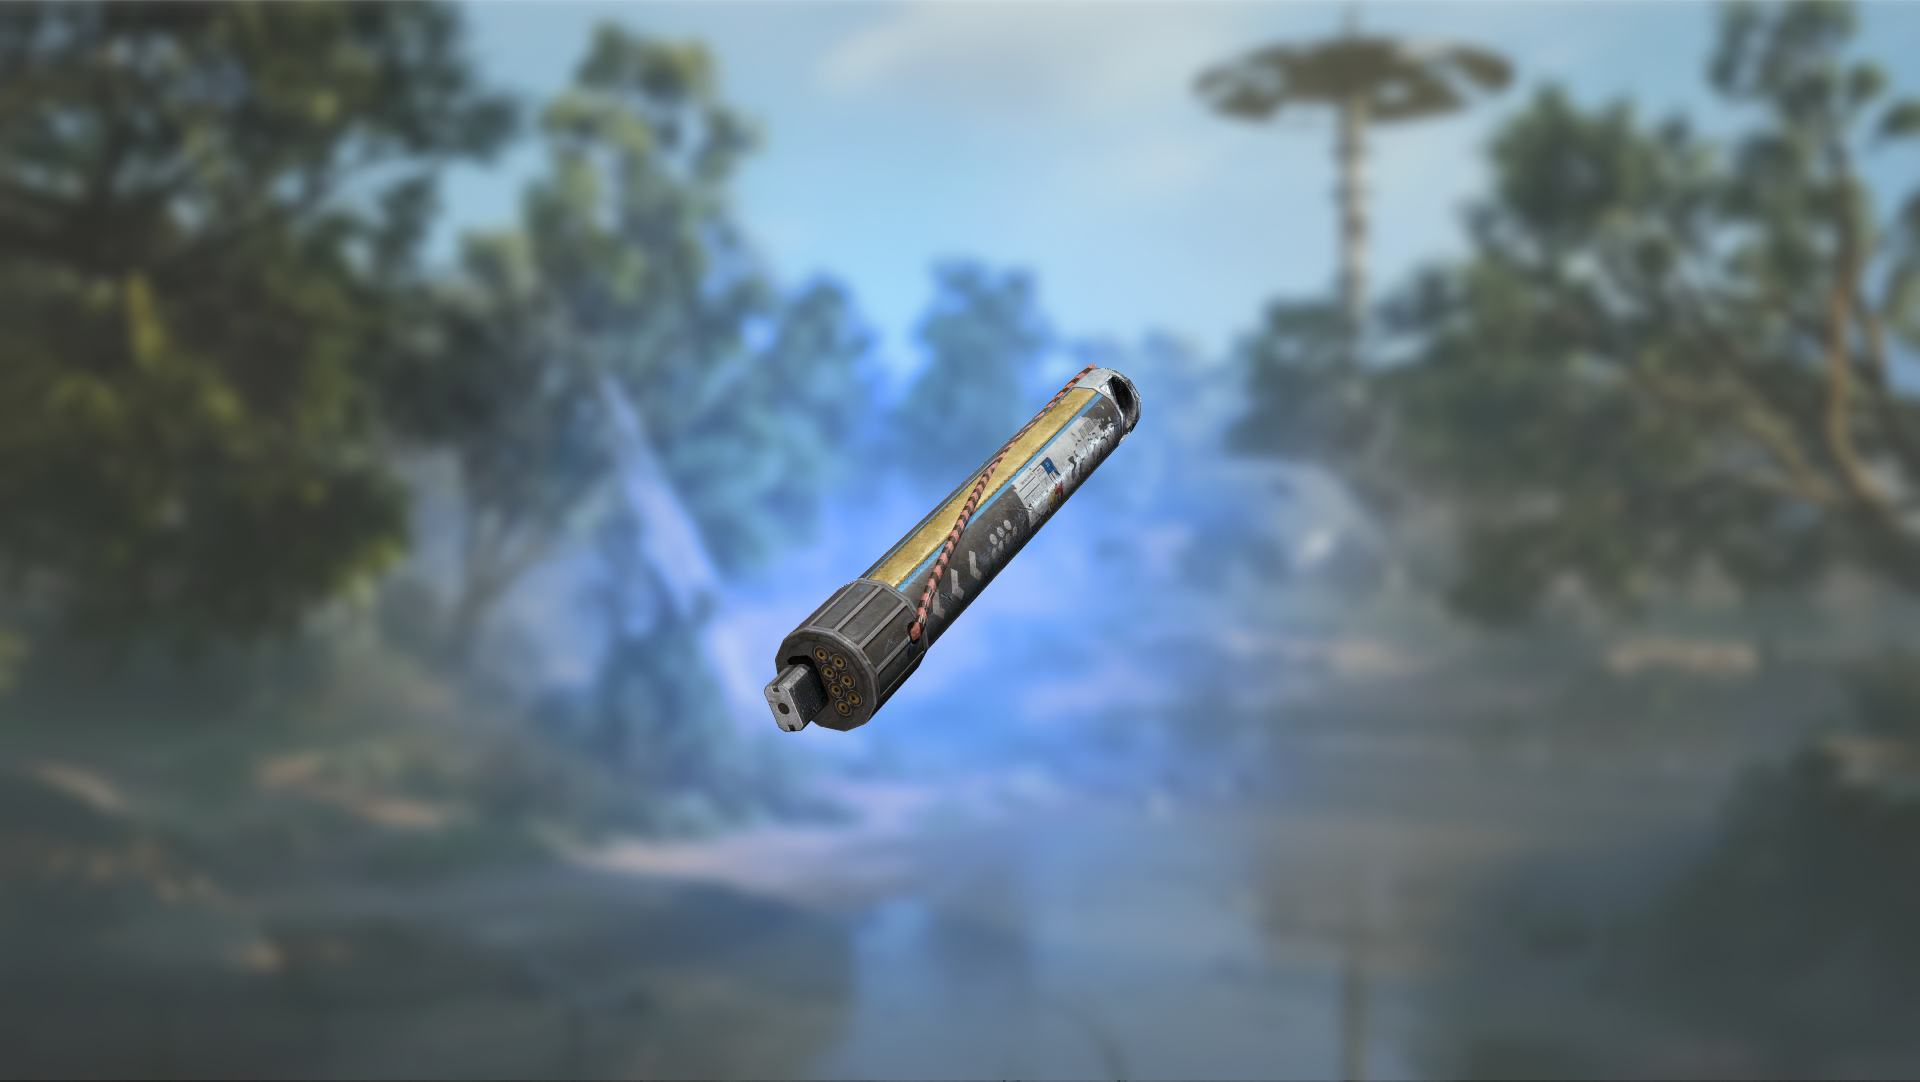
This isn’t a traditional key, but it behaves like one.
On Dam Battlegrounds, a Power Rod can be used to open a locked door inside the Power Generation Complex. Instead of a keycard, the door consumes the rod. Once opened, the Power Rod is permanently spent.
Inside is a compact, enclosed loot room designed to be quick and clean. It’s a small space that gives you a consistent set of loot checks.
Typical loot includes meds and healing items, ammo, grenades and utility, general materials, and the occasional weapon roll. Because Power Rods also matter for progression and crafting, this is usually a door you hit when you already have a rod available specifically to spend.
The Power Rod door guide shows the exact location inside the complex and the shortest path to the lock.
Power Rod Door GuideStella Montis Security Checkpoint Key
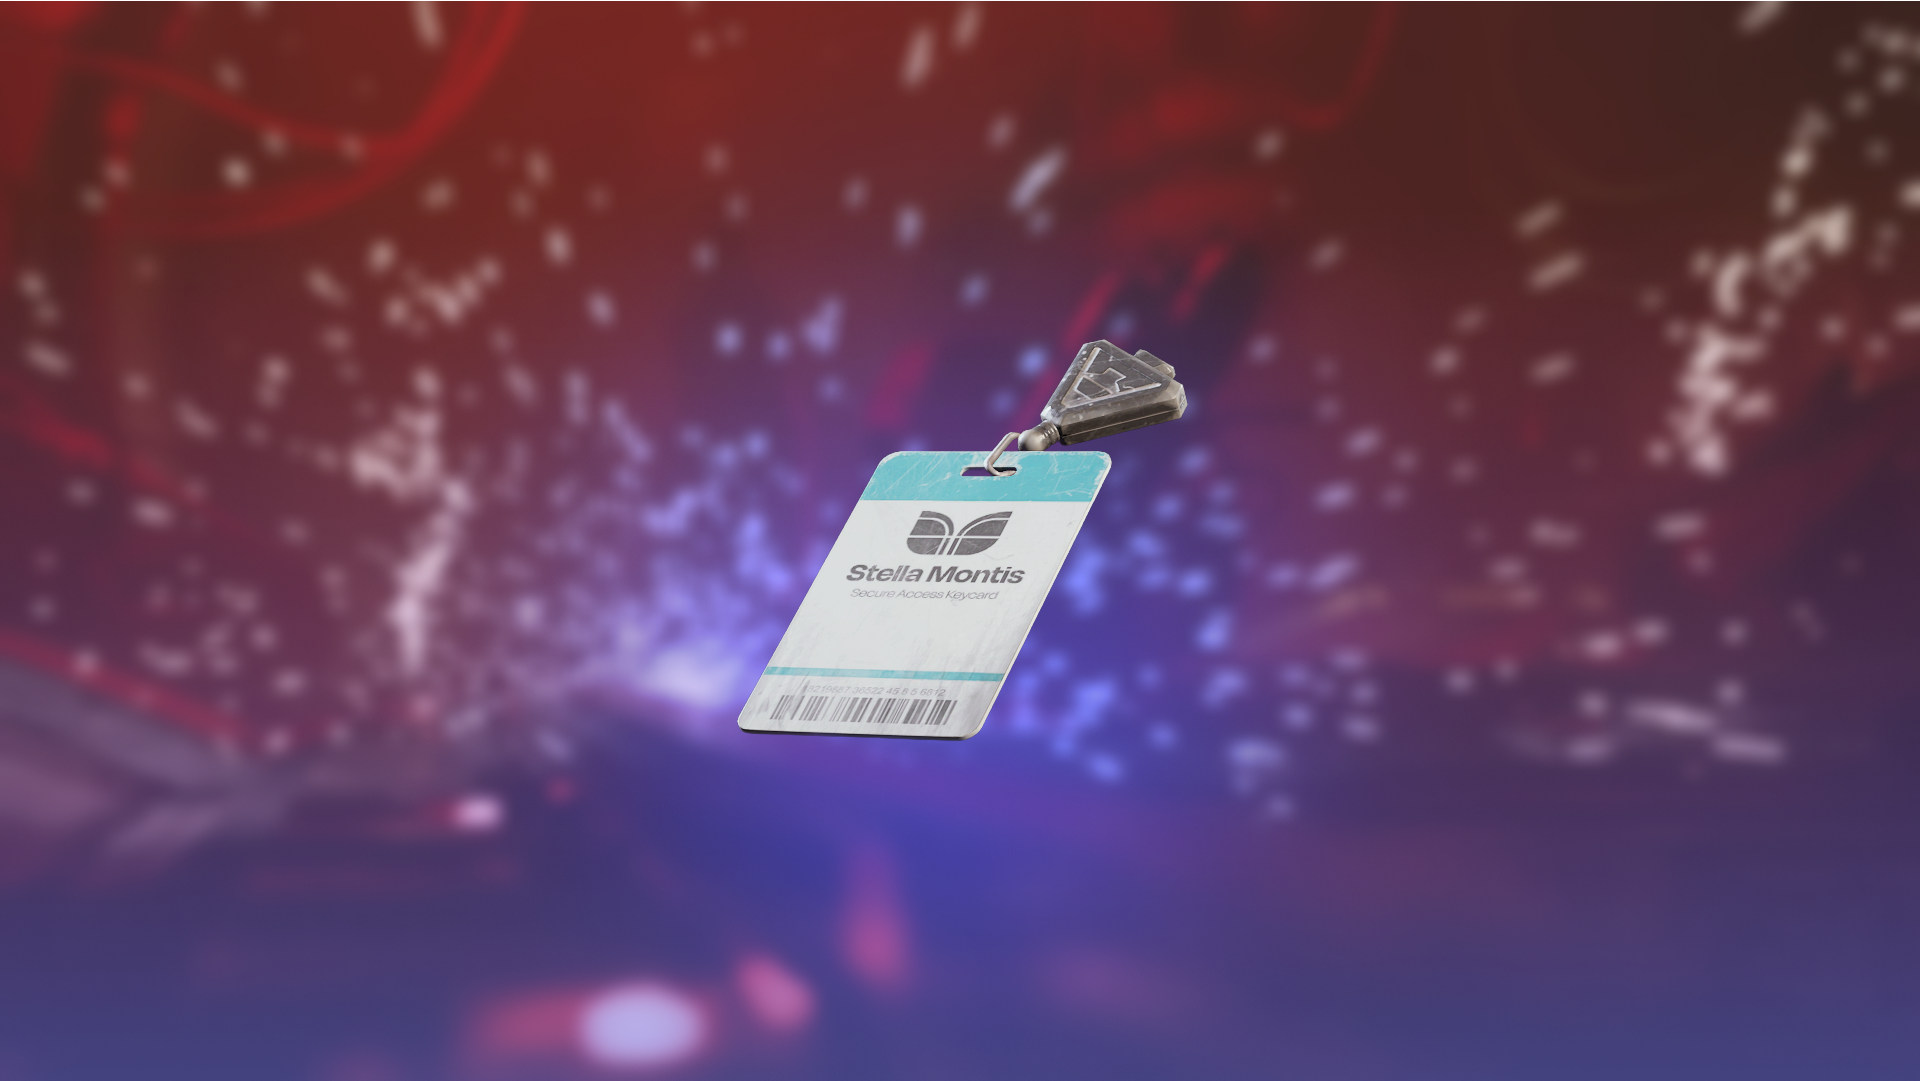
The Stella Montis Security Checkpoint Key opens a locked security room inside the Lobby / Metro Station area on Stella Montis. The room is compact, designed like a security control space, and it performs well because everything is tightly packed.
Containers are placed close together, so once the door is open, looting is fast. Inside, you’ll typically find multiple searchable security containers, drawers and cabinets, bags and storage containers, crafting materials and components, plus consumables and utility items. Weapons or higher-tier items can show up, but the real value is that you’re getting several solid rolls in one enclosed room.
For the exact approach through the Lobby / Metro area and a full interior breakdown, use the Stella Montis Security Checkpoint Key guide.
Checkpoint Key GuideStella Montis Archives Key
The Stella Montis Archives Key opens a locked Archives room inside the Stella Montis interior complex — and unlike the Checkpoint, the Archives are about room size and container count.
Archives room is large and filled with searchable objects. You’re typically rolling drawers and cabinets, bags and storage containers, breachables, valuables and collectibles, plus a steady stream of materials and components. The loot is RNG, but the number of containers gives the room reliable baseline value.
Stella Montis Archives guide shows where the door is and what the room contains.
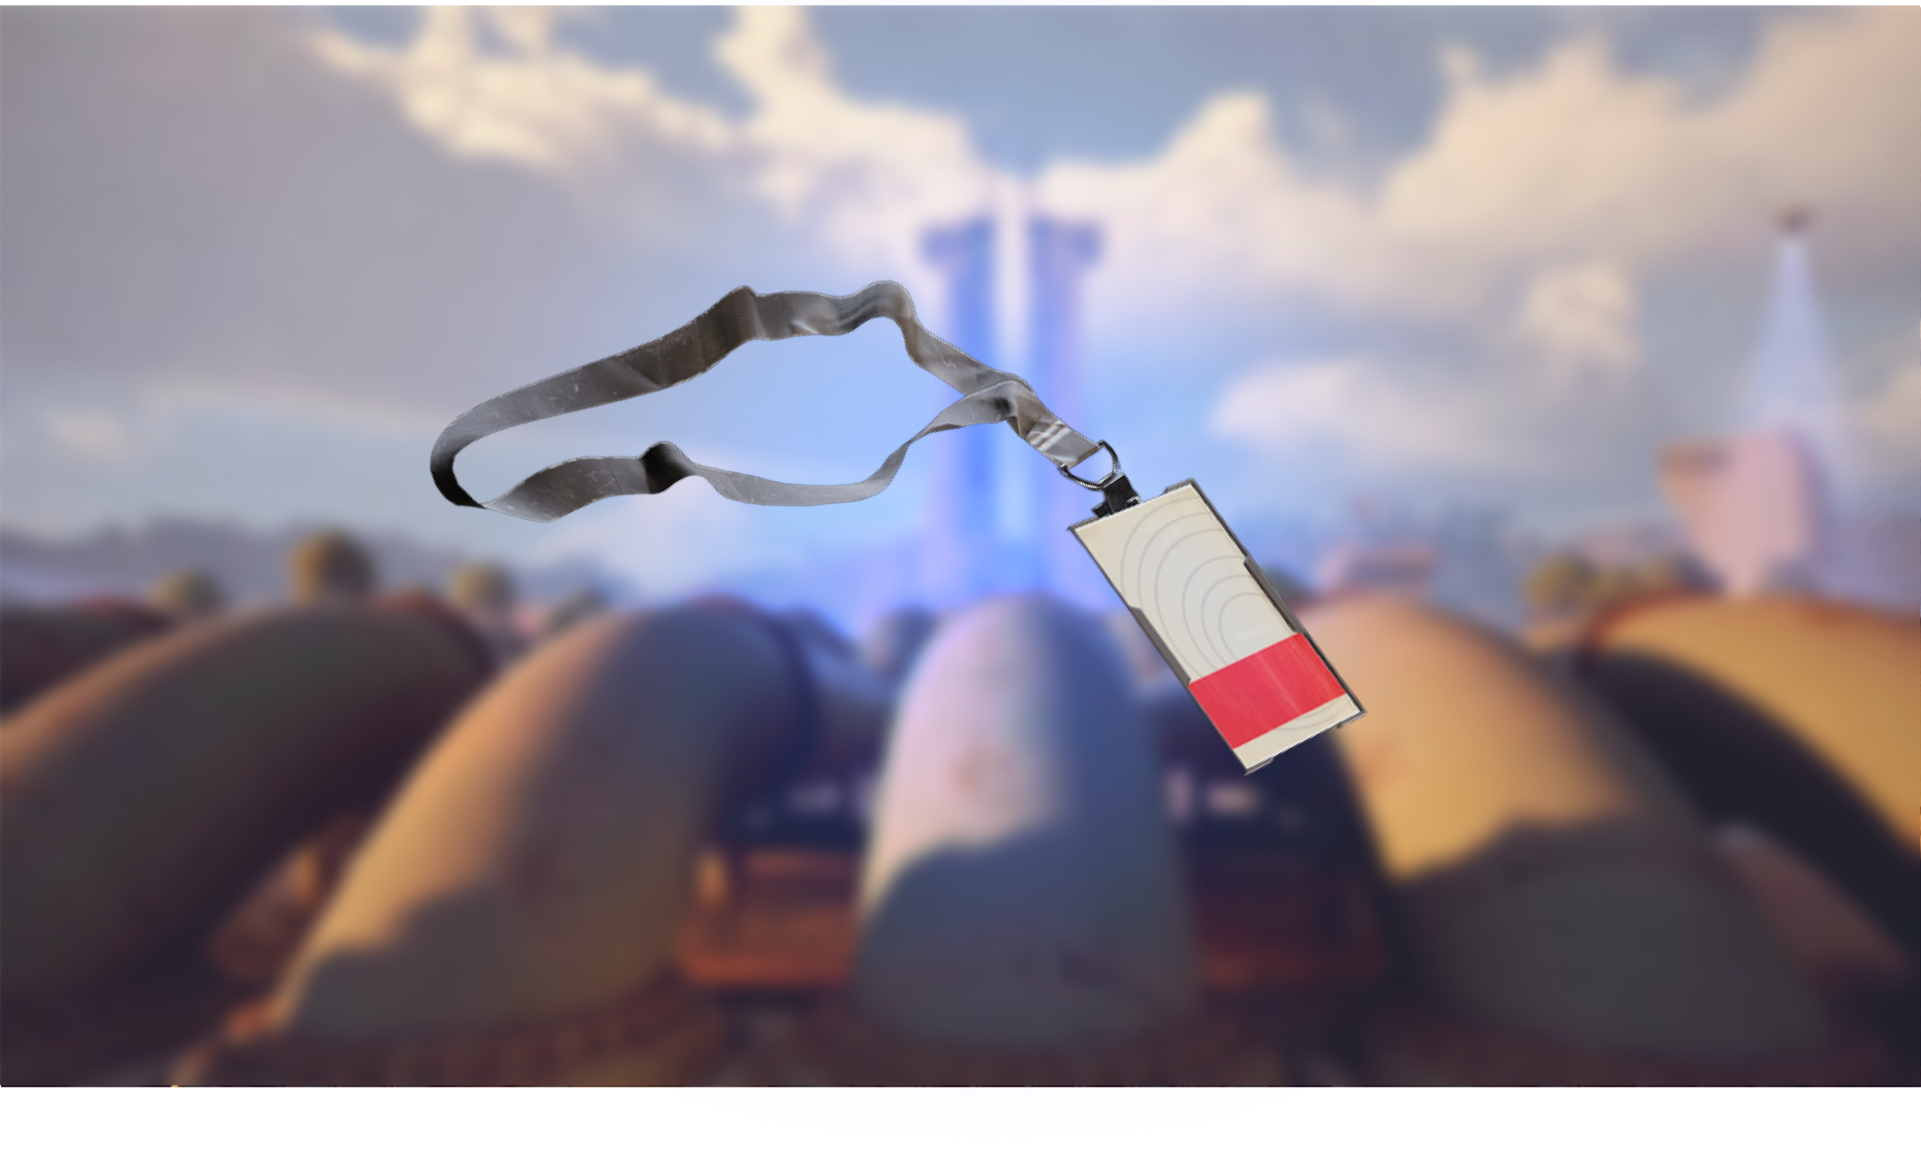
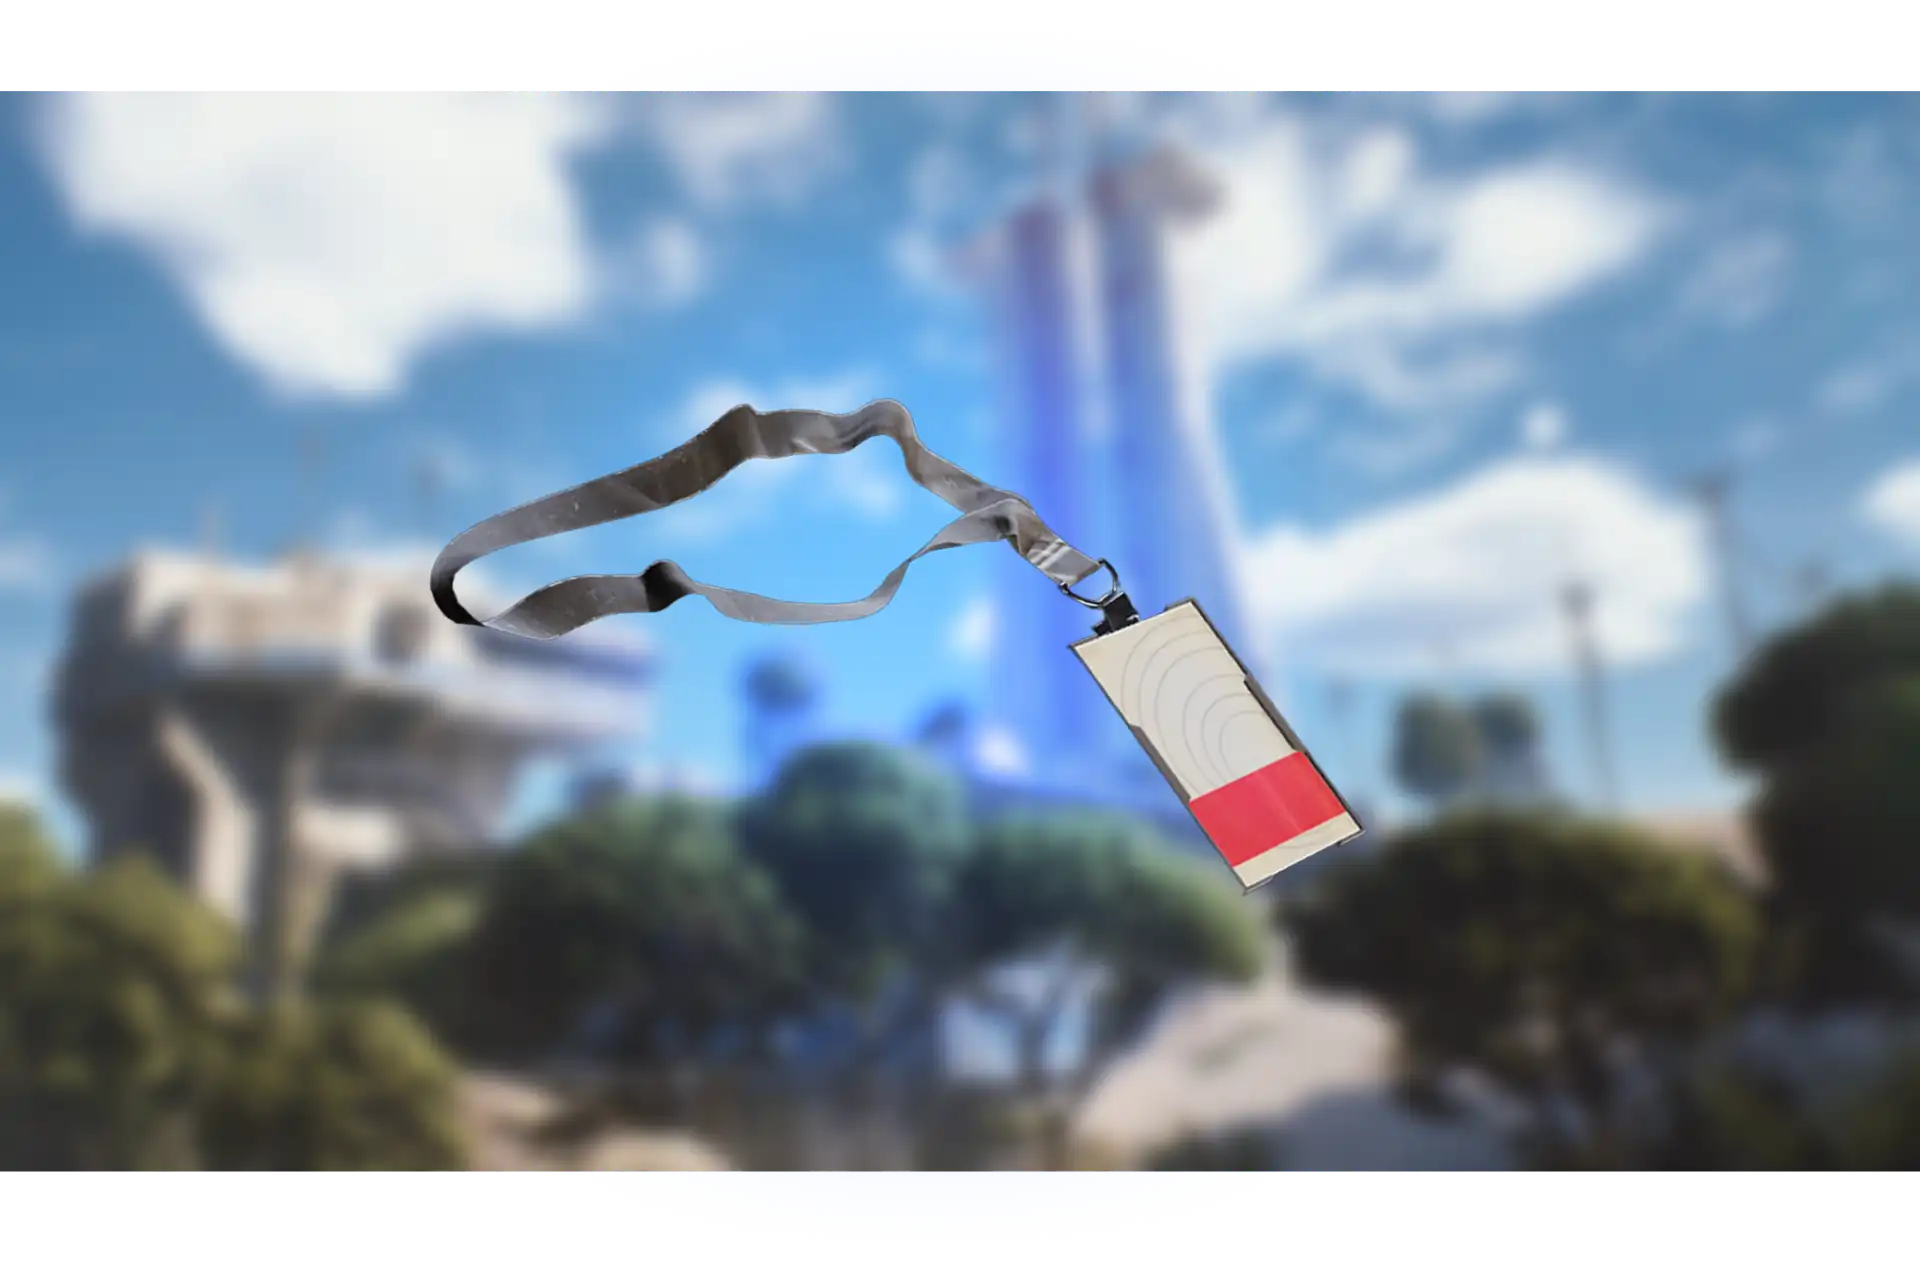
Archives Key GuideBuried City JKV Employee Access Card

The Buried City JKV Employee Access Card opens a locked room inside the JKV Space Travel building in Buried City’s New District. You enter the building, head up stairs, and reach the locked door on Floor 4.
The unlocked room is sealed and dense with containers. Typical loot includes weapon containers, breachables, storage crates and furniture loot, crafting materials and components, consumables, and general valuables.
If you want the building route, landmarks, and the exact Floor 4 door location, the JKV Employee Access Card guide has the full walkthrough.
JKV Card GuideBlue Gate Village Key
The Blue Gate Village Key unlocks a residential building inside the Village area on Blue Gate. The value here is simple and honest: you’re opening a full interior building with multiple rooms.
That multi-room layout is what makes the key consistent. More rooms means more searchable furniture and storage, which naturally increases the number of rolls you get out of a single use. The building can produce general valuables, crafting materials, consumables, and sometimes things like weapon cases or blueprints — not guaranteed, but possible — with reliability coming from volume rather than one fixed spawn.
The only reason this isn't ranked higher is because Blue Gate Village interiors are just not good dense enough compared to Buried City interiors, for example.
The Blue Gate Village Key guide shows the exact building and the safest approach to the locked door.
Village Key GuideBlue Gate Confiscation Room Key
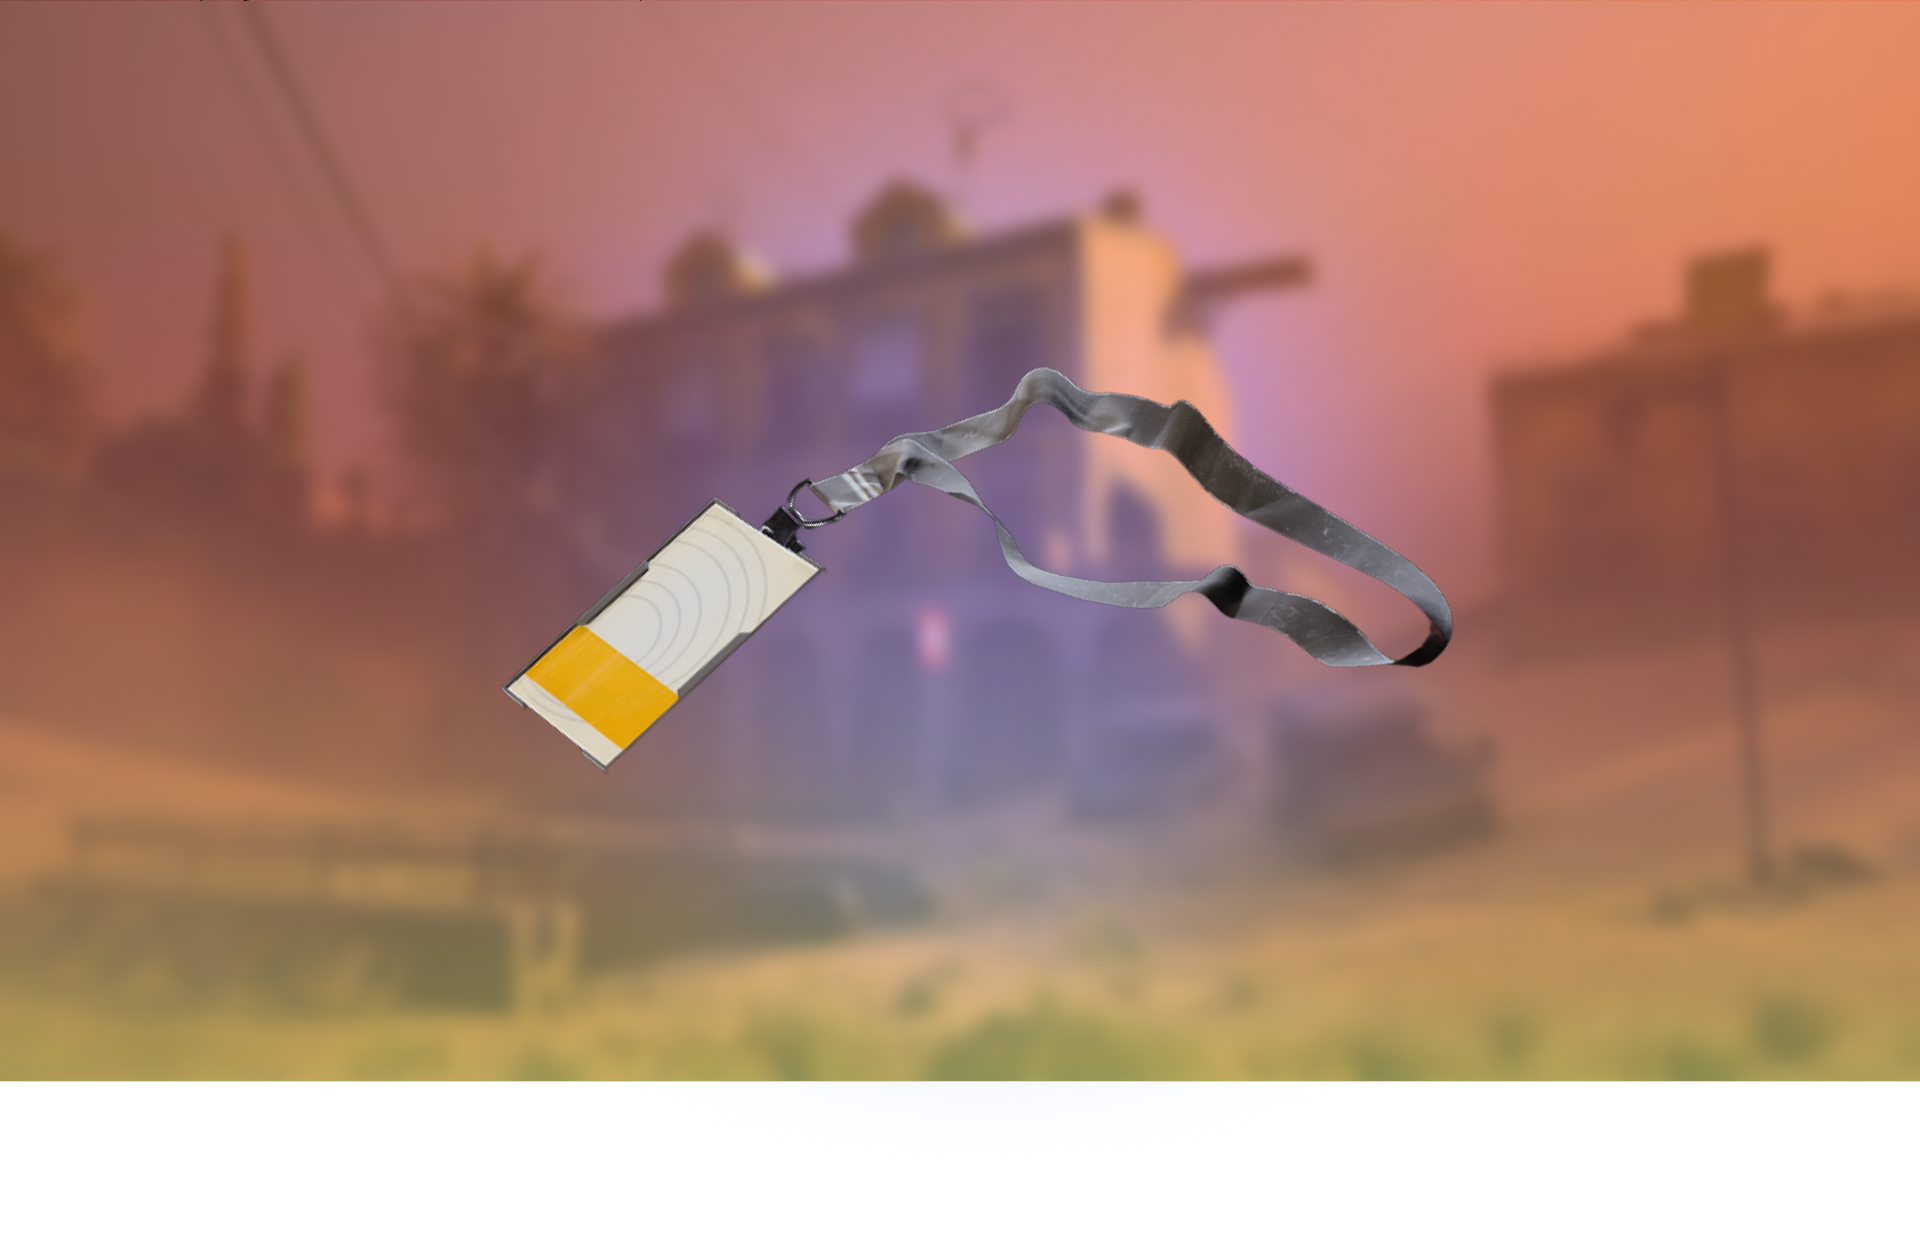
The Blue Gate Confiscation Room Key opens the Confiscation Room area inside the Reinforced Reception building on Blue Gate. The interior route is simple once you know it: enter the building, take the interior zipline down, follow the corridor marked with yellow arrows, and the locked door is on the lower level.
Opening the door gives access to two connected enclosed rooms that sit close together. Loot is spread across both spaces, which makes the clear feel efficient and “complete.”
Inside, you’ll typically find multiple breach-and-search containers, ammo containers, materials and components, consumables and utilities, valuables and collectibles, and occasional weapon or higher-tier rolls.
For the exact zipline route and a full room breakdown, check Blue Gate Confiscation Room guide.
Confiscation Key GuideSpaceport Warehouse Key
The Spaceport Warehouse Key unlocks locked rooms inside the Shipping Warehouse on the Spaceport map. This location contains two separate locked doors close to each other, and each door requires its own key. One key opens one room.
The locked area is a long, linear interior with containers positioned along the walkway. Typical loot includes storage containers and crates, cabinets and loose containers, crafting materials and components, consumables and utility items, plus collectibles and blueprints. It’s a steady room — lots of checks in a controlled space.
If you have two Warehouse Keys, opening both rooms in a single Night run is the cleanest way to use them. If you only have one, opening one room is still solid Tier B value.
The Spaceport Warehouse Key guide covers how to reach the doors and how the two-room setup works.
Warehouse Key GuideSpaceport Container Storage Key
The Spaceport Container Storage Key opens a locked room at the top of the Container Storage building on Spaceport. The room itself is a long industrial storage bay, with containers laid out along the length of the interior.
That layout is the whole point. It gives you a steady sequence of loot checks without forcing you to bounce between separate rooms or floors.
Inside, you’ll typically see rows of lockers, breachables, materials and components, consumables and utility items, blueprints, and occasional weapon or higher-tier rolls. Loot is RNG, but the value comes from how many containers you can check in one uninterrupted interior.
Spaceport Container Storage Key guide shows the path to the top floor and the exact locked door location.
Container Storage GuideTier A
Tier A keys unlock outcomes that are meaningfully better than baseline.
These are keys you bring on purpose when you know you’ll be operating in the right area, during the right timing. The advantage they provide is structural: larger interiors, higher container volume, better flexibility — or, in one special case, absolute control over extraction.
Most of the keys in this tier unlock towers, which is not a coincidence. In ARC Raiders, anything with “Tower” in the name tends to mean vertical space, enclosed interiors, and a suspicious number of containers stuffed into one place. If there’s a tower involved, chances are the key is good.
Raider Hatch Key
Raider Hatch Key is fundamentally different from every other key in ARC Raiders. It does not unlock a loot room.
Using a Raider Hatch Key opens a sealed Raider Hatch and immediately extracts you from the raid. Once the hatch opens, the run is over and everything you’re carrying is secured.
This makes the Raider Hatch Key a pure control tool. It protects value you already earned. In practice, that makes it one of the most impactful utility items in daily gameplay.
Raider Hatches are deliberately placed away from high-value loot zones and standard extraction choke points. They are not contested objectives, and if they become dangerous, it’s almost always because another player anticipates someone extracting.
The key shines when:
- you’re carrying high-value loot
- you’ve just completed a dangerous objective
- player movement becomes unpredictable late in the raid
- continuing the run stops being worth the risk
That’s why the Raider Hatch Key sits in Tier A. Nothing else in the game secures progress as reliably.
The Raider Hatch Key guide covers hatch locations on every map and explains when pulling the extraction lever is the correct decision.
Raider Hatch GuideDam Control Tower Key

The Dam Control Tower Key unlocks a massive locked room at the top of the Control Tower on Dam Battlegrounds.
This room is large, enclosed, and packed with containers. Lockers, cabinets, bags, breachables, and utility containers are spread across the interior, creating a high number of loot rolls in a single space. If you have the relevant skill unlocked, a security breach container can also appear, further increasing value.
The defining trait here is volume. The room is big enough, the sheer number of containers makes it consistently worthwhile, especially during Night raids when loot improves across the board.
The Control Tower is a high-traffic area and the approach is vertical, but once inside the locked room, looting is contained and predictable.
This is a textbook Tier A key: a large, dense interior that clearly outperforms baseline locked rooms. The Dam Control Tower Key guide shows the full route to the door and a detailed breakdown of the room layout.
Control Tower GuideBlue Gate Communication Tower Key
Blue Gate Communication Tower unlocks a hidden interior room inside the Communication Tower near Pilgrim’s Peak.
The room itself is fully enclosed and unusually dense for Blue Gate. Containers are packed tightly into a compact interior, including breachables, weapon cases, storage containers, and utility loot. The density is high enough that clearing the room reliably adds significant value to the raid.
What makes this key stand out is consistency. While loot is always RNG, the number of containers in this room smooths outcomes over time, particularly during Night raids when loot quality scales upward.
Among Blue Gate keys, this is one of the strongest options and often justifies deliberate routing into the area. The Communication Tower Key guide shows the hidden door location and full interior breakdown.
Comm Tower GuideSpaceport Control Tower Key
The Spaceport Control Tower Key unlocks a multi-level interior inside Control Tower A6 on the Spaceport map.
Unlike smaller Spaceport rooms, this interior spreads loot vertically. Containers are placed across multiple levels, including the main control floor and roof access areas, which increases the total number of rolls available from a single key use.
The room's value accumulates across the space, making it a consistently strong option when used during Night raids.
This key earns its Tier A placement through room size, vertical layout, and reliable container volume. The Spaceport Control Tower Key guide explains how the interior is structured and where containers typically appear.
Control Tower GuideSpaceport Trench Tower Key
The Spaceport Trench Tower Key unlocks a large interior room inside one of the Trench Tower on Spaceport. The key can be used on either the North or South Trench Tower, allowing you to choose the location that best fits your spawn and route.
The unlocked room is a wide, multi-section interior with containers spread across several areas and floors. Searchable containers, storage crates, breachables, and utility items are distributed throughout the space, giving the room strong container density.
Because of its size, this room benefits heavily from Night loot scaling. Clearing it thoroughly often results in multiple worthwhile rolls rather than a single high-variance outcome.
The flexibility of choosing between two towers, combined with the room’s volume, places this key firmly in Tier A. The Trench Tower Key guide covers both tower locations and interior layouts.
Trench Tower GuideBuried City Residential Master Key
Buried City Residential Master Key is one of the most flexible loot keys in ARC Raiders.
Instead of unlocking a single fixed door, it can be used on one of three different residential apartment doors across Buried City. Each door opens a full apartment interior with multiple rooms and high container density.
All three locations offer comparable value, but the ability to choose based on spawn, player traffic, and ARC presence is what makes this key exceptional. If one area is hot or already looted, you can rotate to another without wasting the key.
Residential interiors naturally contain a high number of drawers, cabinets, storage containers, and valuables, which scale well during Night raids.
The Residential Master Key guide details all three door locations and what each apartment contains.
Residential Master GuideTier S
Tier S keys do not compete with other keys. They define the raid.
When you bring a Tier S key, the run is built around it. Route planning, timing, risk tolerance, and extraction decisions all revolve around a single unlock. These keys are the reason you’re in the raid at all.
Buried City Town Hall Key

The Buried City Town Hall Key unlocks the entire Town Hall building in Buried City. It is a full administrative complex with multiple floors.
This is the largest locked area in ARC Raiders and, by a wide margin, the highest total container count tied to a single key. Scale is the defining factor here. Once the door is opened, you are committing to a long interior clear with sustained movement, vertical transitions, and continuous exposure.
The locked door is located on the north side of the Town Hall building and opens directly into the interior. From there, the building unfolds across multiple floors with wide interior spaces, staircases, zipline connections, broken walls, and open transitions between rooms. Loot is distributed across the entire structure.
Container types appear throughout the building and across levels, including lockers and cabinets, bags and loose containers, weapon crates, grenade crates, and security breach containers if unlocked through the skill tree. Clearing the building requires time, awareness, and repeated movement through exposed interior paths.
Loot quality is fully RNG-based, but the volume is unmatched. Epic and rare items, weapon blueprints, weapons and attachments, crafting materials and components, valuables, collectibles, consumables, and utility items all appear regularly simply because of how many containers are rolled in a single run.
Town Hall benefits massively from Night Raids. Improved loot rolls apply across dozens of containers, compounding value in a way no other key can replicate. Using this key during a daytime raid is possible, but inefficient relative to its potential.
You use the Town Hall Key when:
- you are prepared for a long, committed clear
- you expect player contact
- you can manage sustained interior pressure
- you are ready to extract with a heavy inventory
If you survive the run, the payoff is unmatched. Even average rolls add up to enormous extract value because of sheer scale.
The Buried City Town Hall Key guide shows the exact door location, interior layout, and how the building unfolds floor by floor once opened.
Town Hall Key GuideFinal Thoughts
For most keys, opening the door is worth it.
From Tier B upward, the time and exposure required to reach the door are almost always justified by the room itself. The interiors are large enough, dense enough, and consistent enough that stopping to open them is a good decision once you’re nearby.
Tier A and Tier S keys go further. These rooms are strong enough that you can plan an entire Night Raid around them.
Only Tier C and Tier D keys regularly fail that test. They still contain loot, but not enough to consistently justify detours, delays, or additional exposure.
In short:
If the key isn’t near the bottom of the list, opening it is usually the right call.
That’s the answer.
If you know which tier a key belongs to, you already know whether opening it will feel like a good deal — before you ever touch the door.
That’s the point of this list. If this tier list helped you make a decision, it did its job.
FAQ
In most cases, yes, keys are worth using.
Keys don’t get better by sitting in storage. Their value comes from opening rooms while loot conditions are favorable and when you’re already positioned to reach the door safely. Using a key when you’re already nearby is usually the correct decision. Saving keys “for later” often just delays value without increasing it.
The only real reason to hold a key is if you’re waiting for a Night Raid or a better spawn that puts the door directly on your route.
f you care about efficiency, yes.
Night Raids increase overall loot quality and significantly improve the payoff from locked rooms. Since keys are single-use, spending one during a daytime raid gives you strictly less value from the same room.
Daytime key usage isn’t wrong, but it is inefficient. If you have the option to wait for Night, you should.
No. There is no reliable way to farm a specific key through gameplay alone.
Keys are random drops tied to searchable containers and player inventories. While they appear more often in residential and office-heavy areas, you cannot force a particular key to drop.
This is why most players either:
-
use whatever keys they naturally acquire, or
-
obtain specific keys through in-raid delivery services to avoid RNG entirely.
They are consistently better over time.
Locked rooms concentrate higher-value container types: lockers, desks, cabinets, breachables, and sometimes weapon crates. Individual rolls can still be bad, but the number of containers smooths results across many uses.
A small unlocked room might spike once. A locked room with 10–20 containers pays out reliably across repeated runs.
Normal extractions in ARC Raiders are shared exits. They are visible, predictable, and heavily camped late into a raid. Players can wait, reposition, and intercept you at the exact moment you’re locked into the extraction animation.
Raider Hatches work differently.
They are:
-
isolated from standard extraction routes
-
activated instantly once opened
-
not tied to shared timers or loud global signals
Once the hatch opens, the raid ends immediately. There is no window for interception, no extraction countdown for another player to abuse, and no shared exit logic.
That’s why the Raider Hatch Key is valuable. It removes the final, most campable phase of the raid entirely.
They guarantee unlooted interiors.
Locked rooms are not pre-looted, and they concentrate container types that do not appear in open terrain. You are not gambling on whether loot exists — only on which items roll inside containers you already know will be there.
That’s why higher-tier keys feel consistent:
-
more containers
-
fewer single-roll outcomes
-
less variance over time