Destiny 2 Warlords Ruin Master Boost

Rewards
- Chance for Buried Bloodline Exotic
- Chance for weapons such as:
- Artifice Dark Age Armor Pieces
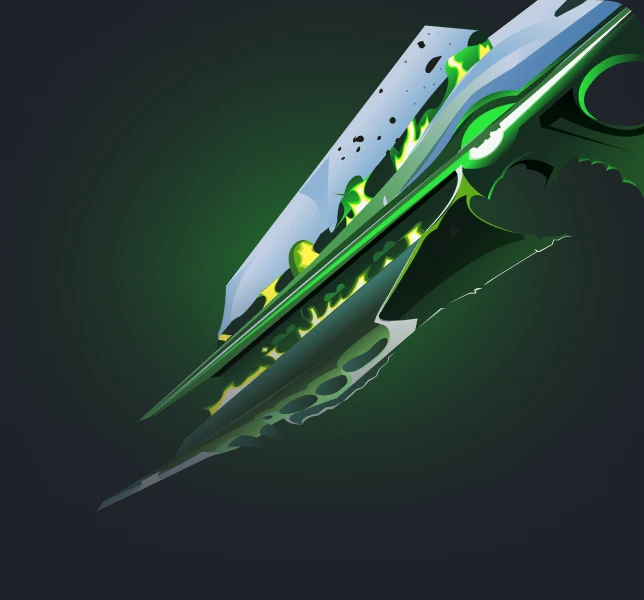
- Exclusive Zira's Ghost Shell Exotic
- Warlords Ruin Triumphs Progression
Warlords Ruin on Master difficulty stands as one of Destiny 2 most demanding dungeon experiences. In this run, you'll navigate challenging encounters, from cleansing Taken totems during Rathil's battle to depositing Solar Charges against Locus of Wailing Grief and managing the tag mechanics in Hefnd's Vengeance.
Requirements
- Lightfall Deluxe Edition or Lightfall Dungeon Key.
- 2000+ Light Power. Still low Light? Choose LevelUpper Power Leveling Service for help.
Other Destiny 2 Services You Might Be Interested In:
Additional Options
- Priority: Complete Destiny 2 Warlords Ruin Master Boost and quickly get Zira's Ghost Shell ahead of queues.
- Stream: Watch your Destiny 2 Warlords Ruin Master Boost live on a private stream.
Self-Play
If you prefer not to share your account details, join our professional boosters in-game.
Piloted
Our experienced boosters will log into your account to complete Destiny 2 Warlords Ruin Master Boost.
About Warlords Ruin Master
Warlords Ruin on Master difficulty is a true test of a Guardian's skill, combining fast-paced combat, clever puzzle-solving, and strategic positioning. The dungeon is set high in the EDZ mountains, where ancient legends of the Ahamkara echo through crumbling castle halls and snowy battlements.
In the first encounter with Rathil, the First Broken Knight of Fikrul, you face a mix of teamwork. The fight revolves around Taken totems, which must be cleansed by standing in their white radii until they transform into Stasis totems. Each conversion extends the window for dealing damage by boosting Naeem's Wish Empowerment buff. The encounter also throws in the challenge of breaking free from cages by taking out Acolyte Eyes, a mechanic demanding speed and accuracy.
After Rathil's defeat, the dungeon throws you into a prison cell area where a unique puzzle awaits. Here, you encounter six dials that can spin either clockwise or anti-clockwise. Nearby skeletons bear tally marks indicating how many dials must spin in a specific direction. This puzzle tests your observation skills and quick thinking as you adjust the dials and trigger the lock mechanism to open the cells.
The second encounter, against Locus of Wailing Grief, builds on these mechanics with an added twist: Solar Charges. As you clear the battlefield by destroying Acolyte Eyes and defeating the Broken Knights that spawn in their wake, each cleansed Taken totem generates a Solar Charge. These charges must be deposited at four braziers placed around the arena. Activating the braziers triggers the damage phase and provides crucial protection against the deadly Biting Cold debuff. Finding a safe spot near the standards on the arena's edge becomes essential to remove stacks of this debuff and avoid an untimely death.
The final encounter against Hefnd's Vengeance, Blighted Chimaera, brings everything together. This fight features the familiar Taken totems but with the added complexity of a "tag" mechanic. During the battle, the boss summons Acolyte Eyes, and the Broken Knights drop Taken totems, which you must cleanse to extend your damage phase. Additionally, a debuff called Hex of Vengeful Corruption constantly threatens your survival. You can transfer and temporarily remove the debuff by strategically meleeing Corrupted Hex-Drinkers, though it demands careful timing, as the enemy might tag you back. The battle occurs on a series of floating islands, where you must repeatedly climb and reset the damage phase until you finally push the boss into its final stand. In this last phase, the boss's health bar shrinks to its final segment, and the pressure is on to deliver continuous damage until the victory screen appears.
Throughout these encounters, every mechanic ties back into the rich lore of Destiny 2. The dark remnants of the Ahamkara, the cursed legacy of the Dark Age, and the constant struggle between light and Taken forces are all at the heart of Warlords Ruin. This dungeon isn't just a physical challenge. It's an immersive experience that invites Guardians to uncover lost histories and earn rewards that reflect the true grit of a champion. Mastering Warlords Ruin on Master difficulty isn't merely about securing loot. It's about proving yourself in one of the game's most storied challenges, where every moment demands skill, coordination, and quick thinking. For those who relish in-game accomplishments and the satisfaction of overcoming high-level content, this dungeon offers a uniquely rewarding experience that stands apart from regular runs. It's a call to all Guardians: test your mettle, solve the puzzles, and let the legend of your triumph shine through in every stat and accolade you earn.
FAQ
What exactly is involved in the Rathil encounter?
In the Rathil encounter, you must manage Taken totems by standing in their white circles until they convert into Stasis totems. Each conversion extends the damage phase via Naeem's Wish Empowerment buff. Additionally, you must destroy three Acolyte Eyes while trapped in a cage to escape. It's a balance between quick reaction and precise positioning, with the timing of the totem cleansing being key to maximizing your DPS window.
How do the prison cell puzzles work?
After the first boss fight, you're taken to a prison area with six dials that can spin in two directions. Nearby skeletons have tally marks indicating how many dials must spin clockwise versus anti-clockwise. You shoot the dials to set them spinning, then adjust their rotation by shooting them again, and finally shoot a lock mechanism to open the cells once the correct combination is reached.
What are the mechanics during the Locus of Wailing Grief encounter?
During the fight against Locus of Wailing Grief, the challenge revolves around generating and depositing Solar Charges. Each Taken totem you cleanse creates one Solar Charge. To start the damage phase, you must deposit these charges at four braziers around the boss arena. Meanwhile, the boss arena is affected by the Biting Cold debuff, which can be removed by standing near specific standards. The encounter demands precise timing in charge deposition and careful movement to manage the debuff.
How is the final boss, Hefnd's Vengeance, different from the earlier encounters?
Hefnd's Vengeance introduces a "tag" mechanic and the familiar Taken totems. In this fight, you cleanse totems and deal with Hex of Vengeful Corruption, a debuff that must be managed by meleeing Corrupted Hex-Drinkers. The battle occurs across several floating islands, requiring you to move between different platforms to extend your damage phase and eventually push the boss into its final health segment.
How can I best prepare for the Biting Cold debuff during Locus of Wailing Grief?
Biting Cold builds up during the encounter and can quickly stack to a lethal level if not managed. To counter this, make sure to position yourself near the standards located around the arena. These standards remove stacks of the debuff, allowing you to reset your condition and continue the fight without interruption. Awareness of your surroundings and timing your movement is crucial to avoiding the fatal buildup of Biting Cold.
What are the long-term rewards for conquering Warlords Ruin on Master difficulty?
Completing Warlords Ruin on Master difficulty grants access to exclusive in-game rewards, including the chance for the Buried Bloodline Exotic Sidearm, unique weapon variants like Vengeful Whisper and Naeem's Lance, complete Dark Age armor sets, and progress to triumph rewards such as unique title and emblems.
 World of Warcraft
 WoW TBC Anniversary
 Marathon
 Monster Hunter Wilds
 Marvel Rivals
 ARC Raiders
 Destiny 2
 Path of Exile
 Path of Exile 2
 WoW: Mists of Pandaria
 Apex Legends
 Elden Ring Nightreign
 Arknights: Endfield
 LoL
LoL TFD
TFD FFXIV
FFXIV