

Destiny 2 Drowning Labyrinth Quest Boost

'%3e%3cpath%20fill='%23907ACC'%20fill-rule='evenodd'%20d='M6.541%201.786c-.827%200-1.619.324-2.201.9a3.044%203.044%200%200%200-.909%202.166v3.79c0%20.251-.143.468-.351.574a1.102%201.102%200%200%201-.787.327h-.825a1.56%201.56%200%200%201-.995-.35A1.275%201.275%200%200%201%200%208.214V7.186c0-.395.19-.743.473-.98.281-.233.64-.349.995-.349h.677V4.852a4.33%204.33%200%200%201%201.29-3.08A4.42%204.42%200%200%201%206.54.5a4.42%204.42%200%200%201%203.107%201.272%204.33%204.33%200%200%201%201.29%203.08v1.005h.594c.355%200%20.714.116.995.35.284.236.473.584.473.979v1.028c0%20.395-.19.743-.473.98-.281.233-.64.349-.995.349h-.19c-.039.368-.24.916-.674%201.393-.441.486-1.11.888-2.065.998a1.21%201.21%200%200%201-.248.268%201.407%201.407%200%200%201-.875.298h-.805c-.307%200-.624-.097-.876-.298a1.13%201.13%200%200%201-.437-.88c0-.365.182-.677.437-.881.252-.202.569-.298.876-.298h.805c.307%200%20.624.096.875.298.074.059.142.127.201.203.594-.09.947-.339%201.159-.572.14-.154.23-.314.285-.449a.96.96%200%200%200%20.063-.209V9.34a1.038%201.038%200%200%201-.287-.316.64.64%200%200%201-.125-.381V4.852c0-.811-.326-1.59-.908-2.166a3.132%203.132%200%200%200-2.202-.9ZM1.468%207.143a.277.277%200%200%200-.171.052.102.102%200%200%200-.01.01v.99a.102.102%200%200%200%20.01.01c.028.024.089.052.171.052h.594V7.143h-.594Zm9.47%200v1.114h.594a.277.277%200%200%200%20.171-.052.107.107%200%200%200%20.01-.01v-.99a.108.108%200%200%200-.01-.01.277.277%200%200%200-.171-.052h-.594Z'%20clip-rule='evenodd'/%3e%3c/g%3e%3cdefs%3e%3cclipPath%20id='a'%3e%3cpath%20fill='%23fff'%20d='M0%20.5h13v13H0z'/%3e%3c/clipPath%3e%3c/defs%3e%3c/svg%3e)
'%3e%3cpath%20fill='%23907ACC'%20fill-rule='evenodd'%20d='M6.199.557a.831.831%200%200%201%20.602%200l4.689%201.827c.308.12.51.41.51.734v4.567c0%202.518-2.147%204.8-5.25%205.777a.831.831%200%200%201-.5%200C3.17%2012.492%201%2010.45%201%207.685V3.118c0-.324.202-.614.51-.734L6.2.557ZM2.623%203.653v4.032c0%201.747%201.316%203.314%203.876%204.19%202.54-.882%203.878-2.647%203.878-4.19V3.653L6.5%202.142l-3.877%201.51Z'%20clip-rule='evenodd'/%3e%3c/g%3e%3cdefs%3e%3cclipPath%20id='a'%3e%3cpath%20fill='%23fff'%20d='M0%20.5h13v13H0z'/%3e%3c/clipPath%3e%3c/defs%3e%3c/svg%3e)

Rewards
- Chance to get Flain Armor pieces
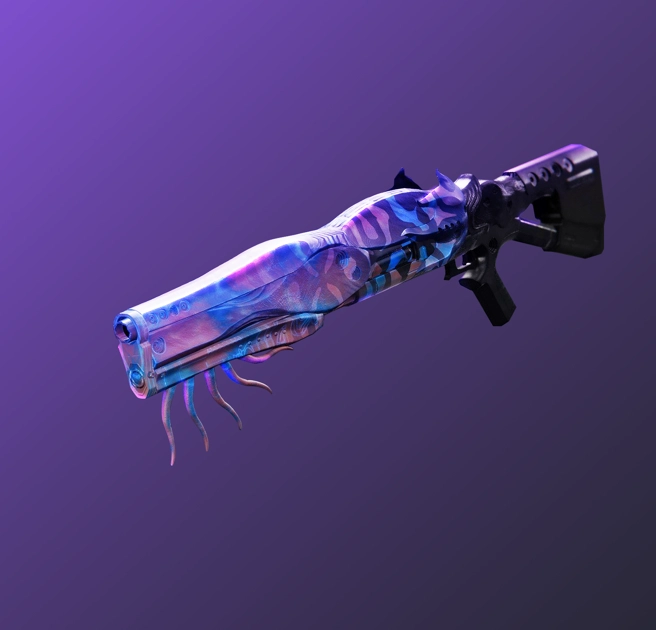
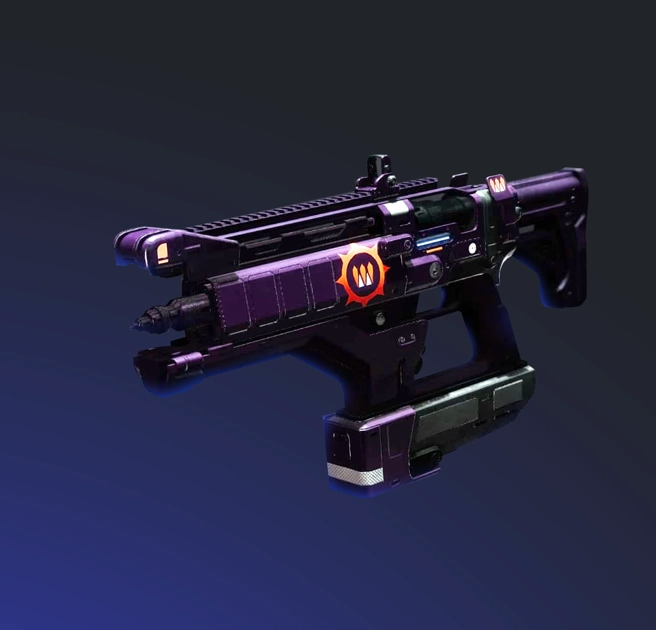
- Chance to get legendary weapons:
- Finality Auger Catalyst for completing
- Sundred Doctrine Collection progression
- Gain bonus glimmer and XP for further progression
The Drowning Labyrinth quest in Destiny 2 Sundered Doctrine dungeon is a multistep adventure that blends combat with puzzles. Starting from the Tower Bazaar, the quest takes you deep into Rhulk Pyramid Ship, where hidden reports, mysterious codes, and elusive Hive Worms lead you to powerful rewards and secret lore.
Requirements
- The Final Shape Annual Pass or Dungeon Key
Other Destiny 2 Services You Might Be Interested In:
Additional Options
- Priority: Get Drowning Labyrinth Quest Boost ahead of queues and start fast.
- Stream: Watch your entire Drowning Labyrinth Quest Boost live on a private stream.
Self-Play
If you prefer not to share your account details, join our professional boosters in-game.
Piloted
Our experienced boosters will log into your account to complete the Drowning Labyrinth Quest Boost. Ensure you provide the correct platform and login details.
About Drowning Labyrinth Quest
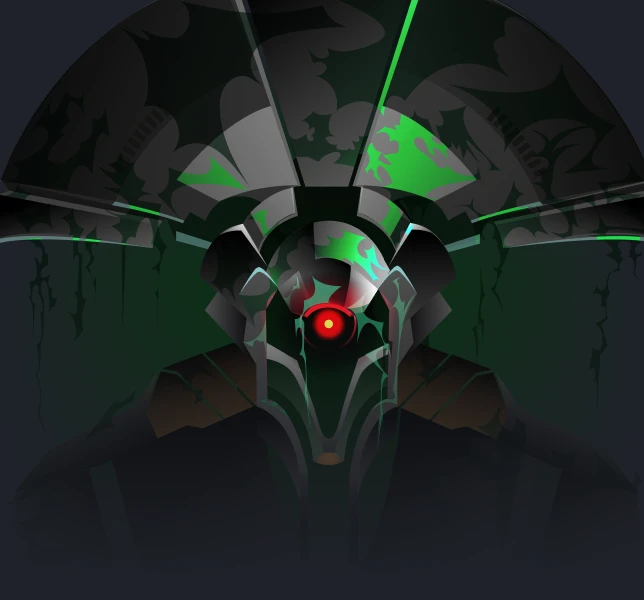
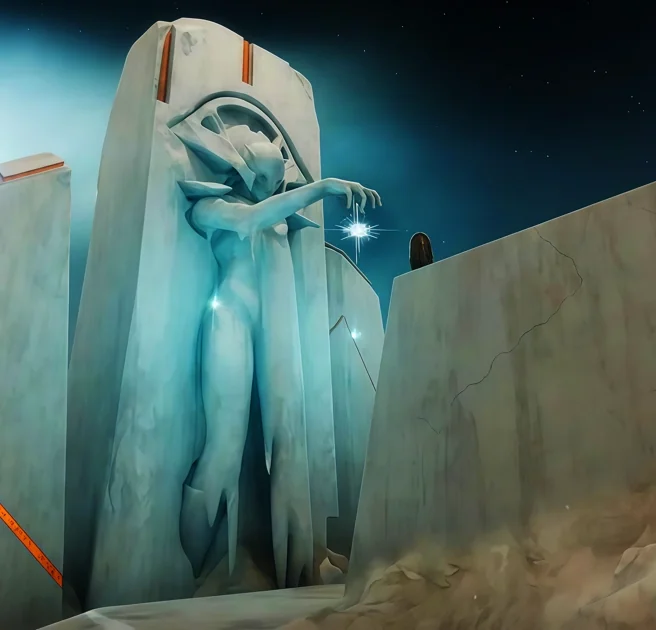
The Drowning Labyrinth quest unfolds within Destiny 2 newest dungeon, Sundered Doctrine, located inside Rhulk's Pyramid Ship. This mysterious setting is a throwback to previous experiences in the game, incorporating familiar elements while introducing fresh challenges. The quest begins at the Tower Bazaar when Ikora Rey assigns you the task. Once you accept, you must complete the dungeon by defeating the final boss, Kerrev, The Erased. This victory triggers the first quest steps, setting you on a path combining exploration, combat, and puzzle.
Shortly after entering the dungeon, you encounter the Hidden Base Camp. You find scattered papers on a table, including a crucial Hidden Report. This report serves as a key to activating a giant Pyramid machine. Your first major challenge is approaching this machinery and inputting the code "Savathûn Enters the Pyramid." When entered correctly, this code opens up new opportunities in the quest and hints at deeper lore connections to the Hive and the Pyramid Ship.
After this initial code is entered, the quest shifts focus to exploration. You are tasked with finding three hidden Hive Worms, each guarded by unique enemy placements and tucked away in secret spots throughout the dungeon. The first worm is located under a bridge near the base camp, where a Witness symbol is marked on the wall. The second can be found in a cavern lined with Pyramid structures and Dread enemies. A door near the back right leads you to it, marked by the Give symbol. The third worm hides behind a door in an area preceding a mini-encounter with the final boss. The location is signaled by the Darkness symbol. Each worm you collect provides critical information that helps you unlock the following code later.
Returning to the base camp with these items, you enter a second code: "Witness Gives Darkness." This step causes a message about the Pyramid shifting, opening a new puzzle segment. In this section, you must defeat a mix of Dread enemies and a Hive Shrieker, all while gathering scattered Knowledge Fragments. These fragments work similarly to mechanics seen in previous quests like Vow of the Disciple. Once you collect a sufficient number, depositing them on a giant orange plate reveals a hidden scannable terminal, which you interact with to progress further.
The quest structure is cyclic, requiring you to replay the dungeon to trigger additional sequences. For example, after completing these initial runs, you can bypass lengthy segments using a checkpoint near the final boss. Later steps involve returning to the base camp for another Hidden Report and collecting three more Hive Worms. Each new worm comes with its own symbol "Hive," "Grief," and "Snake" which you must record. Inputting these symbols into the Pyramid machine triggers additional lore sequences, such as a room filled with Hive Shriekers and a mini-boss encounter with Hive Knights. These enemies drop explosive Hive Worms that, when deposited in a hidden cave, cause an explosion, revealing yet another piece of Pyramid Data.
Throughout the quest, each step builds on the previous one. The mix of combat and puzzles tests your in-game skills and enriches the overall narrative. Every action, deciphering codes and collecting lore fragments, sheds more light on the dark mysteries of Rhulk Pyramid Ship and the ongoing Hive experiments. This guide is designed to help you navigate each step clearly, ensuring you never miss a crucial detail. Whether running the quest solo or teaming up with a friend, understanding these mechanics is key to uncovering the whole story behind The Drowning Labyrinth.
FAQs
What is the main objective of The Drowning Labyrinth quest?
The main objective is progressing through an 11-step questline inside the Sundered Doctrine dungeon. This involves completing the dungeon, collecting hidden items such as Hive Worms and Hidden Reports, inputting specific codes at key locations, and solving puzzles that reveal additional lore about Rhulk Pyramid Ship and the Hive.
How do I start the quest in Destiny 2?
To start the quest, speak with Ikora Rey in the Tower Bazaar. Accept the quest, then complete the initial run of the Sundered Doctrine dungeon by defeating the final boss, Kerrev, The Erased. This first run triggers the subsequent quest steps and allows you to collect essential items.
Where is the Hidden Base Camp located in Sundered Doctrine?
The Hidden Base Camp is near the dungeon's beginning, just before you cross the first bridge. Here, you'll notice a table with scattered papers, including a Hidden Report crucial for progressing the quest.
What does the code "Savathûn Enters the Pyramid" do?
Entering the code "Savathûn Enters the Pyramid" on the Hidden Base Camp's machinery unlocks the quest's next phase. It is a narrative clue that ties into the lore surrounding Savathûn and the Pyramid Ship, and it signals the start of the series of puzzles and item collections.
How are Hive Worms used in the quest?
Hive Worms are essential collectibles in this quest. You must locate three of them during your initial dungeon run. Each worm is paired with a unique symbol, Witness, Give, and Darkness. These symbols are later used to input a second code that advances the storyline and opens new areas within the dungeon.
Are there any time-gated steps in the quest?
Yes, some parts of The Drowning Labyrinth quest are time-gated. After specific sequences, such as collecting Pyramid Data, you may need to wait for a weekly reset before new steps become available.
What rewards can I expect upon completion?
Upon completing the quest, you have a chance to get powerful weapons such as Finality's Auger, Unvoiced Shotgun, Unworthy Scout Rifle, and Unsworn Trace Rifle. In addition, you receive key lore items like Hidden Reports, Hive Worms, and Pyramid Data fragments that deepen your understanding of the ongoing story in Destiny 2.
What should I do if I get stuck at a particular step?
If you encounter difficulty, focus on revisiting where you last collected an item or activated a code. Pay close attention to environmental cues like symbols near Hive Worms and scannable terminals. Sometimes, replaying a segment using a checkpoint near the final boss can help you bypass repetitive sections and regain progress.