


This guide is organized by ARC categories, from small indoor units to heavy and boss machines.
Each enemy section includes threat level, XP, notable loot, weak spots, and clear How to kill / Do not steps you can use immediately.
When to Fight and When to Skip
You do not need to fight every ARC you see. For key runs, skipping combat is often better because it keeps your run quiet and reduces risk. If your priority is extraction and key value, avoid unnecessary fights and stick to your route (as we always suggest in our keys ranked from worst to best article).
You should usually engage ARC for two reasons: Trials objectives and material farming. Farming specific enemies gives consistent crafting progress and unlocks. For example, if you want reliable access to Wolfpack, you need to farm enemies that can drop Rocketeer Driver.
Below, we give a specific strategy for each enemy type. Before that, use these general tips to make most ARC fights safer and more efficient.
General Tips
Wolfpack is the strongest all-purpose option for deleting high-threat ARC, but it is expensive and should be used with intent. Cheaper tools like Seeker Grenades and other budget explosives are often enough for routine clears.
- Start from a distance so you can read what the ARC is doing before you fully engage.
- Fight near solid cover, doors, and corners. Open ground should be your last option, and some units lose most of their threat around doorway cover.
- Aim for weak spots first: turbines, exposed cores, yellow joints, and fuel points.
- Be aware of other players: ARC fights are loud. If you are farming materials, pull fights away from major loot and quest zones to reduce third-party risk.
Read scanner lights before you engage:
- Blue: patrol mode. The machine is searching passively and has not locked a target yet.
- Yellow: alert mode. It is checking a disturbance and may calm down if it finds nothing.
- Red: combat mode. It has a target and will keep attacking until it loses that target.
- If you hit an ARC during patrol, it can jump straight into Red combat immediately.
If you see an ARC scanner suddenly turn Yellow or Red and you are certain you did not trigger it, that usually means another player or squad is nearby. ARC react to any disturbance in their detection range, so unexpected alert states are often early warning signs of human movement.

- Scanner color can switch between Yellow and Red as you enter and leave scanner range.
- Yellow without you making noise can mean someone entered its scan radius or fired nearby.
- Red almost always means it acquired a target, and if that target is not you, another player is likely nearby.
Read armor types at a glance:
- Matte white plating: unarmored. Most weapons can damage it.
- Shiny dark gray plating: armored. Low-penetration rounds can bounce.
- Matte bright yellow parts: weak points. Prioritize these for faster kills.
- In general, higher ARC Armor Penetration gives more consistent damage on armored targets.
Small ARC
These are commonly indoor ARC enemies that can catch you by surprise. Their threat comes from their numbers and small size, so clear them quickly before too many are on you.
-
Tick
The Tick is a tiny indoor ARC that hides on walls and ceilings. One is easy, but groups can drain health fast if they latch on. Listen for the shuffling sound before you start looting a room.
 Tick
TickNotable loot
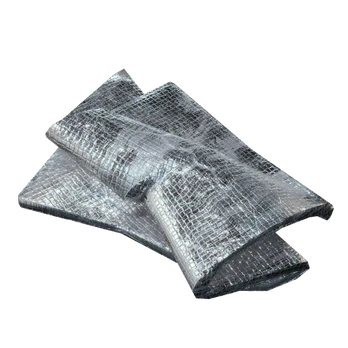
- ARC Flex Rubber
- ARC Thermo Lining
- Tick Pod
How to kill
Shoot it off the wall/ceiling early, or melee when you need a quieter clear.
- If you hear one in a room, kill it before you loot.
- Melee is useful when you do not want to attract attention.
- If it latches onto you, dislodge it immediately and kill it before the second jump.
Do not
Ignore audio cues and let it jump first.
-
Snitch
The Snitch is an unarmed scout drone. Its real danger is not damage, it is calling in reinforcements. Treat it as a priority target and kill it before repeated calls start.
 Snitch
Notable loot
- ARC Synthetic Resin
- ARC Thermo Lining
- Sensors
- Snitch Scanner
How to kill
Break two wing/flap nodes to force a crash. It is more ammo-efficient than center-body spam.
- Two broken flaps will drop it fast.
- Shooting the center works, but takes too many bullets.
- If you use Seeker Grenades, bring two for a guaranteed kill.
- Heavy foliage can sometimes help you avoid being scanned in the first place.
- Reinforcements are typically guaranteed after the third call, so kill it before that point.
Do not
Dump expensive utility before trying wing breaks.
-
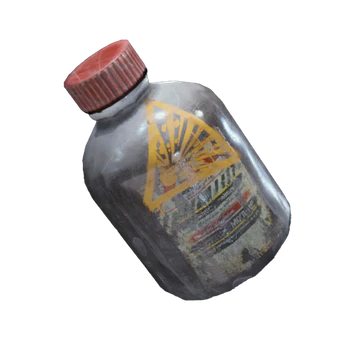
Pop
The Pop is a rolling suicide bomb often found indoors. It rushes fast and beeps louder as it gets close. It cannot jump or climb, so doors, ledges, and obstacles can save you.
 Pop
PopNotable loot
- ARC Coolant
- ARC Thermo Lining
- Crude Explosives
- Pop Trigger
How to kill
Shoot the center core while it rushes, or sidestep/roll its blast timing if ammo is low or you do not have a clean shot.
- Shooting it before it reaches you is usually easier than timing a last-second dodge.
- The dodge method works, but the timing is tight.
- Shoot the center, not the outer ring.
- This matters most with light ammo.
- Use obstacles when needed; Pop cannot jump or climb.
Do not
Shoot the armored outer ring with low-damage weapons.
-
Fireball
The Fireball is armored and built for close-range flame damage. It rolls in, opens its front plate, and sprays fire, then leaves dangerous burn zones after death. Keep spacing and shoot when the front opens.
 Fireball
Notable loot
- Crude Explosives
- ARC Coolant
- ARC Thermo Lining
- Fireball Burner
How to kill
Heavy center-mass shots are cleanest. With lighter weapons, wait for armor to open and shoot the exposed center.
- With accurate heavy ammo (like Anvil or Pharaoh), center hits can kill it in one shot.
- Do not shoot side armor if the center is visible.
- With light/medium ammo, wait for it to open up, then shoot.
- After it dies, move right away so you do not get burned by leftover fire.
- Closed shell resists light ammo; wait for core exposure or use medium/heavy penetration.
Do not
Stand close after kill confirmation because flame spread can still burn you.
Air ARC
These flying ARC are dangerous because they stay mobile and can chase you out of cover. Focus on thrusters and use solid cover to block their view.
-
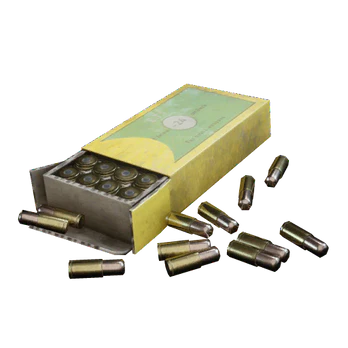
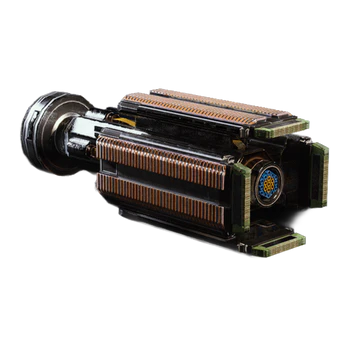
Wasp
The Wasp is a fast light drone that usually appears in small swarms. One is manageable, but several can strip your shield quickly. Break thrusters early before they spread around your cover.
 Wasp
WaspNotable loot
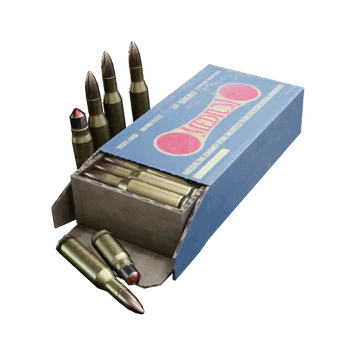
- Light Ammo
- Simple Gun Parts
- ARC Synthetic Resin
- Wasp Driver
Wasp husks can drop ARC Alloy, Wasp Driver, and Light Ammo. XP: 400.
How to kill
Break two turbines and it drops instantly. Prioritize rotor shots over body damage.
- Seeker Grenade can one-shot a Wasp.
- When it paints you with a red laser, it often hovers briefly, which is your best time to shoot its thrusters.
- You only need two turbine breaks.
- Sometimes one broken turbine makes it crash and die, if it hits terrain or another enemy.
- Lure Grenades can buy you time if the swarm is already on top of you.
Do not
Chase center mass while it keeps full mobility.
-
Hornet
The Hornet is a tougher Wasp variant that fires electric shots that stun and open you up. Its front thrusters are armored, while rear thrusters are easier to break. If mixed with Wasps, kill the Hornet first.
 Hornet
Notable loot
- Medium Ammo
- Simple Gun Parts
- ARC Performance Steel
- Hornet Driver
How to kill
Break back turbines first when you have a clear shot, or strip front armor then break front turbines.
- You still only need two turbines.
- Back turbines are usually easier because front turbines are armored.
- You can dodge its charged electric shot if you move before it fires.
- Medium or heavy ammo is best when you need to break front-thruster armor.
- Seeker is usually not worth it here.
Do not
Hold still when it starts the charged stun animation.
-
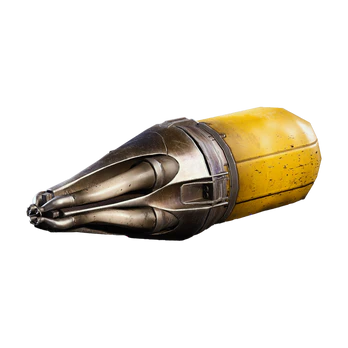
Firefly
The Firefly is the flame version of Hornet and is much more aggressive up close. It will chase aggressively and burn anyone crossing open ground. Expect it to show up with other flyers and force you out of cover.
 Firefly
Notable loot
- ARC Performance Steel
- Simple Gun Parts
- ARC Coolant
- ARC Thermo Lining
- Firefly Burner
How to kill
Fight from solid cover or indoors, then break turbines or shoot the yellow fuel tank when exposed.
- Its flamethrower is deadly up close, so do not let it walk you into open space.
- Two accurate heavy hits (Anvil/Pharaoh class) can drop it fast.
- Listen for the gas vent audio cue before the flamethrower burst and reposition early.
- You can also break the V-shaped plate above the face and keep shooting that same spot.
- If it is closing in, shoot first and reposition second.
Do not
Run straight across open terrain while burning. Get behind cover first, then start shooting again.
-
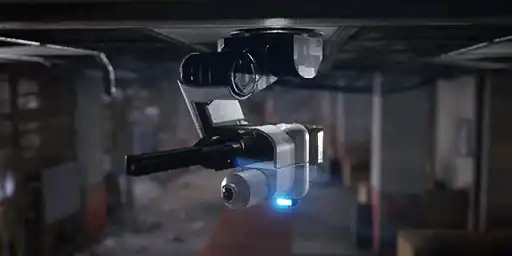
Spotter
The Spotter does little direct damage, but it marks you for Bombardier fire. As long as its beam stays on you, incoming artillery gets much more dangerous. Clearing Spotters gives breathing room, but they can return.
 Spotter
Notable loot
- ARC Synthetic Resin
- ARC Thermo Lining
- Sensors
- Spotter Relay
How to kill
Kill it immediately when it starts scanning you. Short bursts or one strong hit are usually enough if you start early.
- It is fragile, but dangerous because it can call heavy support.
- Use tall cover to block its beam while you shoot it down.
- If it has already locked you, move from one solid cover piece to the next until it is down.
- Spotters respawn in pairs, so each kill helps for a short time but does not solve the fight forever.
Do not
Stand in open ground while it keeps tracking you.
-
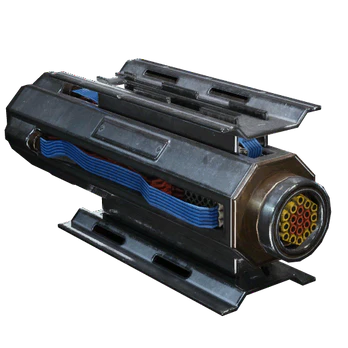
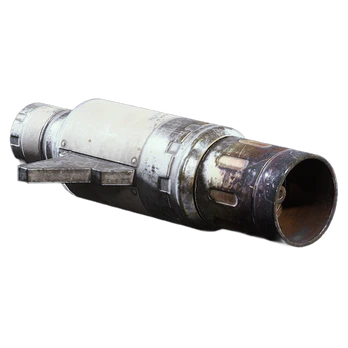
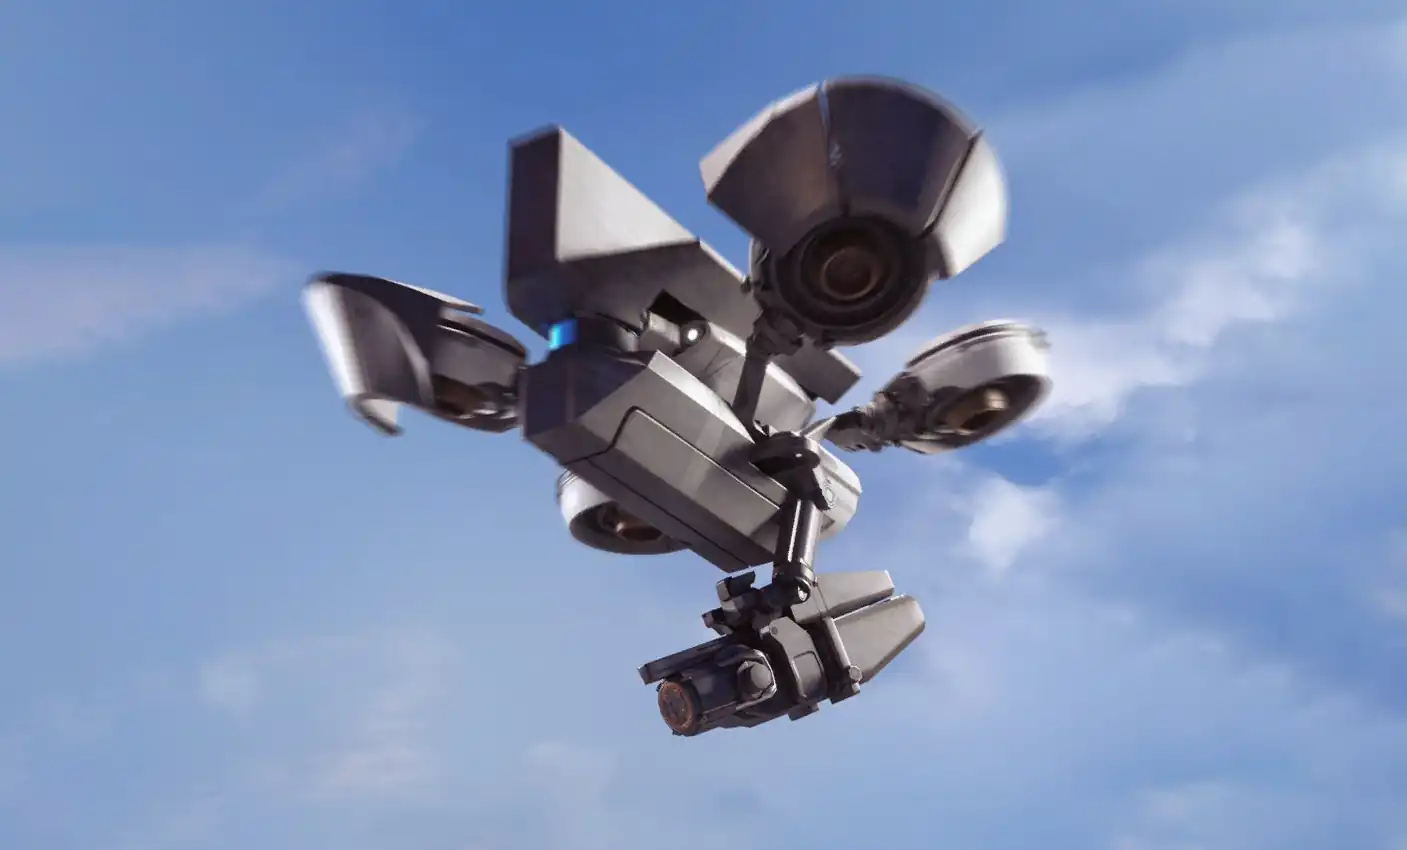
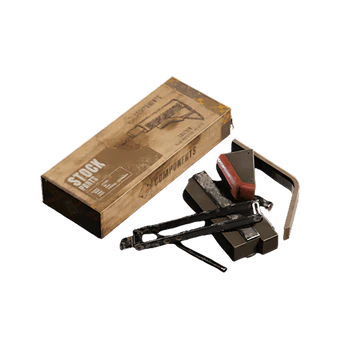
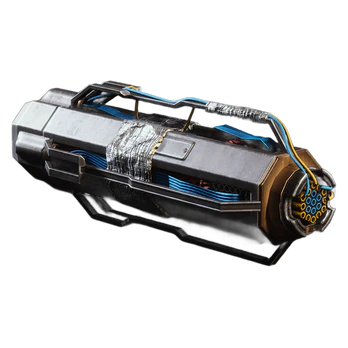
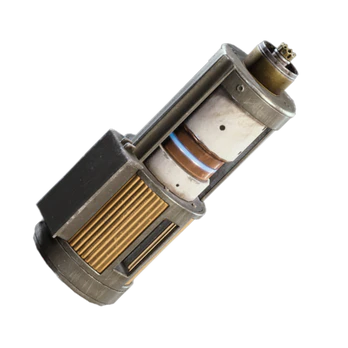
Rocketeer
The Rocketeer is a heavy flying artillery ARC with high burst damage. Its tracking rockets force you to keep moving between cover. Do not fight it in open ground unless you are sure you can finish it fast.
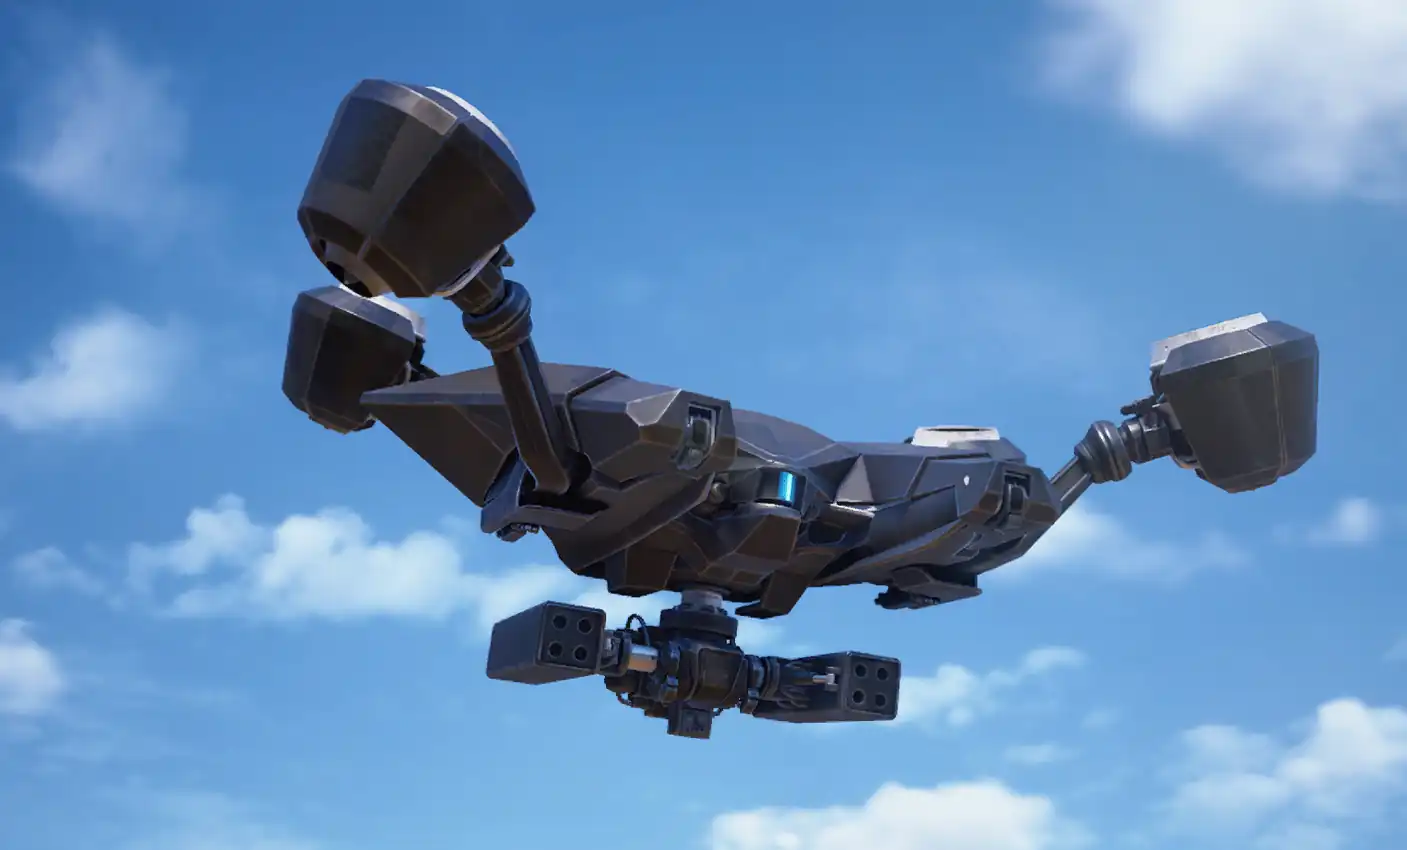 Rocketeer
Notable loot
- ARC Alloy
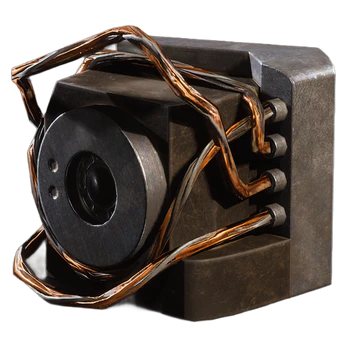
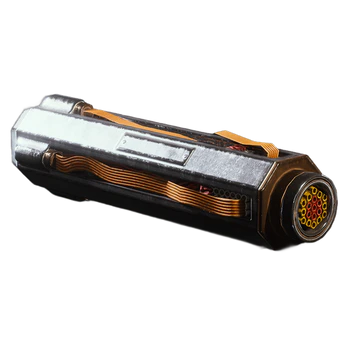
- Advanced ARC Powercell
- Rocketeer Driver
- Heavy Ammo
Rocketeer husks can drop ARC Alloy, Rocketeer Driver, Heavy Ammo, and Damaged Rocketeer Driver. XP: 700.
How to kill
Start from long range before it fully dives in. Break two turbines, or break the forehead V-plate and keep shooting that same spot.
- Opening damage from far away often stops a hard close push.
- One Wolfpack can kill it, but nearby enemies can split the missiles.
- When lock lasers turn from yellow to red, rockets are about to launch.
- Stay near cover so you can hide during rocket volleys.
- After you break the V-plate, keep shooting that same spot.
- If it is already on top of you, Showstopper can buy time to escape.
- Rockets still splash behind cover, so do not hug thin cover edges.
- Risky option: snap-hook onto it and place a Deadline. This can one-shot, but failed exits usually get you killed.
Do not
Wait to react until it is already on top of you.
Static and Rolling ARC
These ARC are either stationary guns or rolling explosives. Fight them from solid cover and use their attack timing instead of standing in the open.
-
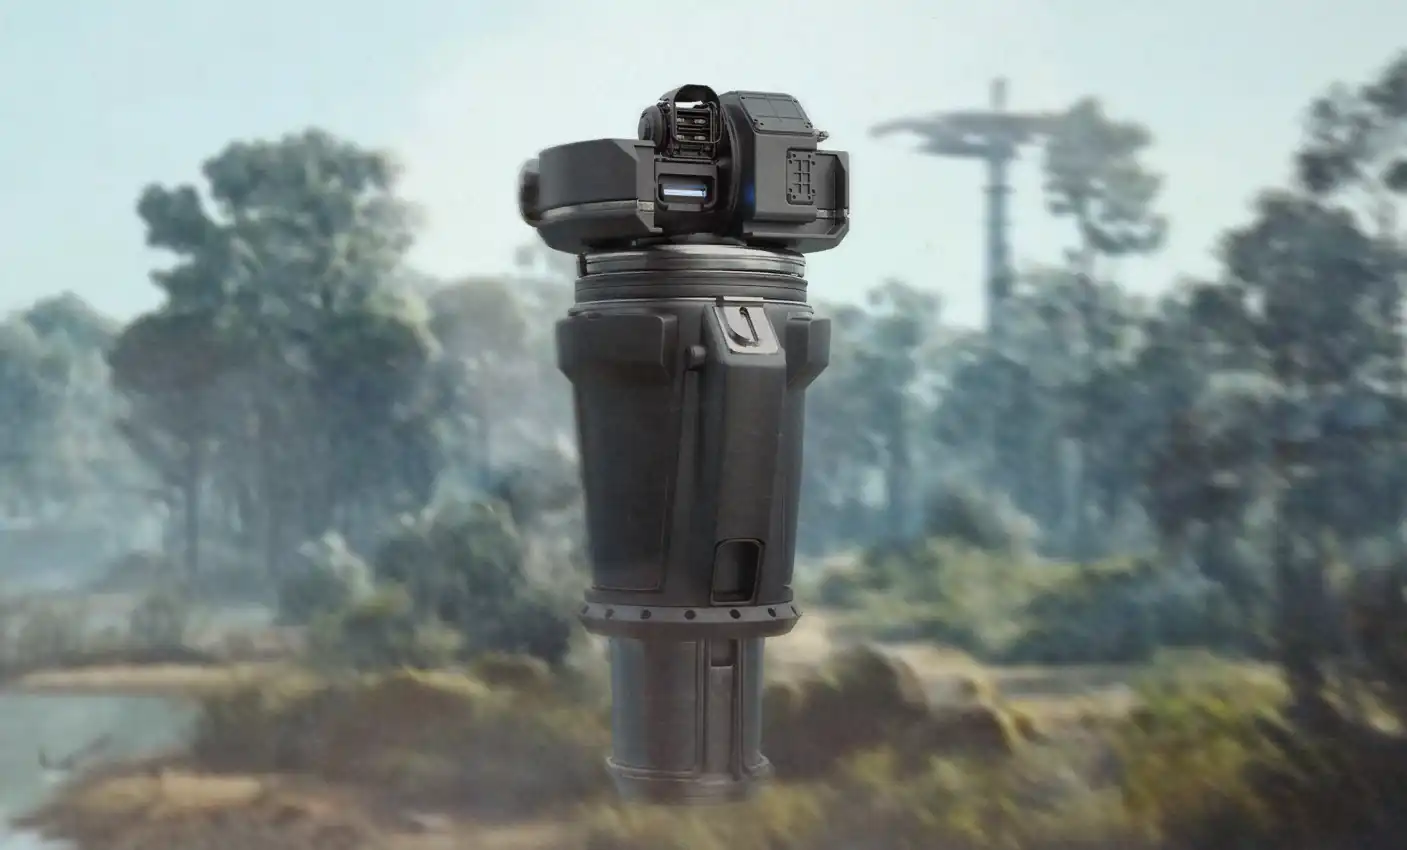
Turret
The Turret is a stationary indoor gun that hits hard if you keep stepping out in front of it. Its scanner beam shows where it is, so you can line up your shot and clear it first. It is fragile if you deal with it before other enemies push in.
 Turret
Notable loot
- Light Ammo
- Simple Gun Parts
- ARC Synthetic Resin
- ARC Thermo Lining
How to kill
Wait until it scans away, then step out and fire quickly. Arc grenades are very consistent because turrets cannot move.
- Anvil/Pharaoh can kill a normal turret very quickly.
- With lighter weapons, wait until it looks away, then unload.
- Snap Blast is great because turrets cannot dodge.
- If it loses sight, it keeps firing at your last known position for a moment.
Do not
Keep stepping out from the same spot over and over.
-
Sentinel
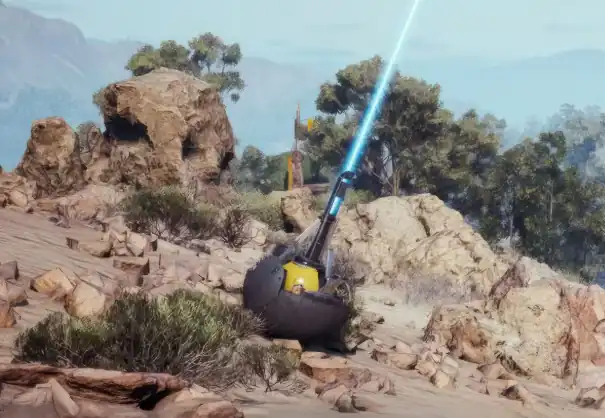
The Sentinel is a long-range heavy turret usually placed high outdoors. Targeting lasers warn before it fires, and the hit is heavy if you stay visible. Use cover first, then shoot between its shots.
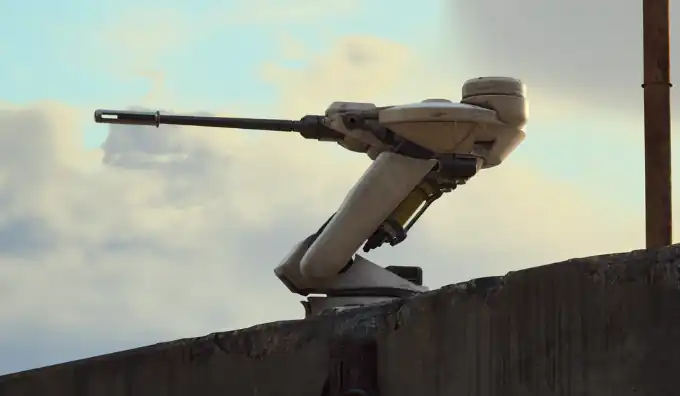 Sentinel
Notable loot
- Heavy Ammo
- Advanced ARC Powercell
- ARC Coolant
- Medium Gun Parts
- Sentinel Firing Core
How to kill
When it starts charging, get behind cover. Shoot it right after it fires.
- Sentinel is much tankier than a normal turret.
- Its shot is easy to read: when it charges, get behind cover.
- Blaze and Snap Blast are strong here because it cannot move.
- When the targeting lasers converge, get fully behind cover before the shot lands.
Do not
Stay exposed while it is fully charged and aimed.
-
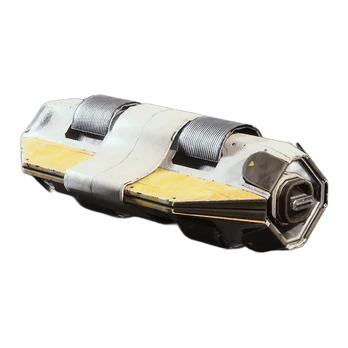
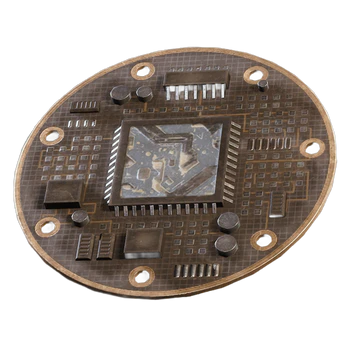
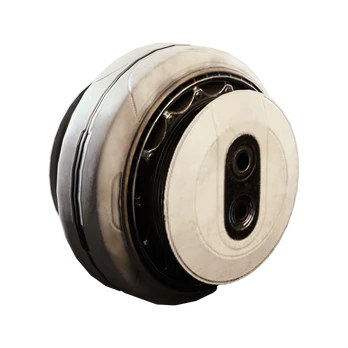
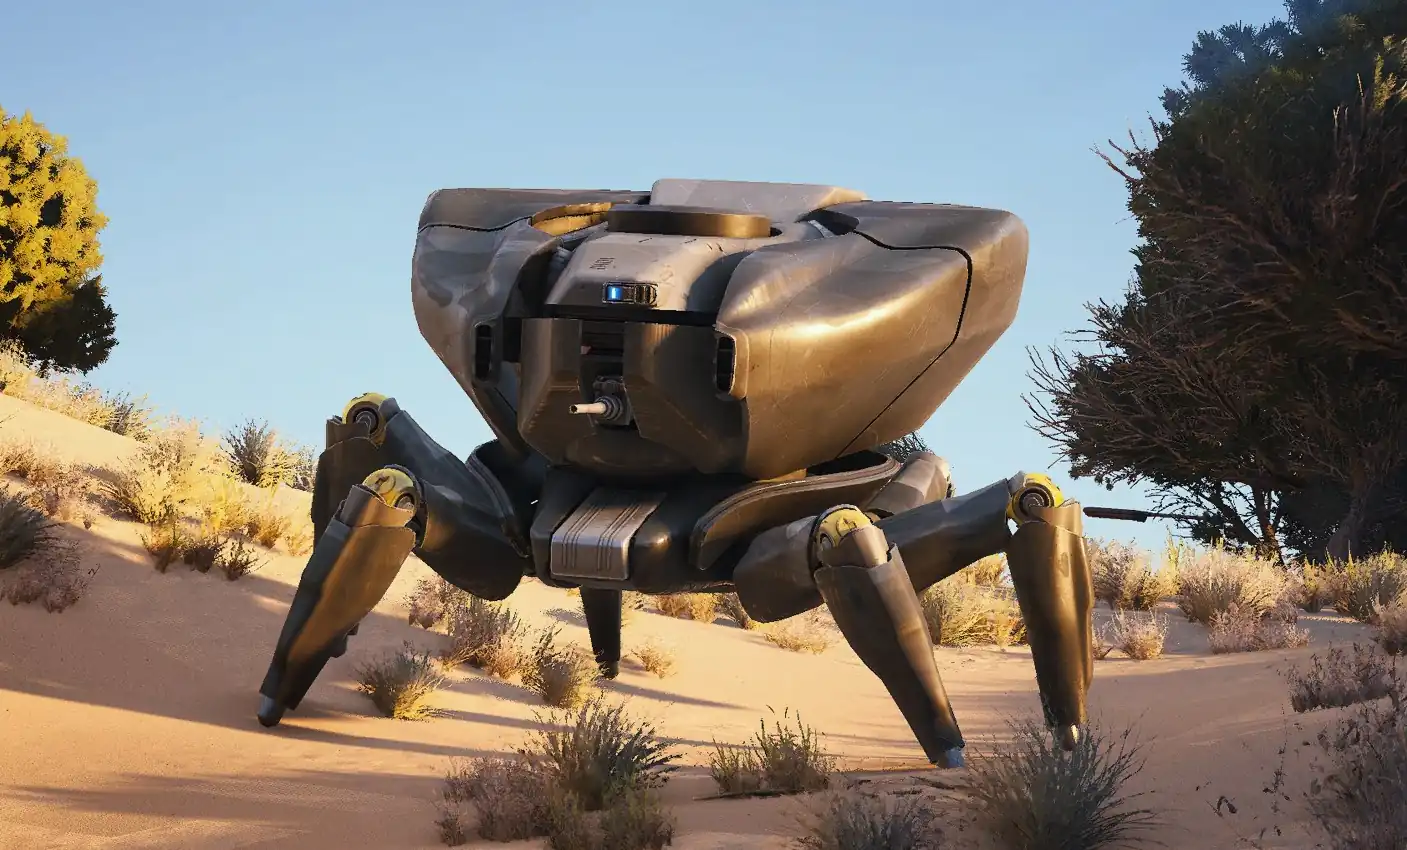
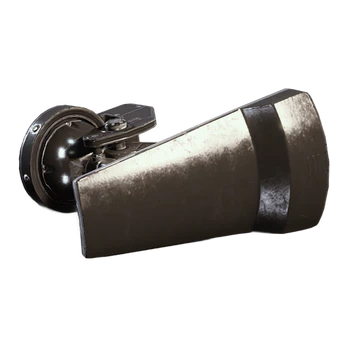
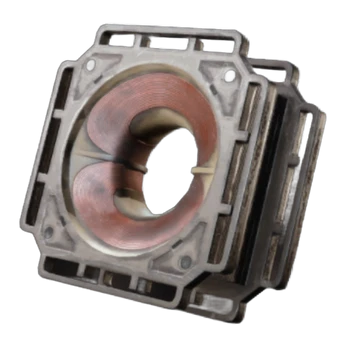
Surveyor
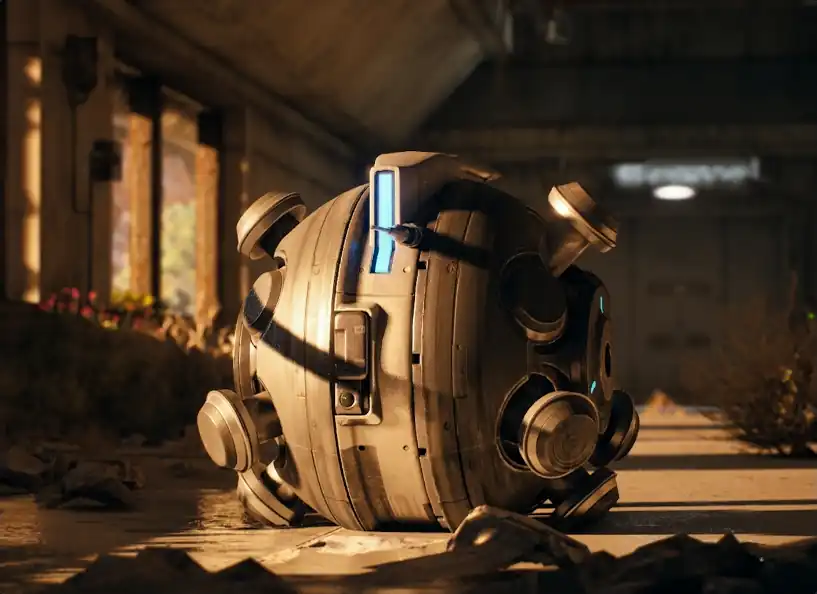
The Surveyor is a heavily armored data unit that prefers to run instead of fight. It opens while transmitting, then closes and rolls away fast when threatened. Shoot it while its core is exposed for clean kills.
 Surveyor
Notable loot
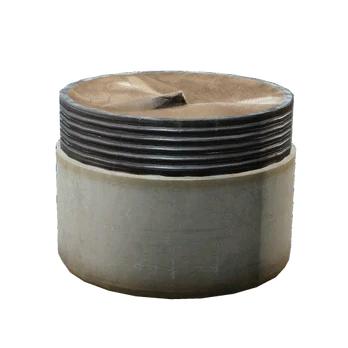
- Advanced ARC Powercell
- ARC Circuitry
- Sensors
- Surveyor Vault
How to kill
Shoot it while it is transmitting, then keep shooting it and block where it can roll with corners or barricades.
- Your first shots should land while it is open and least protected.
- After that, it rolls away, so keep shooting from safe cover.
- Heavy ammo (Anvil/Pharaoh class) works well for repeated damage as it tries to escape.
- If your gun is weak, trap it with barricades against walls/objects and finish it there.
- Stuns like Hornet Driver or Showstopper make core damage much easier before it escapes.
Do not
Let it roll unchallenged through open space.
-
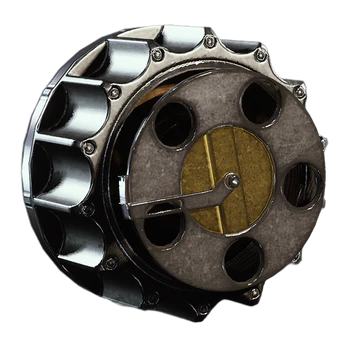
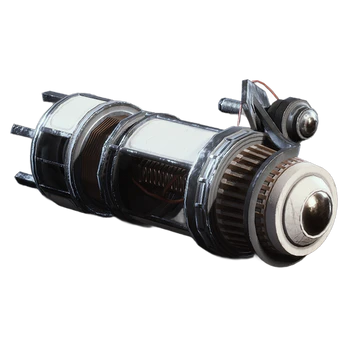
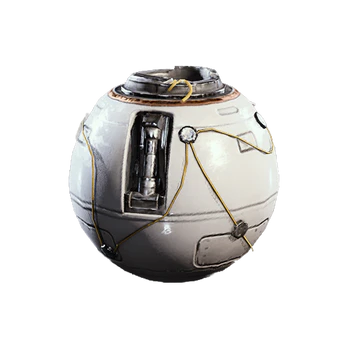
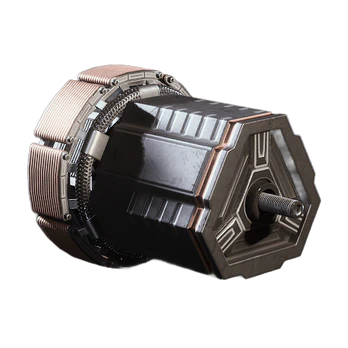
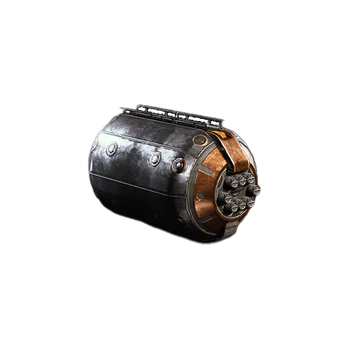
Comet
The Comet is a fast rolling bomb commonly found near heavier ARC. If it reaches you, the blast radius is wide and very punishing. Destroy it before self-detonation when you need the igniter drop.
 Comet
CometNotable loot
- Crude Explosives
- ARC Coolant
- ARC Thermo Lining
- Comet Igniter
How to kill
Either destroy it at range before detonation, or bait the blast behind solid cover if it has already closed in.
- It is heavily armored, so panic shooting at close range often fails.
- If it starts charging and you cannot kill it in time, get behind solid cover immediately.
- When possible, start this fight from farther away.
- When it starts charging, the center opens up for direct weak-point shots.
- If it self-detonates, Comet Igniter is usually lost, so kill it before the blast when possible.
- If you are close and out of time, forcing the explosion into cover is safer than trying to tank it.
Do not
Stand too close together when it enters detonation range.

Heavy ARC
These heavy ARC take longer to kill and are dangerous from the front. Use weak spots, stuns, and move between cover after each attack.
-
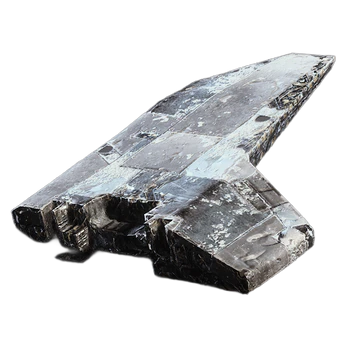
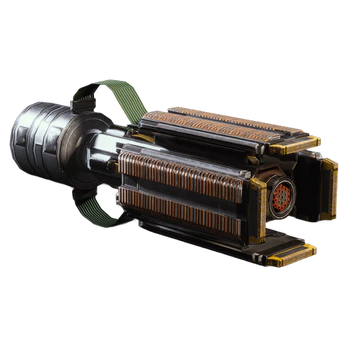
Shredder
The Shredder is a close-quarters heavy that is strongest in tight spaces, especially on Stella Montis. It charges and releases dangerous shrapnel bursts that can erase you in the open. This fight is mostly using cover and timing your shots.
 Shredder
Notable loot
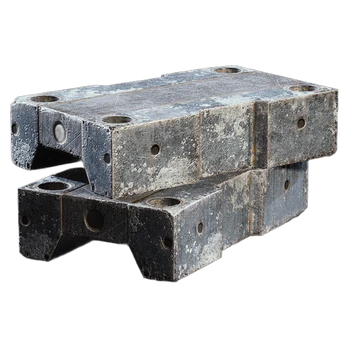
- Mechanical Components
- Simple Gun Parts
- ARC Synthetic Resin
- Shredder Gyro
How to kill
Stay near cover, hide during charge-up, then shoot engine center mass between attack bursts.
- Do not focus on the head. Center engine shots are better.
- Synth-fuel canisters are very strong if you bait it close first.
- When it charges up, that is the best time to throw explosives.
- One canister plus follow-up fire is often enough.
- Hullcracker-type launchers can kill it very quickly.
Do not
Take a long fight in the open.
-
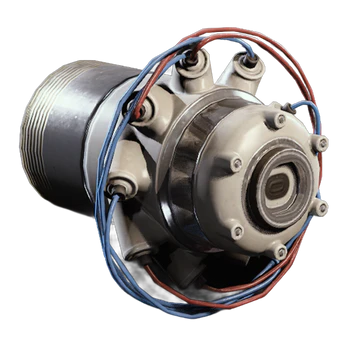
Leaper
The Leaper is a fast heavy bruiser with long jumps and strong close-range damage. Open-field fights become chaotic very quickly. Doorways and solid cover make this fight much safer and easier to control.
 Leaper
Notable loot
- ARC Alloy
- Advanced ARC Powercell
- Mechanical Components
- Leaper Pulse Unit
How to kill
Fight around doorways and narrow passages, and hit the central eye weak point with short controlled bursts.
- Doorways make this fight much easier.
- Expect a leap and shockwave when it closes distance.
- Fire helps, but fire alone is not a fast kill.
- Trailblazer can open the fight, then finish with eye shots.
- The most reliable method is still repeated eye damage.
Do not
Run long open paths where it can keep jumping at you.
-
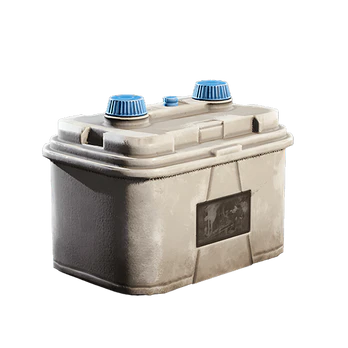
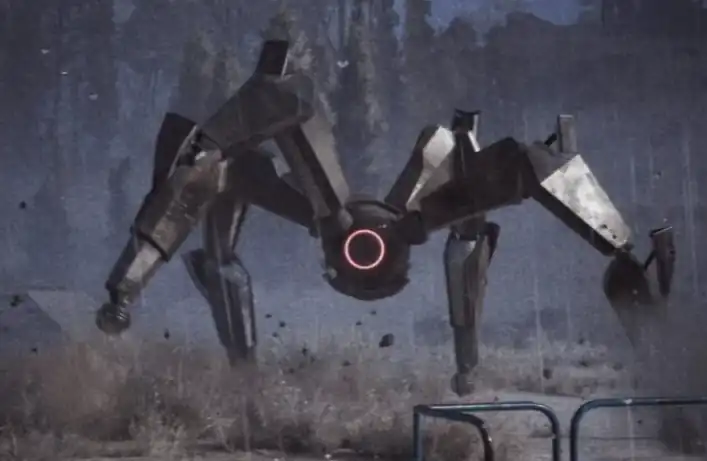
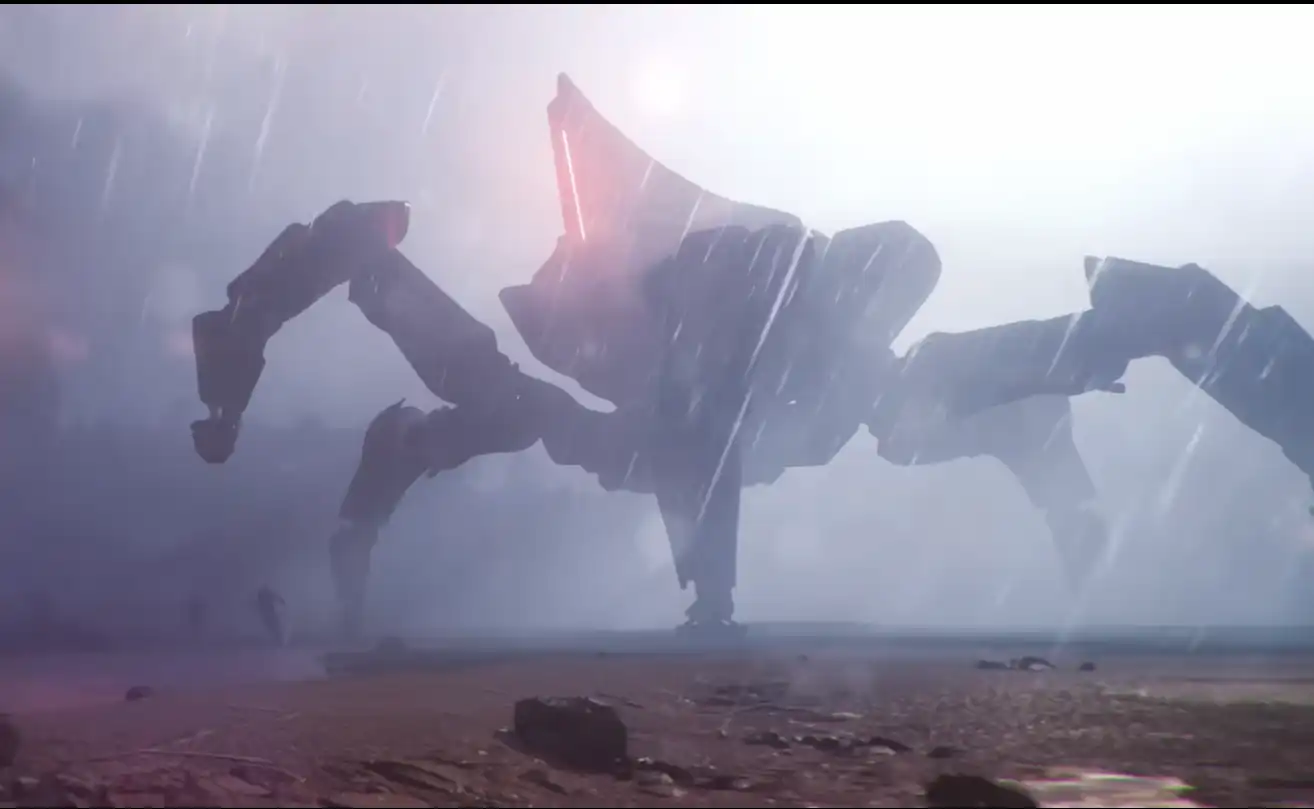
Bastion
The Bastion is a slow armored walker with dangerous front gunfire. Shooting from the front is usually slow and risky. Leg joints and rear weak spots are the reliable way to kill it safely.
 Bastion
Notable loot
- Medium Ammo
- ARC Circuitry
- ARC Performance Steel
- Heavy Gun Parts
- Bastion Cell
How to kill
Break a yellow joint to stun it, run behind it, shoot the rear canister/core, and repeat.
- In open space, two good Wolfpacks can kill it very fast.
- In tight areas, Wolfpack missiles can hit walls and lose damage.
- A Deadline on its back can one-shot, but it is risky and you need to get out immediately.
- The pre-fire screech is your warning to hard-cover before the gatling burst starts.
- For the safer option, stay in cover and use a Hullcracker from range.
- Blaze/Trailblazer can help, but do not rely on them as your full damage plan.
Do not
Stand in front of it and try to outshoot heavy armor.
-
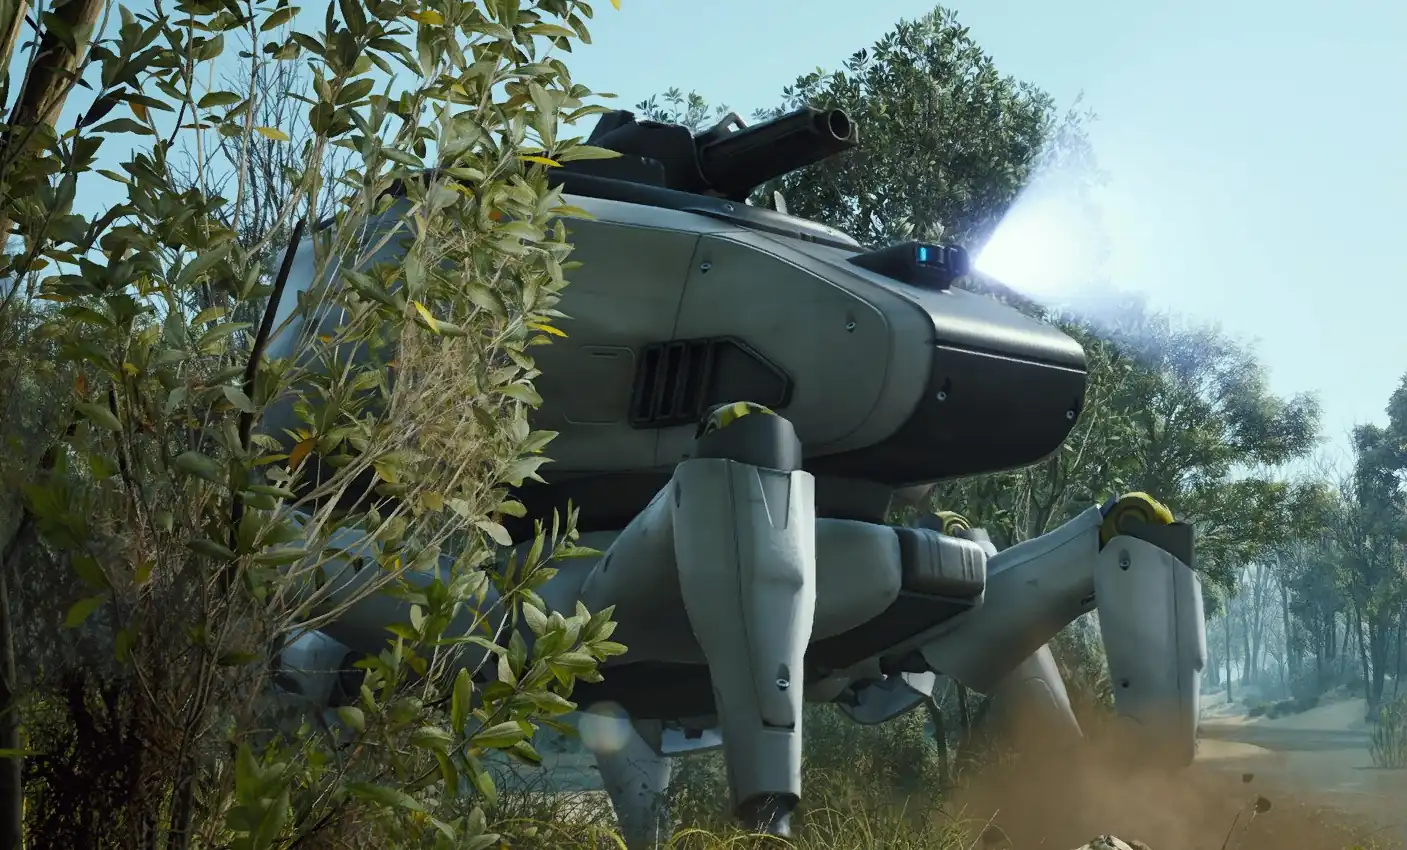
Bombardier
The Bombardier is a long-range mortar platform that becomes far worse while Spotters are alive. It can force you out of safe positions from very far away. Check both side cover and overhead cover before you start shooting.
 Bombardier
Notable loot
- Launcher Ammo
- ARC Performance Steel
- Heavy Gun Parts
- Bombardier Cell
How to kill
Break a yellow joint to stun it, run behind it, hit the rear weak spot, back up, and repeat.
- In open space, Wolfpack works better.
- Removing Spotters first makes long-range mortar fire much less accurate.
- A Deadline on its back can kill it fast, but it is risky and you must get out quickly.
- A well-placed Deadline near the rear canister can instantly destroy it.
- If you want the safer option, stay in cover and use a Hullcracker from range.
- If you are low on gadgets, keep it simple: stun it, run behind it, shoot the weak spot, repeat.
- Blaze/Trailblazer can help, but they should not be your only plan.
Do not
Stay in the open when mortar blasts keep landing near you.
Boss ARC
Boss ARC fights are about staying alive and taking clean shots. Pick strong cover, manage extra enemies, and only push when you can leave safely.
-
Queen
The Queen is a massive boss tied to Harvester encounters and controls a large area with multiple attack types. These fights are long and can attract extra threats. Pick your cover spots before you start doing big damage.
 Queen
QueenNotable loot
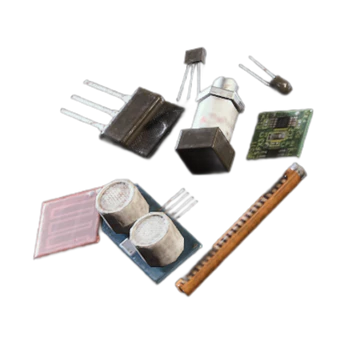
- ARC Circuitry
- Advanced ARC Powercell
- Complex Gun Parts
- Magnetic Accelerator
- Queen Reactor
How to kill
Pick a place with dependable cover, shoot the core when it opens, and keep breaking armor on exposed sections.
- Best damage goes into the exposed core, broken armor spots, and visible yellow joints.
- Heavy ammo, energy ammo, and armor-breaking tools all work if you keep moving cover to cover.
- You will usually have an easier time in quieter lobbies; crowded lobbies are more likely to get interrupted by other players.
- Near Harvester zones, use event structures as cover and finish the event step before you push hard.
- The Queen can hit Harvester looters with beam attacks on nearby nodes.
- Risky option: break the plate on top, jump in for close core damage or a Deadline, then leave immediately.
- Deadline does big damage, but it does not one-shot the Queen.
- Bring extra healing and a spare shield for long fights.
Do not
Stay too long in the open when heavy attacks or extra enemies show up.
-
Matriarch
The Matriarch is the hardest ARC boss and adds shield phases plus summoned support. She quickly punishes squads that keep using the same position. Treat this as a long fight, not a rush.
 Matriarch
Notable loot
- ARC Circuitry
- Advanced ARC Powercell
- Complex Gun Parts
- Magnetic Accelerator
- Matriarch Reactor
How to kill
Keep your distance, break front armor, and shoot the core whenever it is open.
- Breaking the front armor makes core damage much easier and more consistent.
- Armor-breaking weapons work very well here (Equalizer, Aelion, Jupiter, Anvil/Pharaoh, Hullcracker-type weapons).
- When the core is closed, shoot visible yellow joints.
- Being on top is dangerous because extra enemies can join, including Rocketeer and Bombardier.
- Its rockets can still hit you even if you are riding on top.
- When her energy shield is active, outside projectiles and throwables do no damage.
- Keep a fast escape option and healing ready at all times.
Do not
Climb on top of it unless you have a safe way back down.
Need Trials or Materials?
If you are reading this guide, you most likely need one of two things: consistent materials farming, or this week's Trials that require specific enemy kills. We can help with both and more.
We provide full ARC Raiders services, including crafting materials, Trials challenges, blueprints, coins, and custom orders.
Need Trials help? Start here: Trials Challenges boosting.
Farming upgrade mats? Use: Crafting Materials boosting.
For everything else from blueprints to coins, see: all ARC Raiders boosting services.
FAQ
Wolfpack is the strongest all-purpose option against most ARC enemies, including heavy and flying units. It deletes high-threat targets quickly and safely. The only real downside is cost and the risk of missiles splitting if multiple enemies are close together.
The safest method is destroying it at range before it starts charging. When Comet begins detonation, the center weak point opens briefly. If you cannot finish it in time, get fully behind thick cover because the blast radius is large.
Fight from solid cover and break its turbines or shoot the exposed yellow fuel tank. Do not let it force you into open terrain with flamethrower pressure. Listen for the gas vent cue before it fires and reposition early.
Wolfpack is generally the fastest and safest option against heavy targets like Bastion, Bombardier, and Leaper. If you are conserving resources, break yellow joints to stun them and target rear weak spots instead.
Wait for the core to open, target exposed armor plates and yellow joints, and rotate between solid cover. Heavy armor-breaking weapons perform best in this fight.
Break two turbines to disable them quickly. Shooting center mass is slower and wastes ammo while they remain mobile.
Break a yellow leg joint to stun it, move behind, and shoot the rear weak spot. Avoid fighting it from the front unless you have heavy burst tools.
Use medium or heavy armor penetration weapons. Shiny dark gray plating resists low-penetration rounds. Target yellow joints, turbines, exposed cores, or rear canisters for faster kills.
Blue means patrol mode. Yellow means alert and investigating. Red means combat and target acquired. If an ARC turns Yellow or Red without you triggering it, another player is likely nearby.
Rocketeer Driver drops from Rocketeer enemies and their husks. Farming Rocketeer directly is the most consistent way to obtain it.
Fight around doorways or tight cover and focus on the central eye weak point. Open-field fights are dangerous because Leaper can chain jumps and shockwaves.