


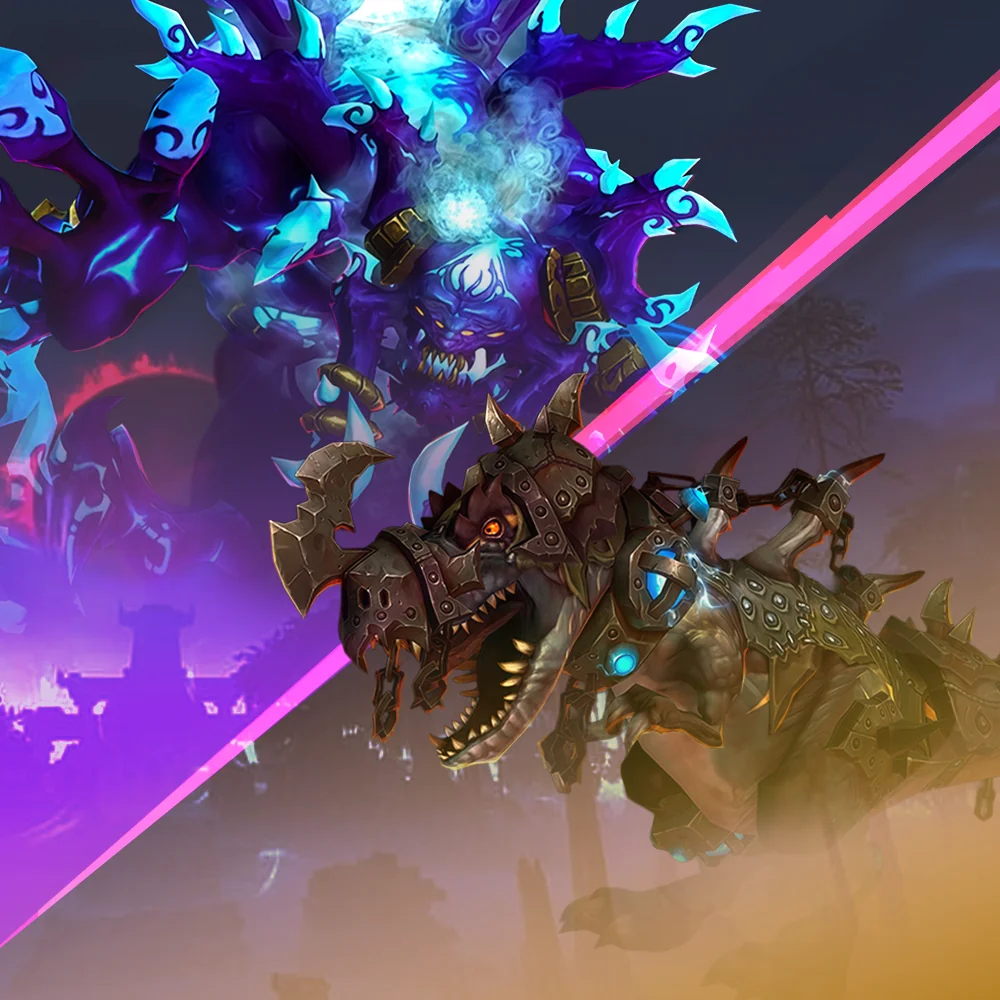
Siege of Orgrimmar is finally arriving in MoP Classic, bringing one of the expansion's most prestigious mount rewards with it: the Reins of Galakras.
Unlike raid mounts that rely on luck, the Reins of Galakras is earned by completing Glory of the Orgrimmar Raider, a meta-achievement that requires players to conquer 14 unique challenges spread throughout the raid.
To get the Glory of the Orgrimmar Raider in WoW MoP Classic, you must complete 14 specific boss achievements within the Siege of Orgrimmar raid on Normal or Heroic difficulty.
Completing all 14 achievements rewards the Reins of Galakras mount. The hardest achievements require strict raid coordination, such as Go Long (passing Mark of Anguish 200+ yards) and Criss Cross (never killing both Mogu and Mantid enemies).
With Siege of Orgrimmar just opening its gates, only a small number of players will be able to complete these achievements quickly. For the first few weeks especially, the mount will act as a clear sign that its owner has mastered every corner of the raid rather than simply cleared it.
In this guide, we'll cover every achievement required for Glory of the Orgrimmar Raider, explain which ones are likely to cause problems, and help you plan the fastest route toward earning your Galakras mount.
What Is Glory of the Orgrimmar Raider?
Glory of the Orgrimmar Raider is a meta-achievement tied to Siege of Orgrimmar. To complete it, players must earn a collection of raid-specific achievements spread across every wing of the instance. Most achievements are tied to individual bosses and require players to interact with mechanics in unusual ways rather than simply defeating the encounter.
Unlike progression raiding, gear is not always the biggest obstacle. Coordination is usually the deciding factor. Many groups capable of clearing Heroic bosses still fail achievement attempts because a single player makes a mistake or accidentally pushes a phase too early.
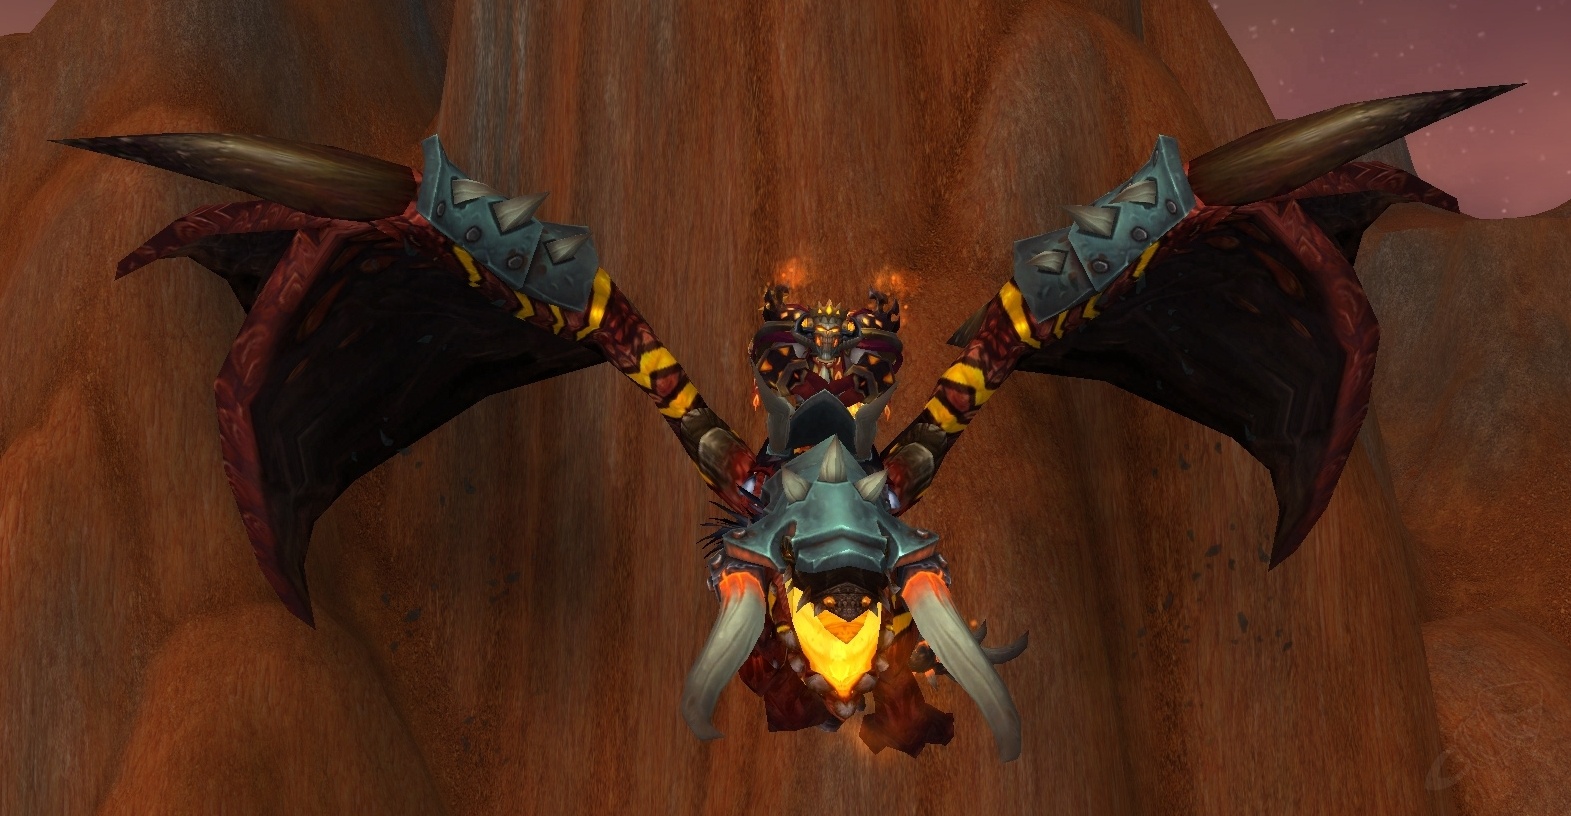
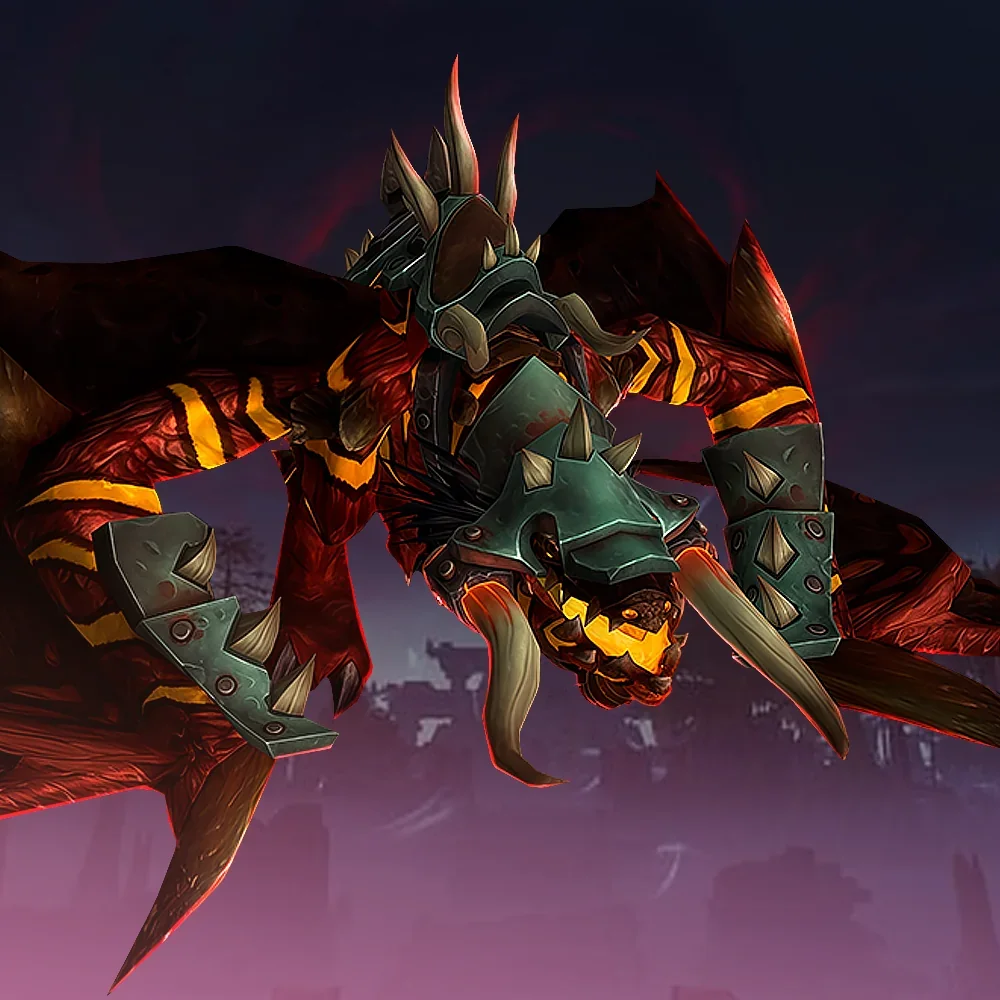
Completing all required achievements rewards the Reins of Galakras. This item teaches the Spawn of Galakras mount, a heavily armored proto-drake inspired by the Galakras encounter itself.
Required Achievements List
Glory of the Orgrimmar Raider requires the following 14 achievements:
| Boss | Achievement |
|---|---|
| Immerseus | No More Tears |
| The Fallen Protectors | Go Long |
| Norushen | None Shall Pass |
| Sha of Pride | Swallow Your Pride |
| Galakras | The Immortal Vanguard |
| Iron Juggernaut | Fire in the Hole! |
| Kor'kron Dark Shaman | Rescue Raiders |
| General Nazgrim | Gamon Will Save Us! |
| Malkorok | Unlimited Potential |
| Spoils of Pandaria | Criss Cross |
| Thok the Bloodthirsty | Giant Dinosaur vs Mega Snail |
| Siegecrafter Blackfuse | Lasers and Magnets and Drills! Oh My! |
| Paragons of the Klaxxi | Now We Are the Paragon |
| Garrosh Hellscream | Strike! |
No More Tears (Immerseus)
Requirement: Defeat Immerseus after allowing no more than 10 Sha Puddles to reach the boss during the encounter.
How to Complete It: When Immerseus splits, the raid must CC and quickly kill or heal the puddles before they reach the center. Assign players to specific sections of the room and prioritize coverage over damage.

CC Immunities: The sha puddles are immune to Ring of Frost, Banish, Fear, Blind, Hunter Freeze Traps, and similar forms of CC. However, they can be stunned, slowed, rooted, and knocked back.
Tip: You do not have to kill all 10 of them in the same phase; this can be done across 2 split phases.
Common Mistake: Players stacking too heavily on one side of the room while puddles on the opposite side freely reach Immerseus.
Go Long (The Fallen Protectors)
Requirement: Transfer the Mark of Anguish to at least 5 unique players over a total of 200 yards or more during a single Desperate Measures phase, and then defeat the Fallen Protectors.
How to Complete It: This achievement takes place during He Softfoot's Desperate Measures phases at 66% and 33% health. When the phase begins, He applies Mark of Anguish to a random raid member. The target becomes rooted in place and an Embodied Anguish add will begin focusing them.
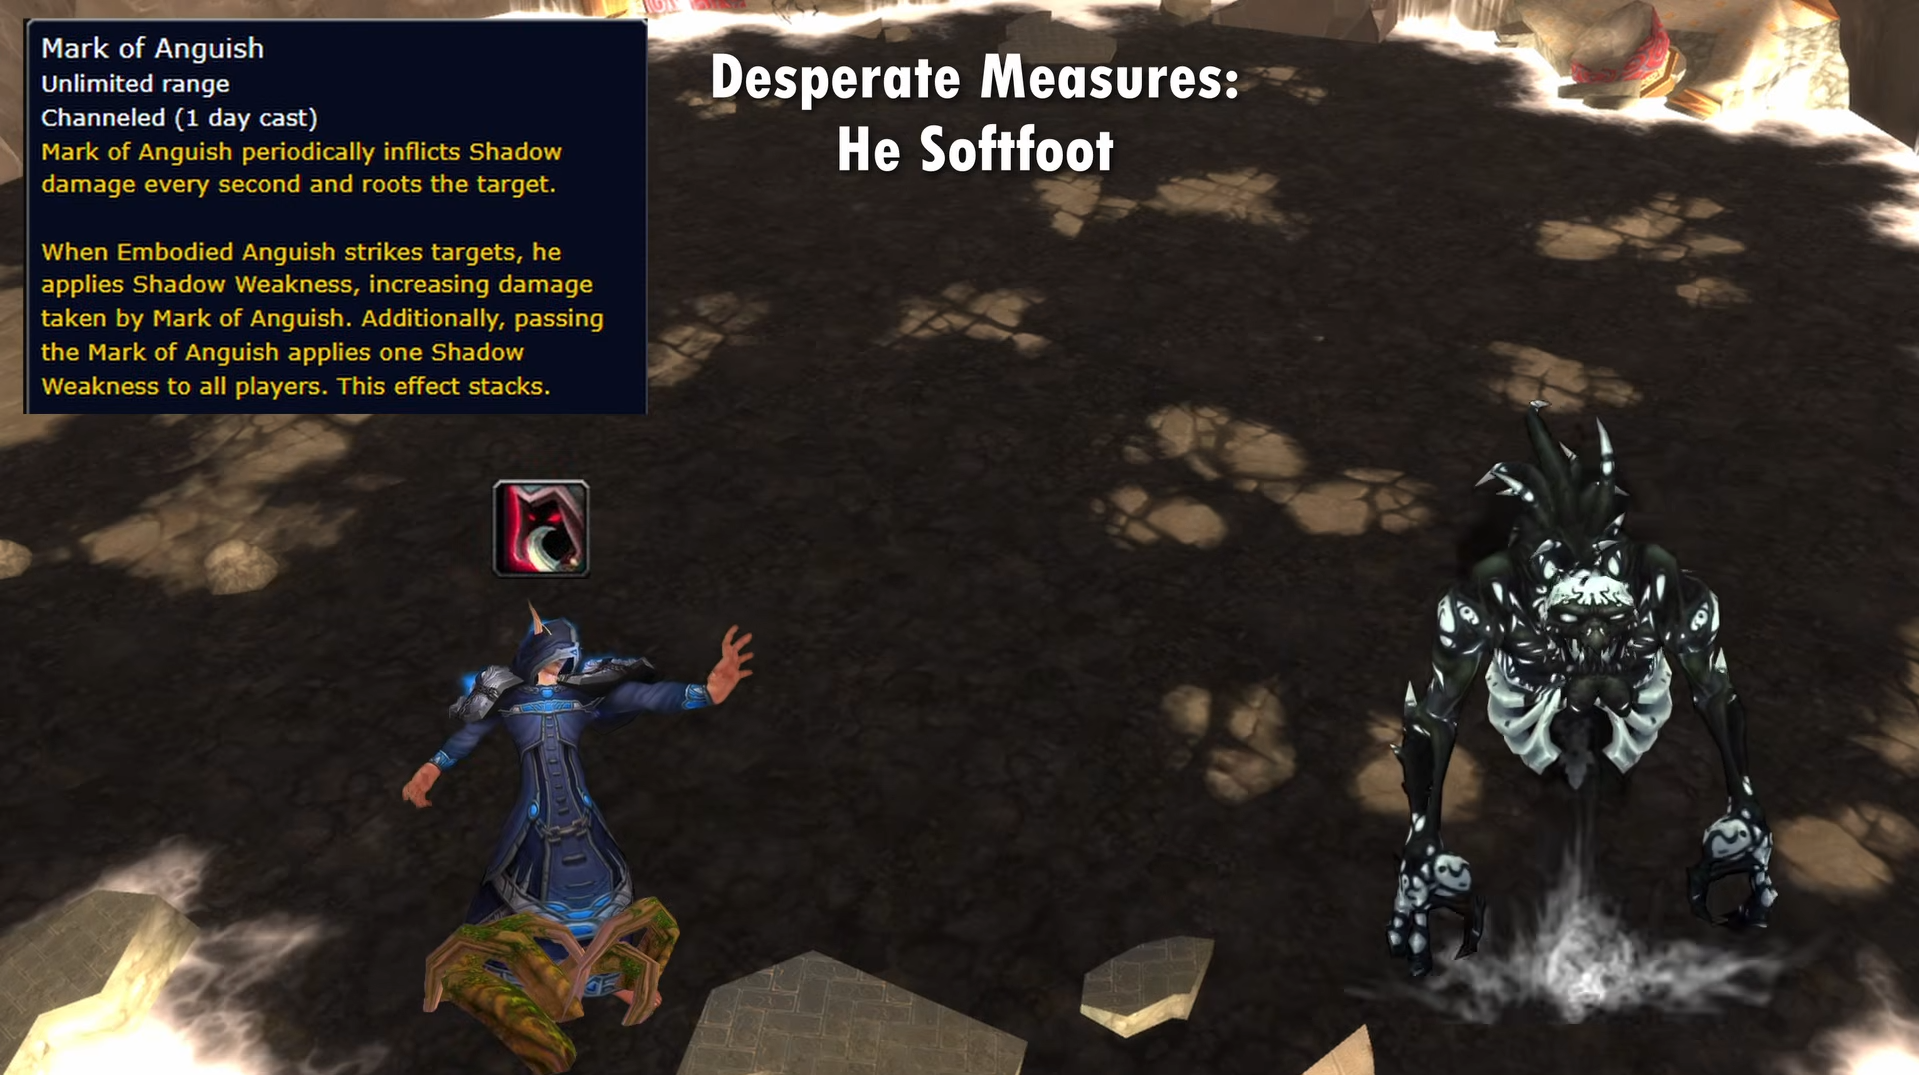
The debuff can be passed to another player using the extra action button. To earn the achievement, at least five raid members must stand in a wide circle and pass the Mark of Anguish at its maximum range of 40 yards to accumulate the required 200 yards before passing it off to the tank.
The 40-Yard Rule: Keep in mind that every successful transfer applies a stack of Shadow Weakness to the entire raid. Damage increases with each pass, so healers should be prepared for steadily ramping raid-wide damage.
Common Mistake: Focusing entirely on the passing sequence and forgetting about the 40-yard transfer limit. If you pass it to someone standing too close, you won't hit the 200-yard total. One missed transfer usually means starting over.
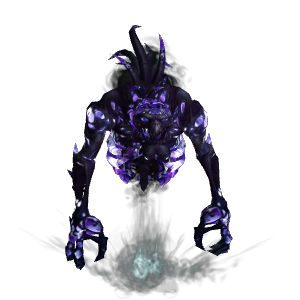
None Shall Pass (Norushen)
Requirement: Defeat the Amalgam of Corruption without allowing any unleashed corruption to fuse with it.
How to Complete It: Normally, players sent into the Test Realm spawn small adds called Unleashed Corruption when they complete their purification phase. The achievement fails if any of these adds appear.

The easiest solution is to send only tanks and healers into the Test Realm while every DPS player remains outside and focuses entirely on Norushen. Since DPS players never enter their trials, no Unleashed Corruption adds will spawn, making the achievement almost trivial.
Common Mistake: DPS players automatically entering the Test Realm out of habit. Before pulling, make sure every DPS player knows they should stay outside and tunnel the boss.
Swallow Your Pride (Sha of Pride)
Requirement: Defeat the Sha of Pride after no player has gained Pride from Manifestations of Pride while Norushen is alive.
How to Complete It: The entire achievement revolves around the Manifestation of Pride add. The add can generate Pride in two different ways:
- Mocking Blast: Assign a dedicated interrupter to every spawn. Stuns also work, and abilities like Death Grip or blanket silences can help reposition the add if necessary.
- Last Word: When the Manifestation dies, it grants Pride to the two closest players. To avoid this, the two closest players must have Gift of the Titans active when the add dies.
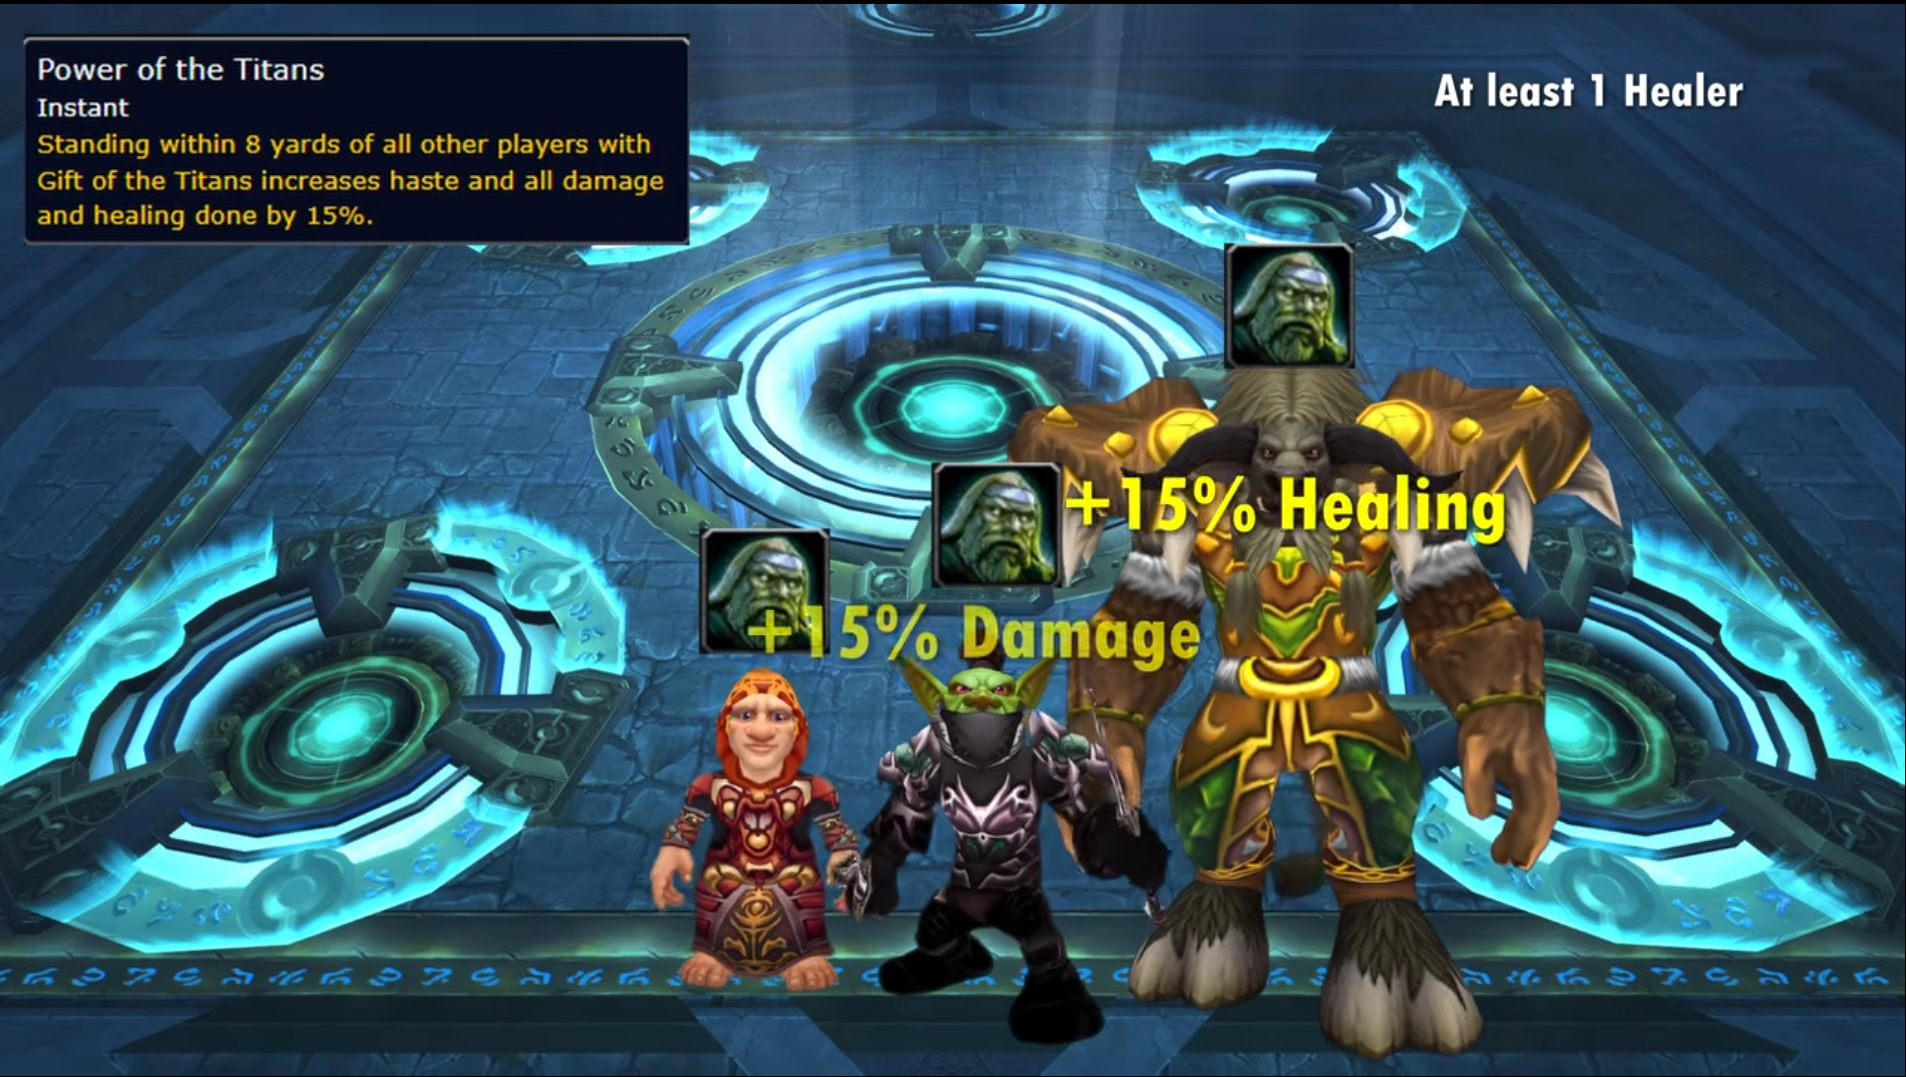
The safest strategy is to assign two players with Gift of the Titans to every Manifestation spawn and have the rest of the raid move away before the add dies. Once Sha of Pride reaches 30% health, Norushen dies and Gift of the Titans is no longer applied. At that point, the achievement is effectively secured.
Common Mistake: Most groups focus heavily on interrupting Mocking Blast and completely forget about Last Word. If the two closest players do not have Gift of the Titans when the add dies, somebody gains Pride and the achievement fails.
The Immortal Vanguard (Galakras)
Requirement: Keep every member of the Vanguard alive until Galakras is defeated.
How to Complete It: This is one of the easiest achievements required for Glory of the Orgrimmar Raider and is very likely to be completed during your first kill.

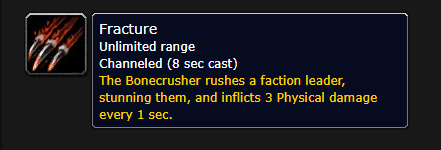
The only real threat comes from Dragonmaw Bonecrushers, which periodically cast Fracture on Vanguard leaders. If left unchecked, Fracture deals heavy damage over time and can eventually kill the target. As long as tanks pick up Bonecrushers quickly and DPS prioritizes them, the leaders should survive without much trouble.
Common Mistake: Allowing tower waves to overwhelm NPCs while the raid focuses elsewhere.
Fire in the Hole! (Iron Juggernaut)
Requirement: Stomp on 6 superheated Crawler Mines and then defeat the Iron Juggernaut.
How to Complete It: This achievement takes place during the Siege Mode phase and revolves around the Cutter Laser.
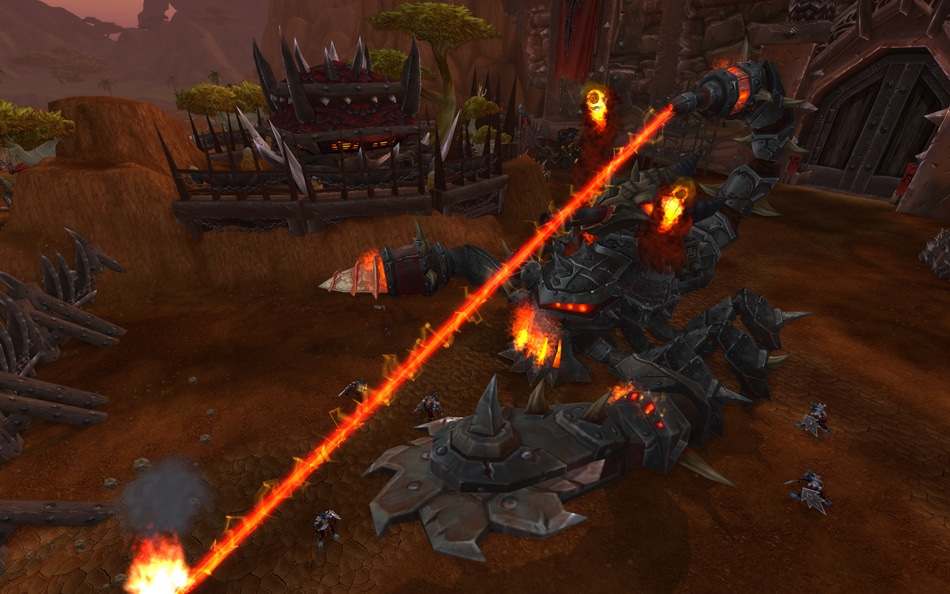
When the laser passes through a Crawler Mine, the mine becomes Superheated. You'll know it worked because the mine's name changes after being hit. The easiest strategy is to stack the entire raid together just before Crawler Mines spawn. Since mines target random players, stacking guarantees they all appear in the same location. Once the mines are down, kite the Cutter Laser directly through them to superheat all three at once.
Common Mistake: Accidentally running the Cutter Laser through an oil puddle. Doing so causes the laser to disappear early and can ruin the attempt.
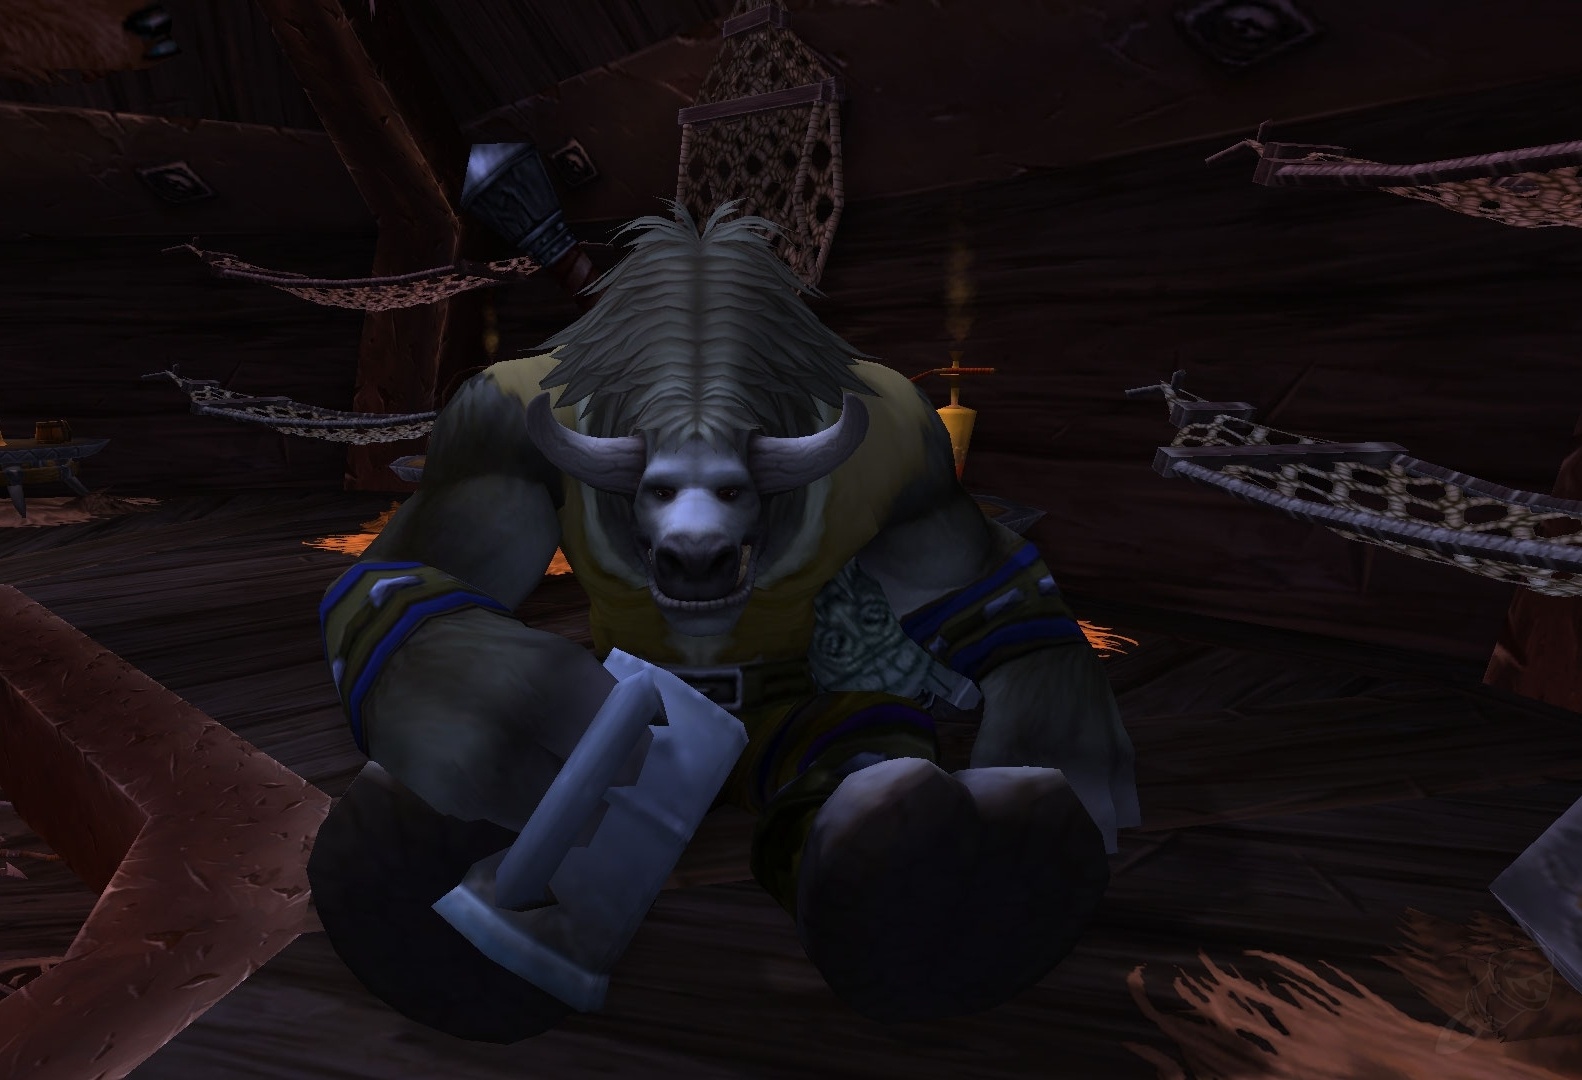
Gamon Will Save Us! (General Nazgrim)
Requirement: Defeat General Nazgrim while Gamon is alive and participating in the battle.
How to Complete It: The biggest threat to Gamon is War Song, Nazgrim's 75 Rage ability. War Song deals damage equal to 50% of every player's maximum health, including Gamon. If Nazgrim successfully casts War Song twice, Gamon will almost always die.
To prevent this, the raid must carefully control Nazgrim's Rage generation. When Nazgrim enters Defensive Stance, all DPS should immediately stop attacking the boss and switch to adds. Likewise, players should avoid unnecessary Heroic Shockwave damage and kill every Kor'kron Banner as soon as it appears.
Common Mistake: Players continuing to attack Nazgrim during Defensive Stance. This causes Rage generation to spiral out of control, leading to additional War Song casts.
Unlimited Potential (Malkorok)
Requirement: Transform a Corrupted Skullsplitter into a Corrupted Amalgamation and then defeat Malkorok.
How to Complete It: Before pulling Malkorok, head to the bottom of the stairs leading to his platform and find a Corrupted Skullsplitter. Bring this mob into Malkorok's room and have it struck by Breath of Y'Shaarj.
When the timing is right, use crowd control (stuns or Blind) to keep the Skullsplitter inside the Breath. Once hit, the Skullsplitter transforms into a Corrupted Amalgamation, which immediately heals to full health. Kill the Amalgamation as quickly as possible, then finish Malkorok normally.
Common Mistake: Moving the Skullsplitter out of the Breath of Y'Shaarj at the last second. Save a stun specifically for the Breath cast to guarantee the transformation.
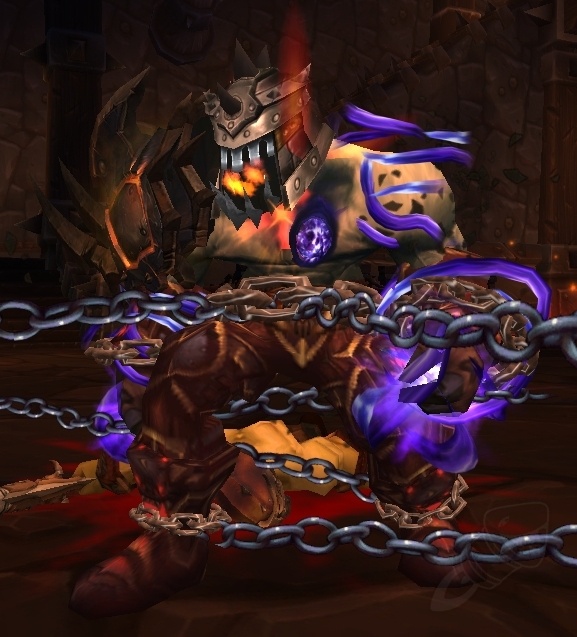
Rescue Raiders (Kor'kron Dark Shaman)
Requirement: Rescue a set of caged prisoners, a group of unwilling combat participants, and Ji Firepaw before defeating the Kor'kron Dark Shaman.
How to Complete It: This achievement is mostly about paying attention to NPCs rather than dealing with a difficult mechanic.
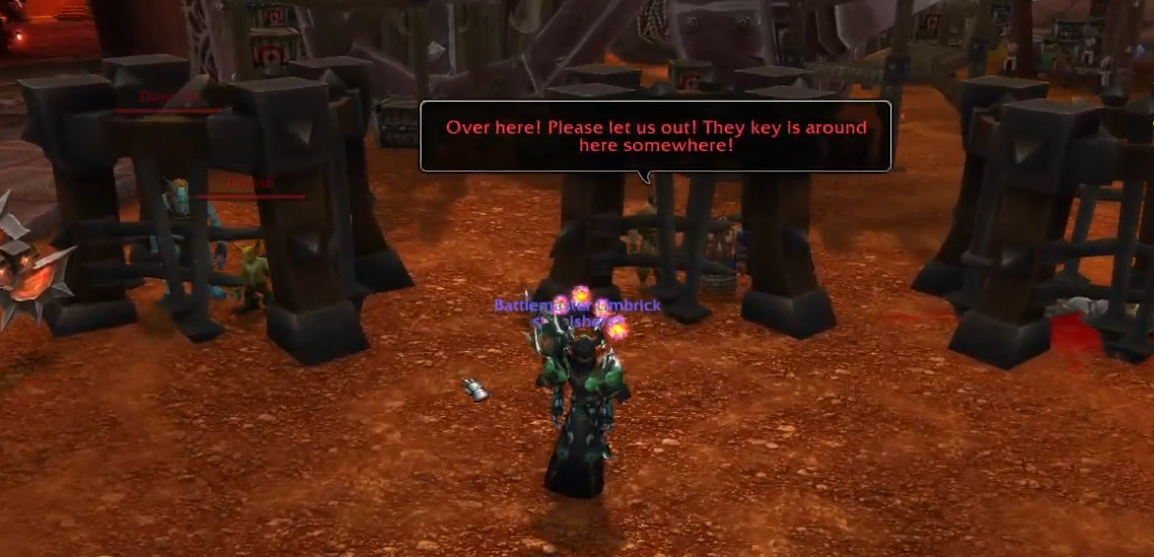
- Ji Firepaw: Save him by killing the Overseer with an axe lodged in his head.
- Caged Prisoners: Requires keys obtained from Mokvar the Treasurer.
- Unwilling Combatants: Either Theramore citizens or Orc prisoners. Crowd control the prisoners if needed and kill the nearby Overseer.
Common Mistake: Everyone assumes someone else is handling the prisoners.
Criss Cross (Spoils of Pandaria)
Requirement: Complete the Spoils of Pandaria encounter without any raid member defeating both a Mantid and a Mogu enemy.
How to Complete It: Start the encounter normally by splitting the raid into two dedicated teams: one for the Mogu room and one for the Mantid room. Clear your first room as usual, leaving plenty of time on the room timer.
Instead of immediately pulling the lever, use the remaining time to move most of the raid onto the middle platform via the chains. Leave one player behind on each side. When only a few seconds remain on the timer, those players pull the levers and quickly join everyone else up top.
Wait until the ENTIRE raid is on top. Once everyone has safely switched sides, drop down into the opposite room. To avoid failing the achievement, you must open the same type of crates you opened in the first room (e.g., if you killed Mogu on the left side, you must open Mogu crates on the right side). This ensures no player ever kills both enemy types.
Common Mistake: Shaman totems, Hunter pets, Mage abilities, and other independent effects remaining active during the room swap and accidentally hitting enemies in the wrong room. Dismiss all pets before moving!
Giant Dinosaur vs Mega Snail (Thok the Bloodthirsty)
Requirement: Open the Thrice-Locked Cage during the Thok the Bloodthirsty encounter and allow its inhabitant to feast upon Thok's corpse.
How to Complete It: Whenever a Kor'kron Jailer spawns during transition phases, kill it and loot its key. Instead of opening the normal prisoner cage immediately, use the key on the snail cage located on the left side of the room.
Each time you open the snail cage, another weaker Jailer appears. Kill this Jailer, loot its key, and then open the regular prisoner cage to continue the encounter. Repeat this process during three transition phases.
After opening the snail cage for the third time, the giant snail is released. Finish the encounter normally and wait. Once Thok dies, the snail will crawl over and consume his corpse.
Common Mistake: Killing Thok before the snail has been released. Make sure the snail cage has been opened three times before pushing the boss into the final burn phase.
Lasers and Magnets and Drills! Oh My! (Siegecrafter Blackfuse)
Requirement: Defeat Siegecrafter Blackfuse without destroying each of the four weapons.
How to Complete It: The intended strategy requires multiple lockouts, ensuring one weapon type survives each week. However, if you heavily outgear the encounter, there's a much faster option: simply ignore the conveyor belt entirely.

If nobody enters the belt, no weapons are destroyed, which means every weapon type automatically satisfies the achievement requirement during the same kill. The downside is that Blackfuse gains a 90% damage reduction shield whenever a weapon survives, making the encounter significantly longer.
Common Mistake: Accidentally destroying a weapon out of habit. Make sure nobody enters the conveyor belt at any point during the encounter.
Now We Are the Paragon (Paragons of the Klaxxi)
Requirement: Defeat the Paragons after assuming the mantle of three different Paragons.
How to Complete It: Whenever a Paragon dies, eligible players can click its corpse to inherit a special ability. The challenge is that not every role can collect every power, so assignments must be planned before the pull.
- Tank Powers: Kaz'tik, Rik'kal, Korven
- Healer Powers: Kaz'tik, Rik'kal, Xaril, Iyyokuk
- DPS Powers: Kaz'tik, Ka'roz, Skeer, Rik'kal, Kil'ruk, Hisek


Before pulling, assign every power to a specific player. When a Paragon dies, the assigned player should immediately click the corpse and claim the ability.
Common Mistake: Killing a Paragon and having nobody assigned to collect the power.
Strike! (Garrosh Hellscream)
Requirement: Kill 18 Kor'kron Warbringers with a single Iron Star and then defeat Garrosh.
How to Complete It: The achievement must be completed during Phase 1. As Kor'kron Warbringers spawn, gather them together and use the incoming Iron Stars to kill them.
The easiest strategy is to slow down DPS on Garrosh and remain in Phase 1 long enough for multiple Warbringer waves to spawn. Tanks should collect every Warbringer and drag them toward the wall where the Iron Star eventually crashes. The explosion itself deals significantly more damage than the rolling star and is far more consistent at killing large groups of Warbringers.

Common Mistake: Pushing Garrosh too quickly and entering Phase 2 before enough Warbringers have been killed. Also, trying to have the Iron Star hit the adds directly instead of using the explosion at the wall.
Final Thoughts
Glory of the Orgrimmar Raider is much more than a mount achievement. During the opening weeks of Siege of Orgrimmar, the Reins of Galakras will be one of the clearest signs that a player has mastered every corner of the raid rather than simply clearing bosses for loot.
While some achievements can be completed naturally during progression, others require specific setups, careful coordination, and multiple attempts. A single missed interrupt, forgotten Paragon power, or failed positioning mechanic can easily turn a quick achievement run into several extra raid nights.
FAQ
Can you solo Glory of the Orgrimmar Raider?
No, you cannot solo Glory of the Orgrimmar Raider. While a max-level character can easily solo the bosses for transmog or the Garrosh mount, achievements like Go Long (passing the mark to 5 unique players) and Criss Cross require a coordinated group to complete.
Do you have to do Glory of the Orgrimmar Raider on Heroic?
You can complete all 14 achievements required for Glory of the Orgrimmar Raider on Normal or Heroic difficulty. Flexible (Flex) difficulty also works for most achievements, but LFR (Looking for Raid) does not grant achievement credit.
Does Reins of Galakras drop from a boss?
Reins of Galakras is not a boss drop and cannot be farmed by killing Garrosh. It is automatically added to your mount collection the moment you complete the final achievement required for the Glory of the Orgrimmar Raider meta-achievement.
How many players do you need for the Go Long achievement?
You need a minimum of 5 players to complete the Go Long achievement during The Fallen Protectors encounter. The mechanic requires passing the Mark of Anguish to 5 unique players over a total distance of 200 yards.