


This guide covers everything you need to know about the Undertaker in Elden Ring Nightreign — from unlocking the character to completing her full Remembrance questline without getting stuck, missing triggers, or wasting expeditions.
You’re likely here for one of two reasons:
-
You haven’t unlocked the Undertaker yet and want clear, correct steps to get her.
-
You already have the Undertaker and want a straightforward Remembrance walkthrough without scrolling through setup you don’t need.
The guide is written in the exact order the game expects you to do things, with clear points where you can safely skip ahead.
Already have the Undertaker unlocked?
You can skip straight to Part 1: The Nightfarers.
Unlocking Undertaker
You must own the Forsaken Hollows DLC. The Undertaker does not exist without it, and none of the steps below will appear otherwise.
Undertaker’s unlock is tied to the Tricephalos expedition and the boss Gladius. If you’ve already cleared this expedition on your account at any point, you do not need to redo it — you’re simply missing the Roundtable sequence that follows.
Step 1 — Finish the Tricephalos expedition
-
Start the Tricephalos expedition.
-
Progress normally until you reach Gladius, Beast of Night (Tricephalos).
-
Defeat him.
This requirement is retroactive. If you’ve already beaten Gladius before, this step is already complete.
Step 2 — Return to Roundtable Hold
After Gladius, Roundtable will have a new sequence that’s easy to miss.
-
Go back to Roundtable Hold.
-
Speak to Iron Menial (this is where the next chain is triggered).
-
You’ll receive a message from the Small Jar Merchant.
-
Go to the Small Jar Bazaar and interact with the Small Jar Merchant.
-
The Small Jar Merchant will literally point at the door beside him.
-
Go through it to trigger the next part of the unlock.
Step 3 — Dreglord fight
Going through the door leads into a scripted sequence that includes a boss encounter.
-
You are taken to a boss arena.
-
Undertaker and the Scholar are present nearby.
-
You are forced into a fight against the Dreglord (new DLC boss).
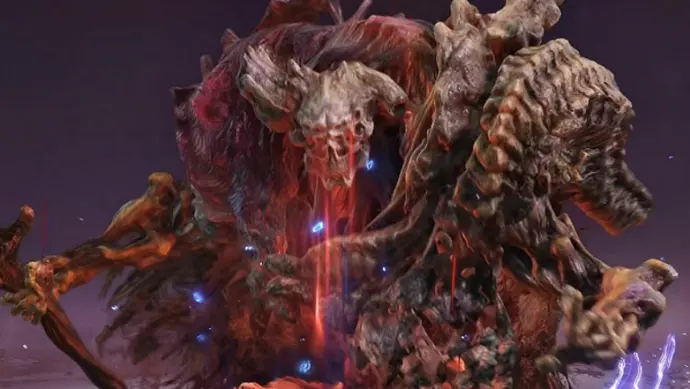
Unlike the Fell Omen encounter — which can be defeated early and rewards a relic — the Dreglord fight exists to trigger progression. The boss hits extremely hard, defeats both the Undertaker and the Scholar quickly, and most players will lose here. Losing this fight is the expected outcome, and it still advances the unlock sequence correctly.
If you manage to defeat Dreglord anyway, the only difference is a short, unique line of dialogue from the Scholar. There are no relics, no hidden rewards, and no alternative unlock path tied to winning. You are not missing anything by losing.
Proceed normally after the encounter.
Step 4 — Speak to Undertaker (and Scholar) at the altar
After the Dreglord encounter ends and you return to Roundtable Hold:
-
The door you used remains permanently unlocked.
-
Behind it is a Chapel area that stays accessible.
-
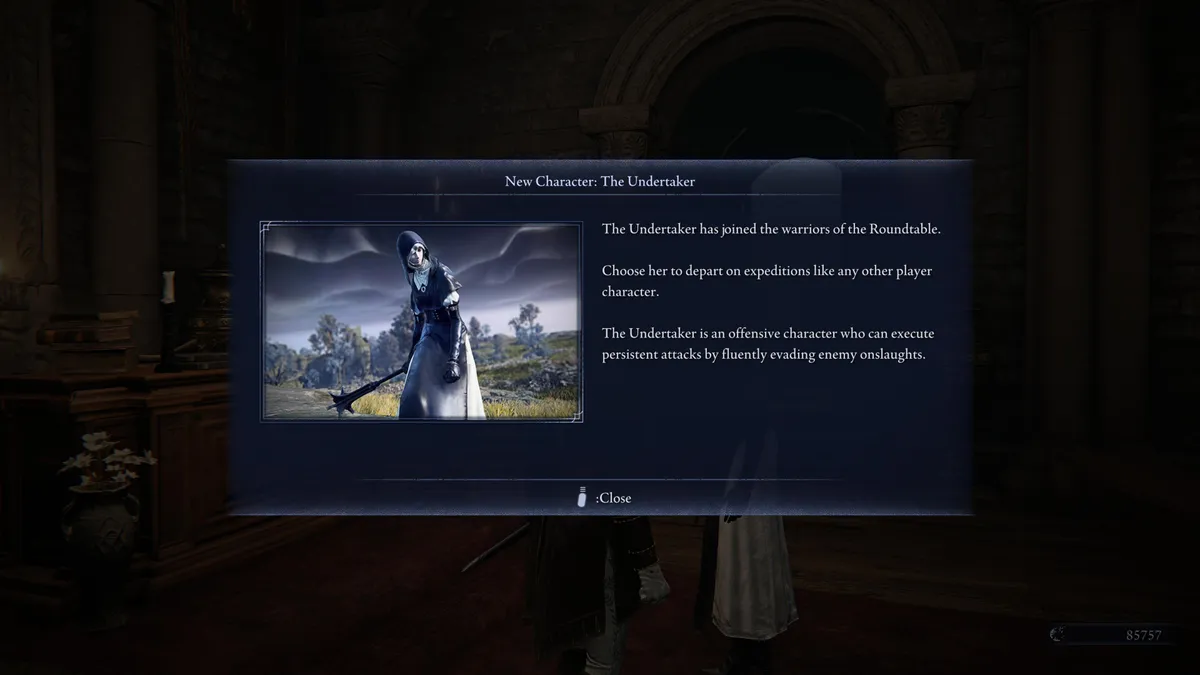
Undertaker and the Scholar become available at this point.
If they are not immediately selectable:
-
Speak to Undertaker in the Chapel area.
-
Speak to the Scholar nearby (in the same area).
This interaction finalizes the unlock if it didn’t trigger automatically. Once this is done, Undertaker is fully unlocked, and her Remembrance can be immediately started from the Journal.
Before We Start
One quick clarification before you start the walkthrough. If you did everything correctly in a Remembrance part but the next Journal chapter doesn’t appear, it almost always means you’re missing memory fragments. For Undertaker, these are not tied to specific Nightlords or special conditions. Just play Expeditions normally as Undertaker and complete them.
Also, Remembrances do not auto-complete themselves. Every part must be explicitly started and finished through the Journal. You begin a part by selecting it in the Journal and choosing Begin Remembrance. You finish it by interacting with the glowing completion point that appears after the final objective (for example, after exhausting dialogue with the Scholar). If you leave without touching that glow, the game considers the Remembrance unfinished and the next chapter will not unlock.
Part 1: The Nightfarers
This part is a “Roundtable goes hostile” sequence. You’re basically reliving a chapter where everyone suddenly decides you’re the problem.
Step 1 — Begin the Remembrance
-
As Undertaker, go to the Journal in Roundtable Hold
-
Select Chapter 1
-
Choose Begin Remembrance
-
Follow the objective marker
Step 2 — The Nightfarer gauntlet to the Chapel
-
Follow the marker to Iron Menial.
-
After dialogue, Iron Menial attacks.
-
Defeat Iron Menial.
-
Move toward the Chapel as enemies appear
-
Defeat Executor near the Journal area
-
Defeat Guardian and Recluse in the main Roundtable room
-
Defeat Wylder near the Visual Codex
-
Defeat Ironeye and Raider in the Chapel
Executor relies heavily on parries, so avoid predictable attack strings and punish his recovery instead.
Guardian and Recluse test positioning more than damage; manage space and avoid tunneling one target while taking free hits from the other.
Wylder is a straightforward duel, but still punishes missed swings. Stay aggressive without overextending.
In the Chapel encounter, deal with the Raider first. He’s slow, predictable, and goes down in a few seconds, but if you ignore him he will punish you hard while you’re trying to chase Ironeye. Removing the Raider immediately simplifies the space and prevents heavy hits from behind.
Ironeye can be handled afterward. He dodges often, applies poison, and likes to kite, but once he’s alone he’s much easier to pressure and control. You may take some chip damage while finishing the Raider, but that’s acceptable.
Iron Menial and the Nightfarers in this sequence are not tanky and do not demand perfect execution. Individually, they are straightforward. What makes this section dangerous is attrition. Small mistakes, chip damage, and sloppy positioning add up quickly because the encounters chain together as you move through the Roundtable Hold.
There is no downtime between fights. As you advance, enemies appear naturally along the intended route. Doors you are not meant to enter will be blocked by fog, so navigation is simple — just keep moving forward.
The key thing to understand is flask flow. You regain a flask charge after each encounter segment. That means you should not try to “play clean” and hoard heals. Use flasks freely to stay topped up, stabilize after each fight, and move on.
Step 3 — Apologize (yes, really)
-
Iron Menial reappears.
-
You must apologize and exhaust dialogue until they leave.
Step 4 — Absorb Night’s Power (purple glow)
-
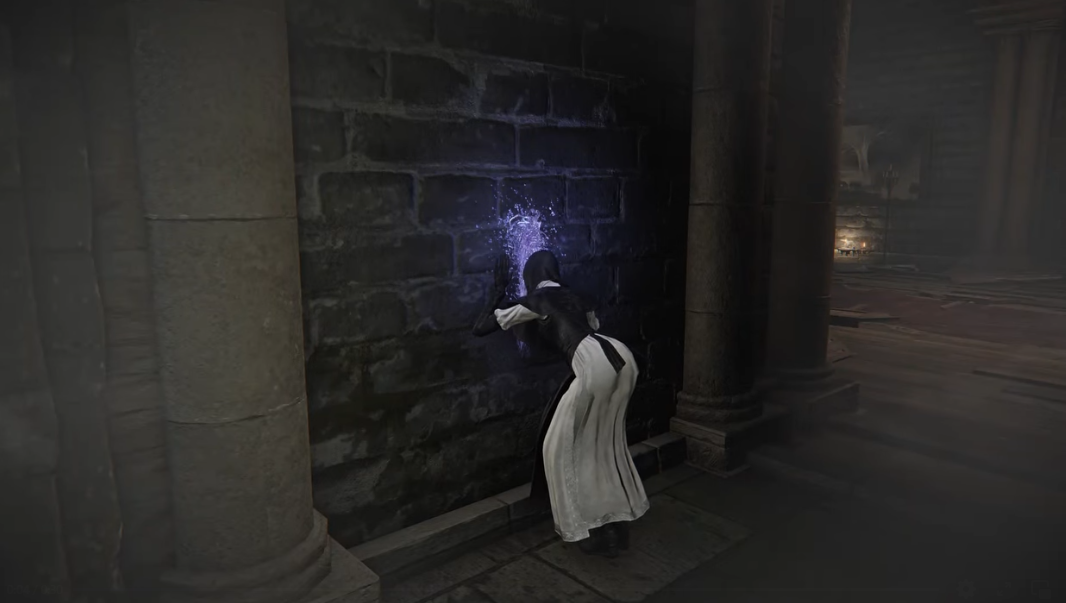
In the Chapel, look to the right of the altar.
-
You’ll see a purple glow on the wall.
-
Interact with it to absorb Night’s Power.
Step 5 — Find Scholar in the Garden
-
Exit the Chapel
-
Head left and follow the path to the Garden
-
Find the Scholar near a statue
-
Speak to him and exhaust all dialogue
-
After the dialogue ends, a glowing Remembrance marker appears nearby.
-
Interact with that glow to conclude Part 1
Reward: Leather Monocle Case (Undertaker relic).
Part 2: Search for the Scholar
This part begins in the Roundtable Hold and sends you into the DLC’s new expedition map. Most confusion here comes from two things: not having the Balancers expedition unlocked yet, and misjudging when you actually have enough time to reach the objective inside The Great Hollows.
Step 1 — Make sure Part 2 is actually available
After completing Part 1, Chapter 4 unlocks automatically.
To unlock Chapter 5 and begin Part 2:
-
Run an expedition as Undertaker
-
Finish it normally
-
Return to the Journal
You do not need to hunt specific bosses for memory fragments. Completing expeditions is enough.
Step 2 — Begin the Remembrance
-
Go to the Journal in Roundtable Hold
-
Select Chapter 5
-
Choose Begin Remembrance
Step 3 — Roundtable Hold
Follow this sequence exactly:
-
Speak to the Priestess and exhaust dialogue
-
Go to the Chapel altar and Offer prayer
-
Speak to Iron Menial near the Visual Codex and exhaust dialogue
After this, the objective updates to finding the Scholar in Limveld.
Step 4 — Unlocking the Balancers expedition
If you already see the Balancers expedition, skip to Step 5.
If you do not, here’s what’s required:
-
You must own The Forsaken Hollows DLC
-
You must have defeated Tricephalos and at least one other Nightlord on your account
-
Both Scholar and Undertaker must be unlocked and playable.
Step 5 — Reaching the Scholar inside the Crystal Castle
The Great Hollows is the new DLC map, which contains Crystal Castle. Balancers is the Nightlord tied to Great Hollows. The Scholar is not on the main path.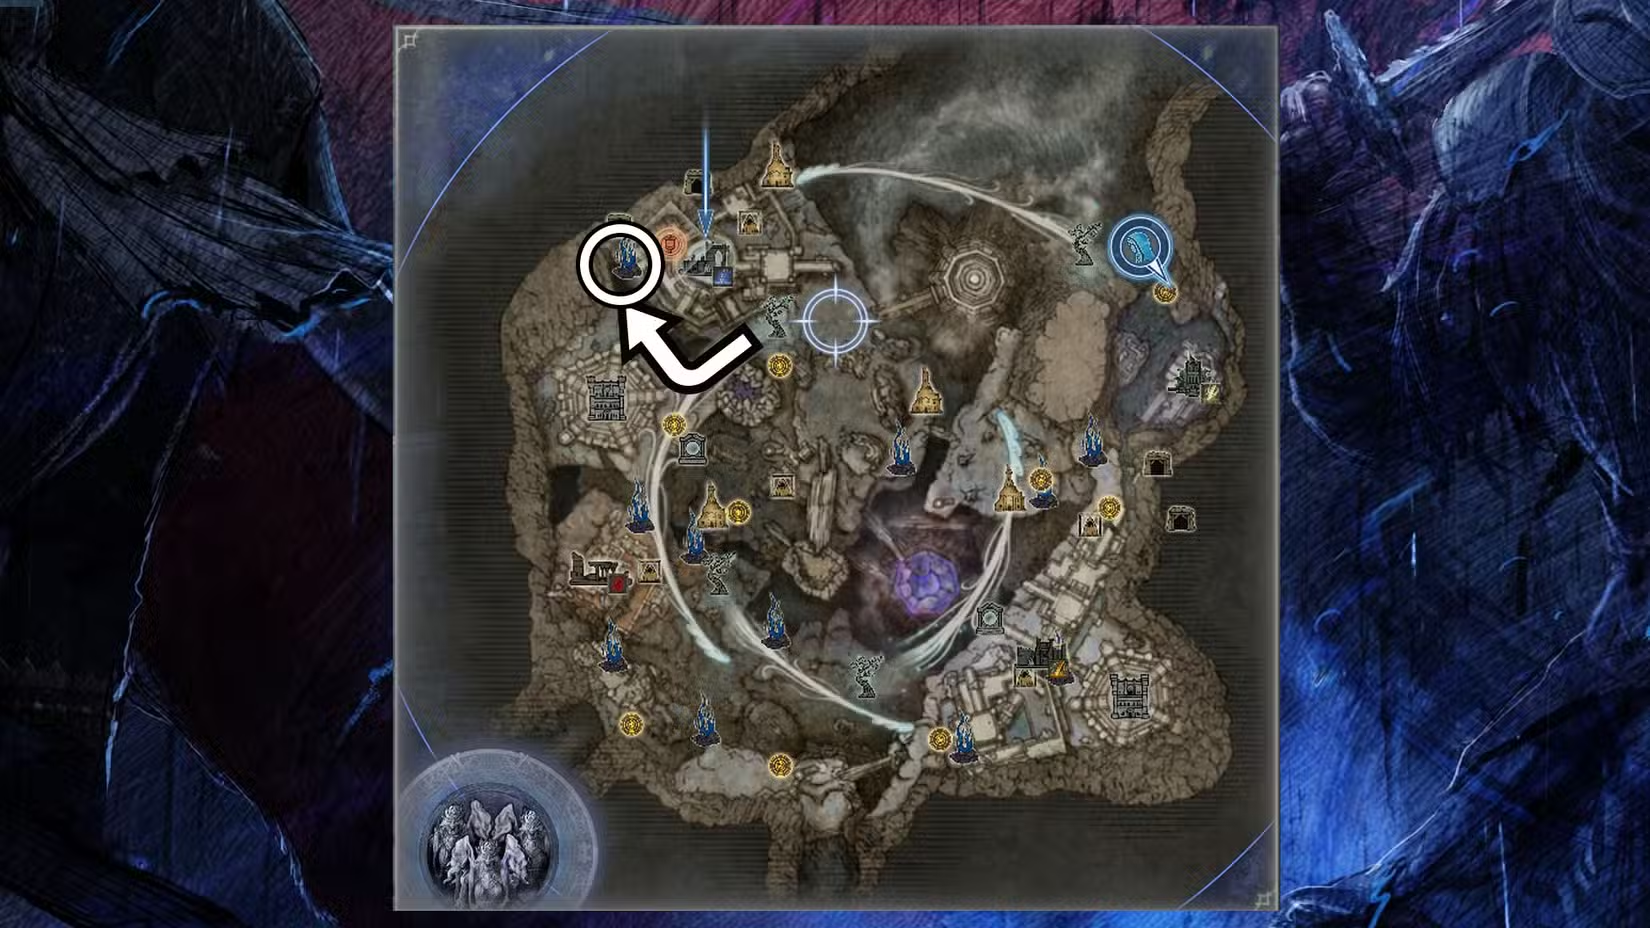
Use this route:
-
Start the Balancers expedition
-
You’ll be taken to The Great Hollows
-
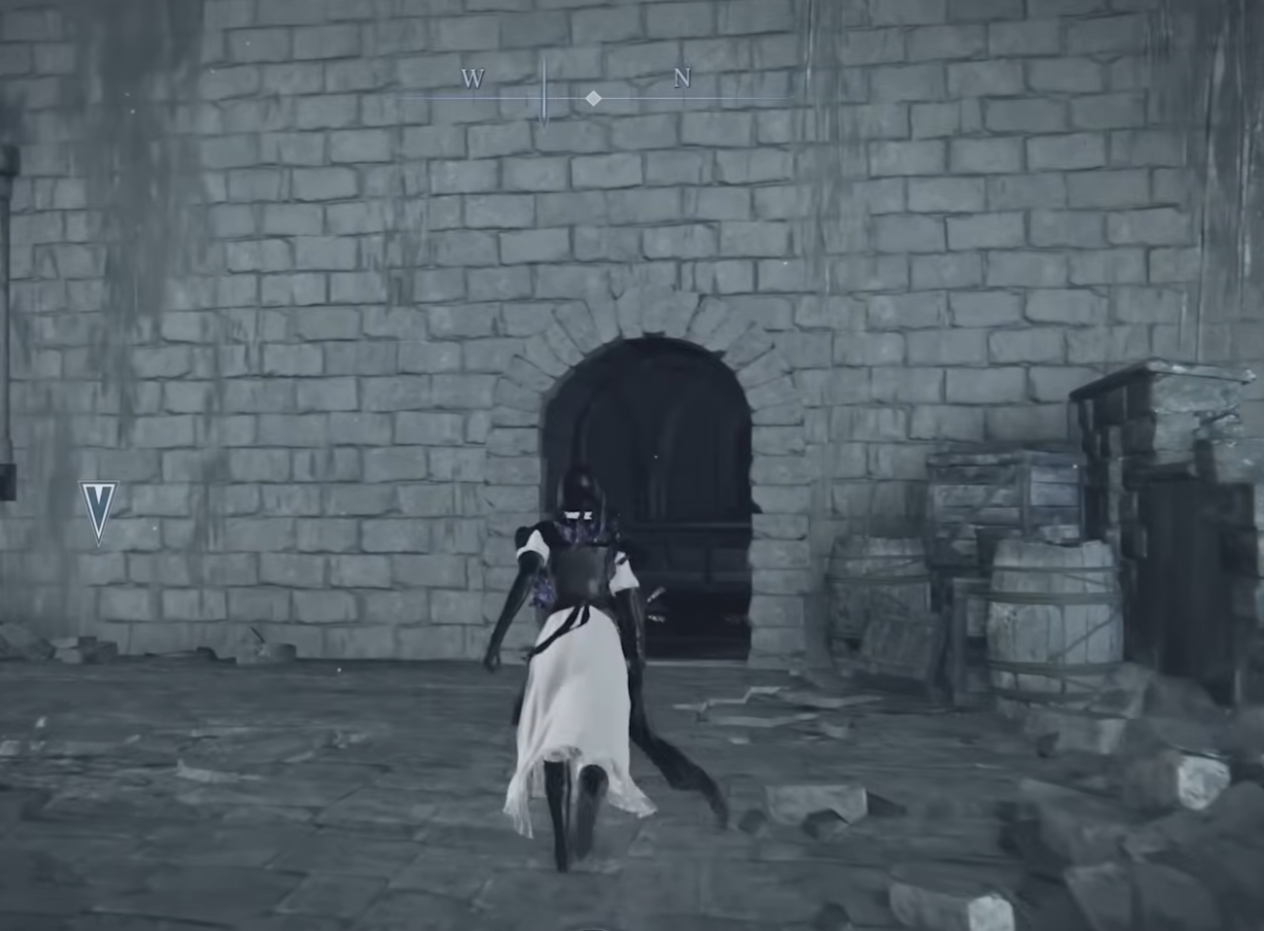
Enter the Crystal Castle (top of the map)
-
Your destination is the Library section on the east side of the castle
-
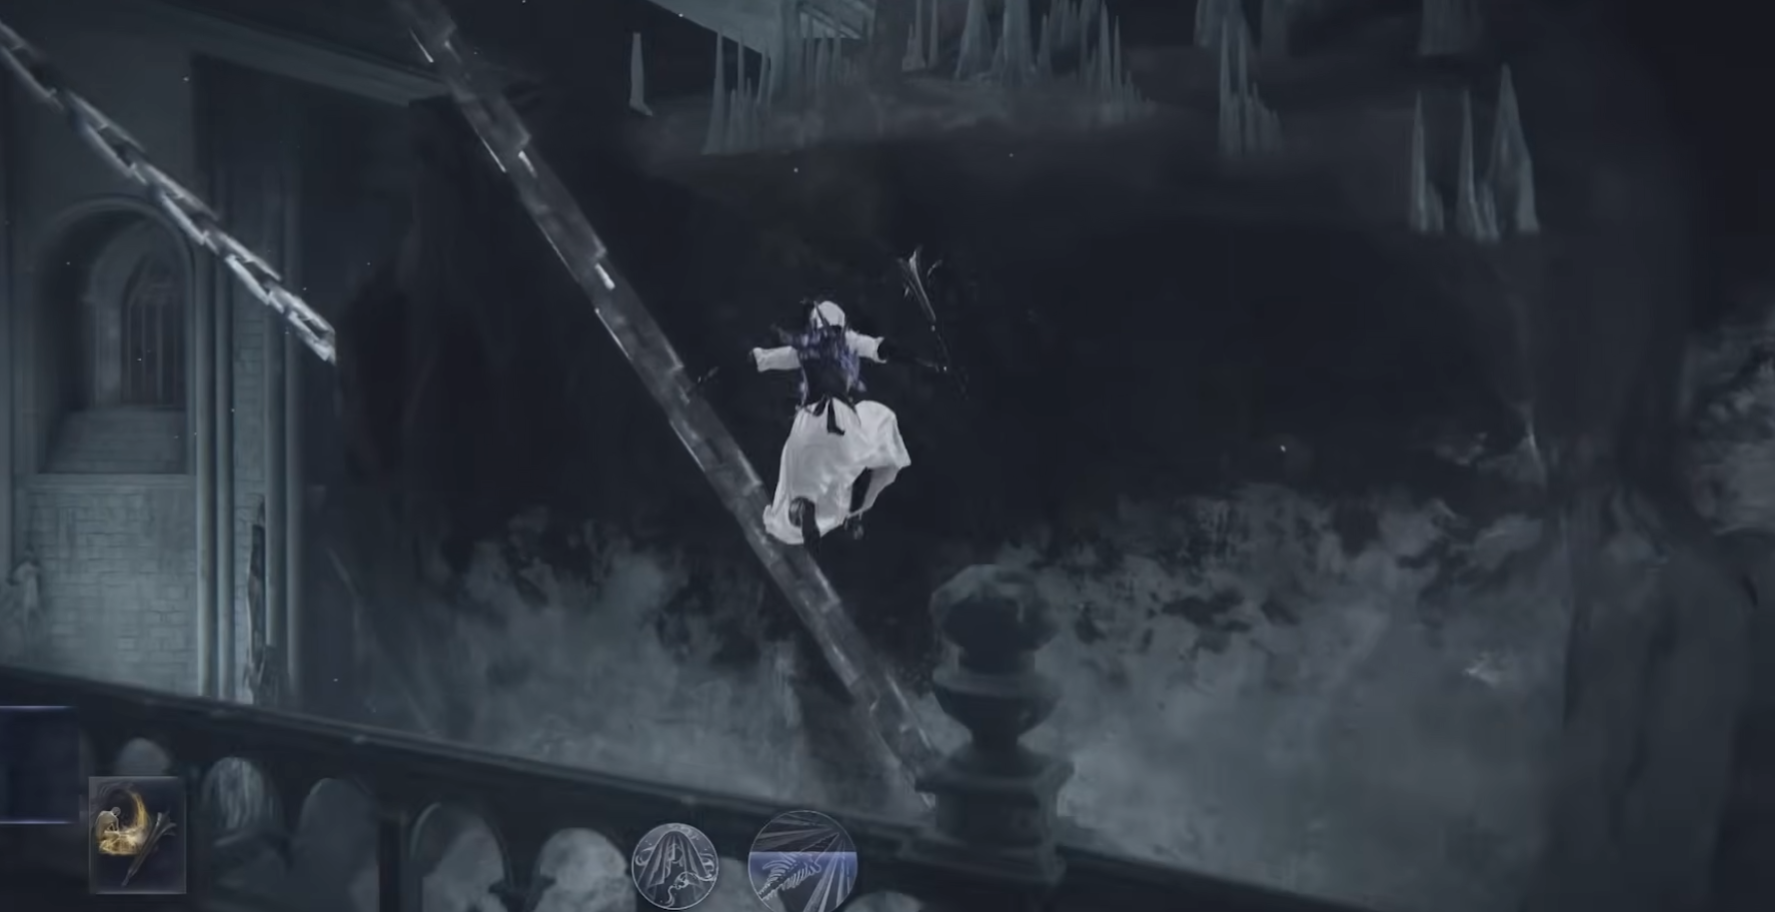
Look for the Spiritstream on the east side of the castle
-
Use it to launch onto the balcony
-
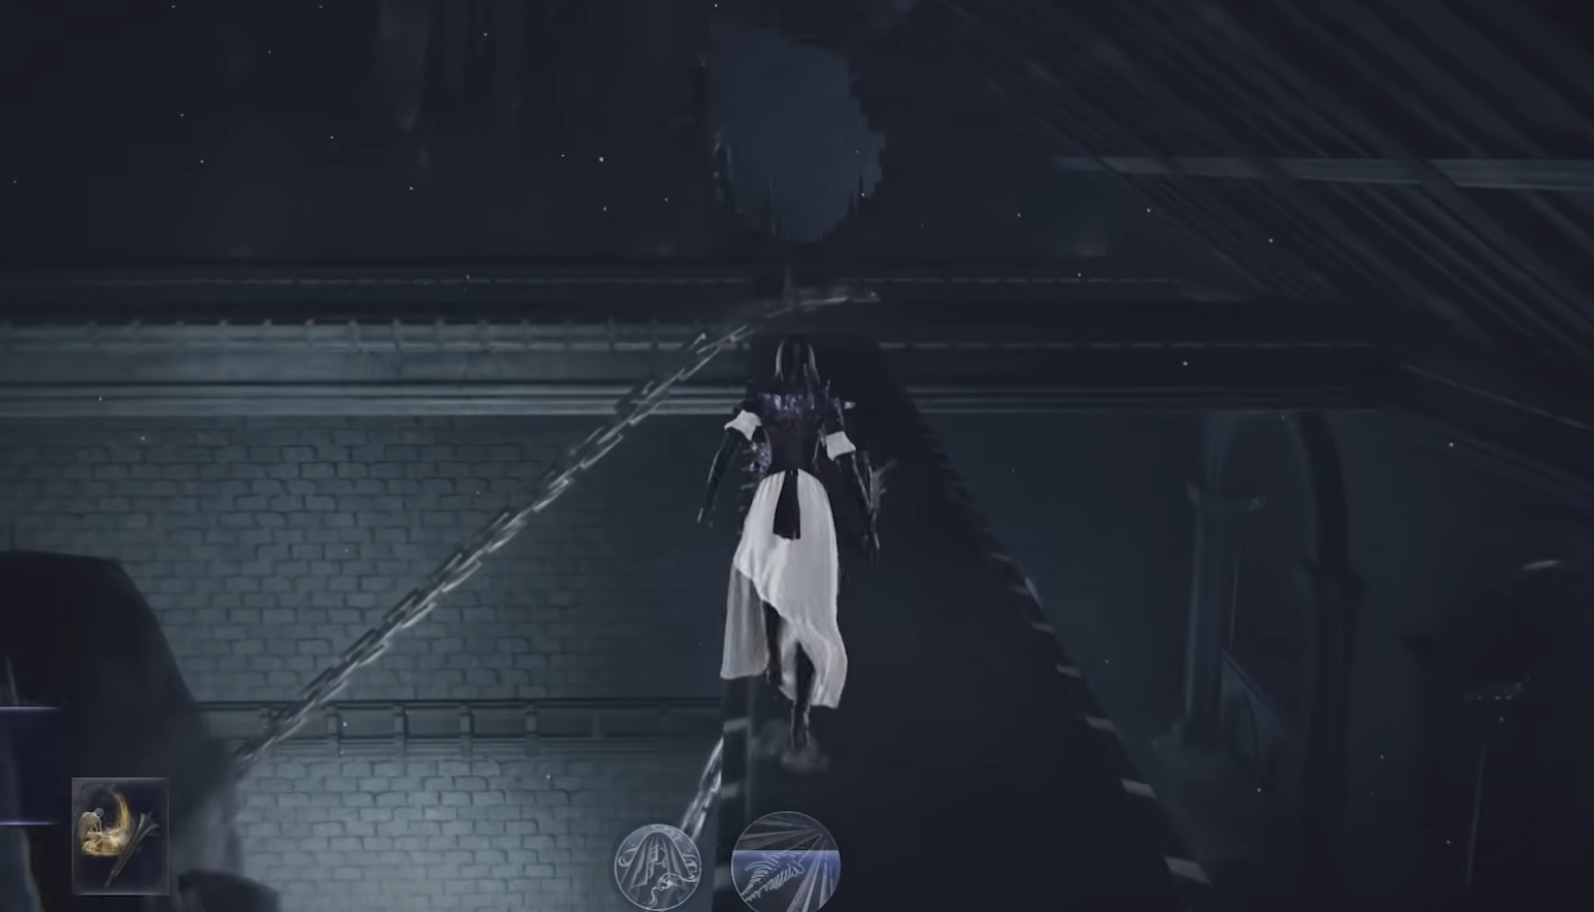
From the balcony, go up the stairs
-
Cross the hanging crystal platform
-
Enter the marked room through the hole in the wall
Inside, you’ll find the Scholar encased in crystal.
-
Interact with him
-
Take the Scholar’s Primal Core
On Day 1, you usually do not have enough time to reach the Scholar without sacrificing levels and preparation.
You have two realistic options:
-
Rush on Day 1, accept weaker scaling, and reach the objective early
-
Postpone the investigation to Day 2, arrive stronger, and clear it safely
Both approaches work. Pick based on your confidence and build.
Step 6 — Return to Roundtable
-
Finish the expedition
-
Return to Roundtable Hold
-
Speak to the Scholar in the Chapel
-
Exhaust dialogue
After dialogue ends, a glowing Remembrance marker appears nearby.
-
Interact with it to conclude Part 2
Rewards: Night-Hued Glass, Bundled Paper, and Undertaker’s Chalice.
Part 3: Heolstor, the Nightlord
This is the final Remembrance section. This part is not started from the Journal. There is no “Begin Remembrance” prompt here. Once Part 2 is completed, this section becomes available automatically.
Step 1 — Start a Night Aspect Expedition
-
Select a Night Aspect expedition
-
Make sure you are playing as Undertaker
-
Progress through the expedition until you reach Heolstor
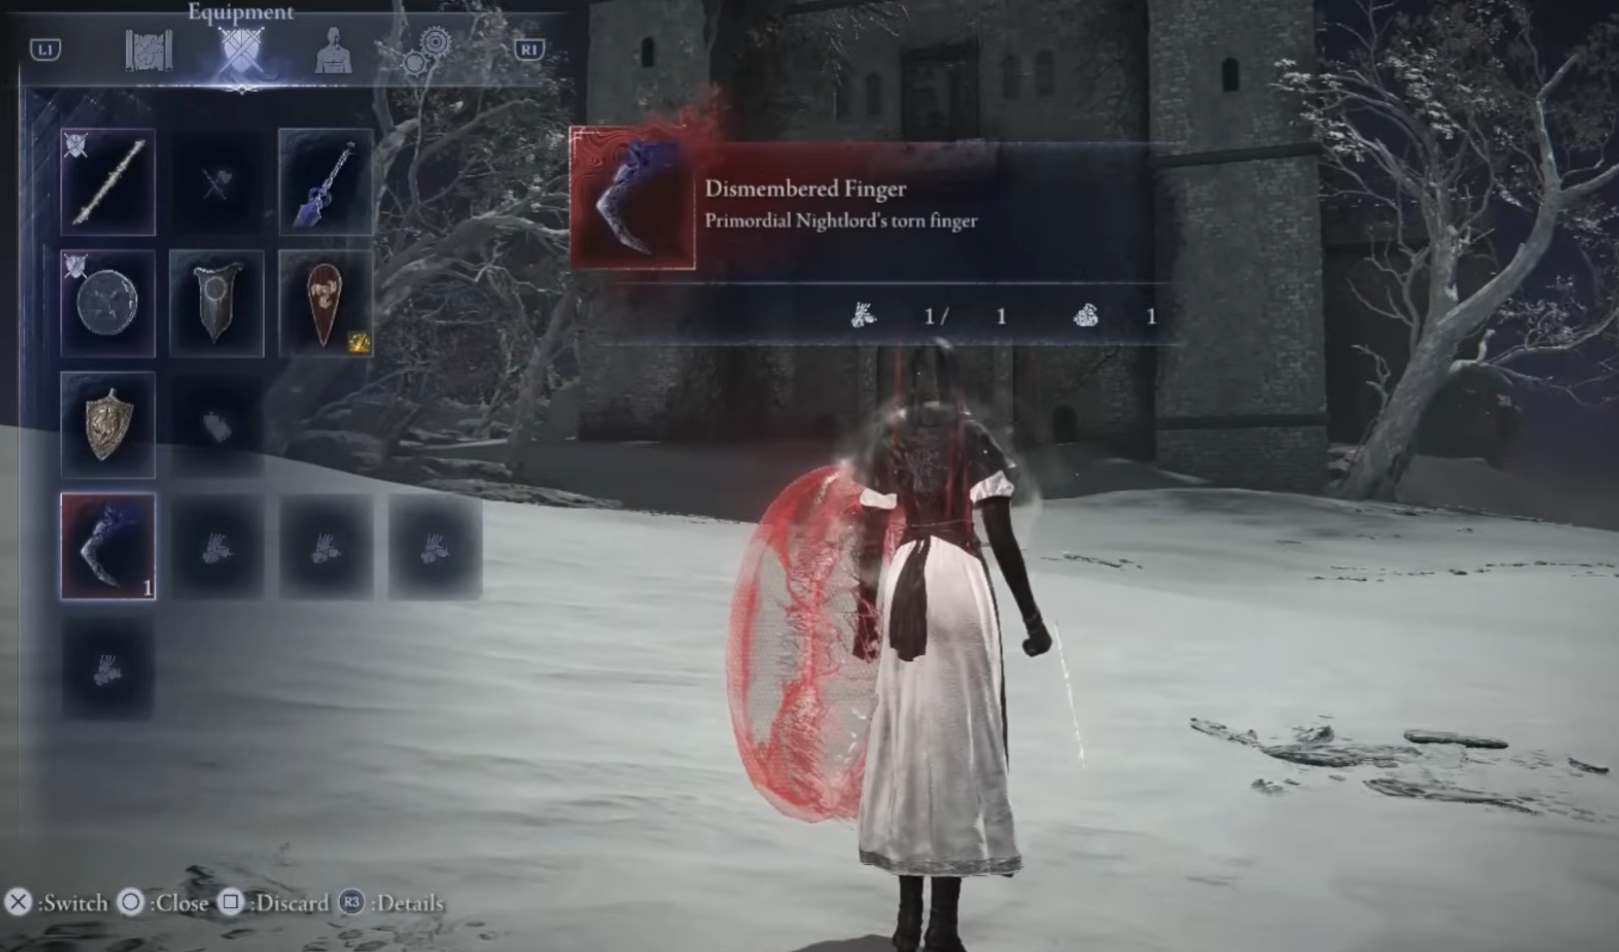
Step 2 — Obtain the Dismembered Finger
After completing the Heolstor encounter:
-
The Dismembered Finger is added to your inventory automatically
Step 3 — Finish the Remembrance quest
This step must be done before ending the expedition normally.
-
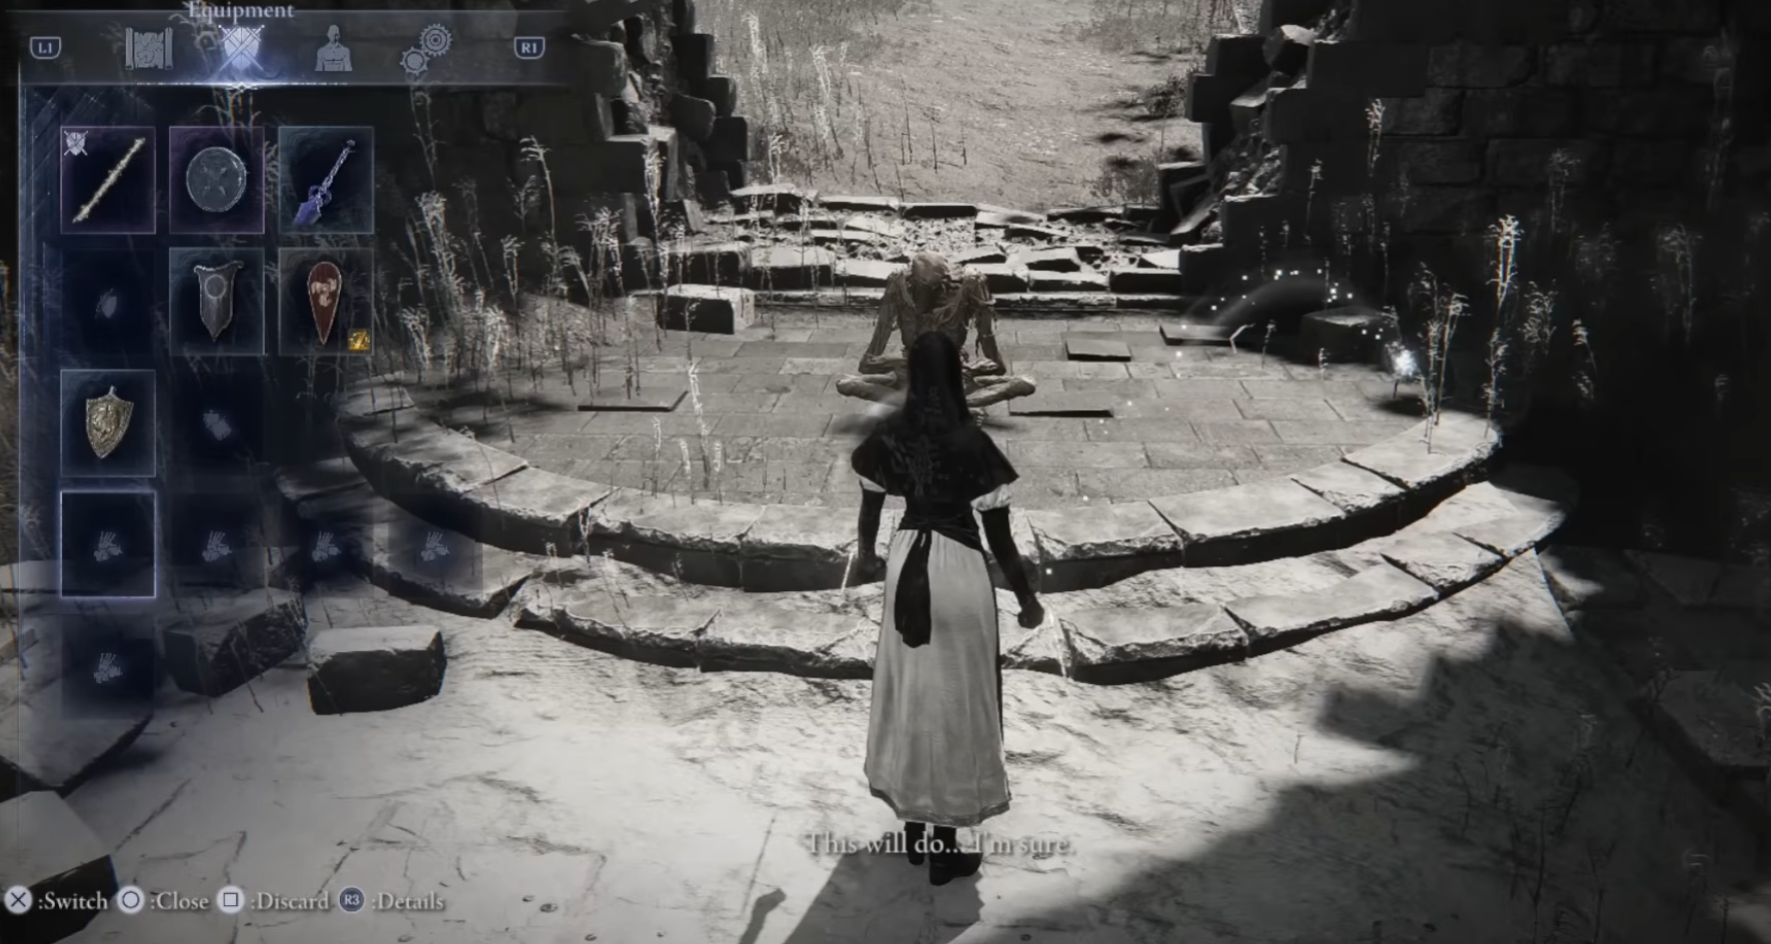
Go to the corpse at the center of the Roundtable area
-
Drop / discard the Dismembered Finger near the corpse
-
Listen for the Undertaker’s confirmation voice line
-
Interact with the body to proceed
Ending the expedition without doing this will not complete the Remembrance, even though the expedition itself succeeds.
After the cutscene and returning to the Roundtable Hold, you receive:
-
Undertaker Remembrance Skin
-
Glass Necklace (Undertaker character relic)
This officially concludes the Undertaker’s Remembrance questline.
Closing Thoughts
If you followed this guide in order, you now have the Undertaker unlocked, her full Remembrance completed, and a clear understanding of how Nightreign’s Journal progression actually works.
The key takeaway is simple: if something doesn’t unlock, it’s almost always because a Remembrance wasn’t started from the Journal, wasn’t concluded via the glowing marker, or because you’re missing memory fragments that are earned by simply completing Expeditions normally. Play clean, finish runs, and the game progresses.
However, you may face another issue...server stability. If Elden Ring: Nightreign is freezing or stuttering on your PC, you’re not alone. Check that page to solve any potential performence issues.
And if you’ve made it this far and decided that you’d rather spend your time on builds, relic setups, and actual gameplay instead of managing Remembrance logistics — that’s fair. If you ever want help finishing content, gearing characters, or pushing progression without friction.
Otherwise, enjoy the Undertaker’s story, take your new relics, and move on to the next Nightfarer — now knowing exactly how the system works. You won’t get stuck again.
FAQ
Across all parts, you receive:
-
Leather Monocle Case (Relic)
-
Night-Hued Glass
-
Bundled Paper
-
Undertaker’s Chalice
-
Undertaker Remembrance Skin
-
Glass Necklace (Character Relic)
Unlike tutorial bosses such as Fell Omen, the Dreglord encounter is intentionally unwinnable for most players. Losing is the expected outcome. Winning only grants unique dialogue and does not affect progression or rewards.
Only one personal objective can be active per Expedition, and only one player’s Remembrance progresses per run.
Party invites are more reliable than random matchmaking when progressing Remembrances.
In almost all cases, you’re missing memory fragments. For Undertaker, memory fragments are not tied to specific Nightlords or hidden conditions.
Simply start Expeditions as Undertaker and finish them normally. A full Expedition clear is the most reliable, but sometimes even a Night 1 or Night 2 boss is enough. After completing the run, return to the Journal and check again.
To unlock the Balancers expedition (Great Hollows), all of the following must be true:
-
You own The Forsaken Hollows DLC
-
You have defeated Tricephalos and at least one other Nightlord on your account
-
Undertaker and Scholar are both unlocked and playable
If any of these are missing, the expedition will not appear.
You likely ended the Expedition normally.
After acquiring the Dismembered Finger, you must:
-
Drop it near the central corpse
-
Wait for the Undertaker’s voiceline
-
Interact with the body
Skipping this special action results in the standard ending and does not complete the Remembrance.