

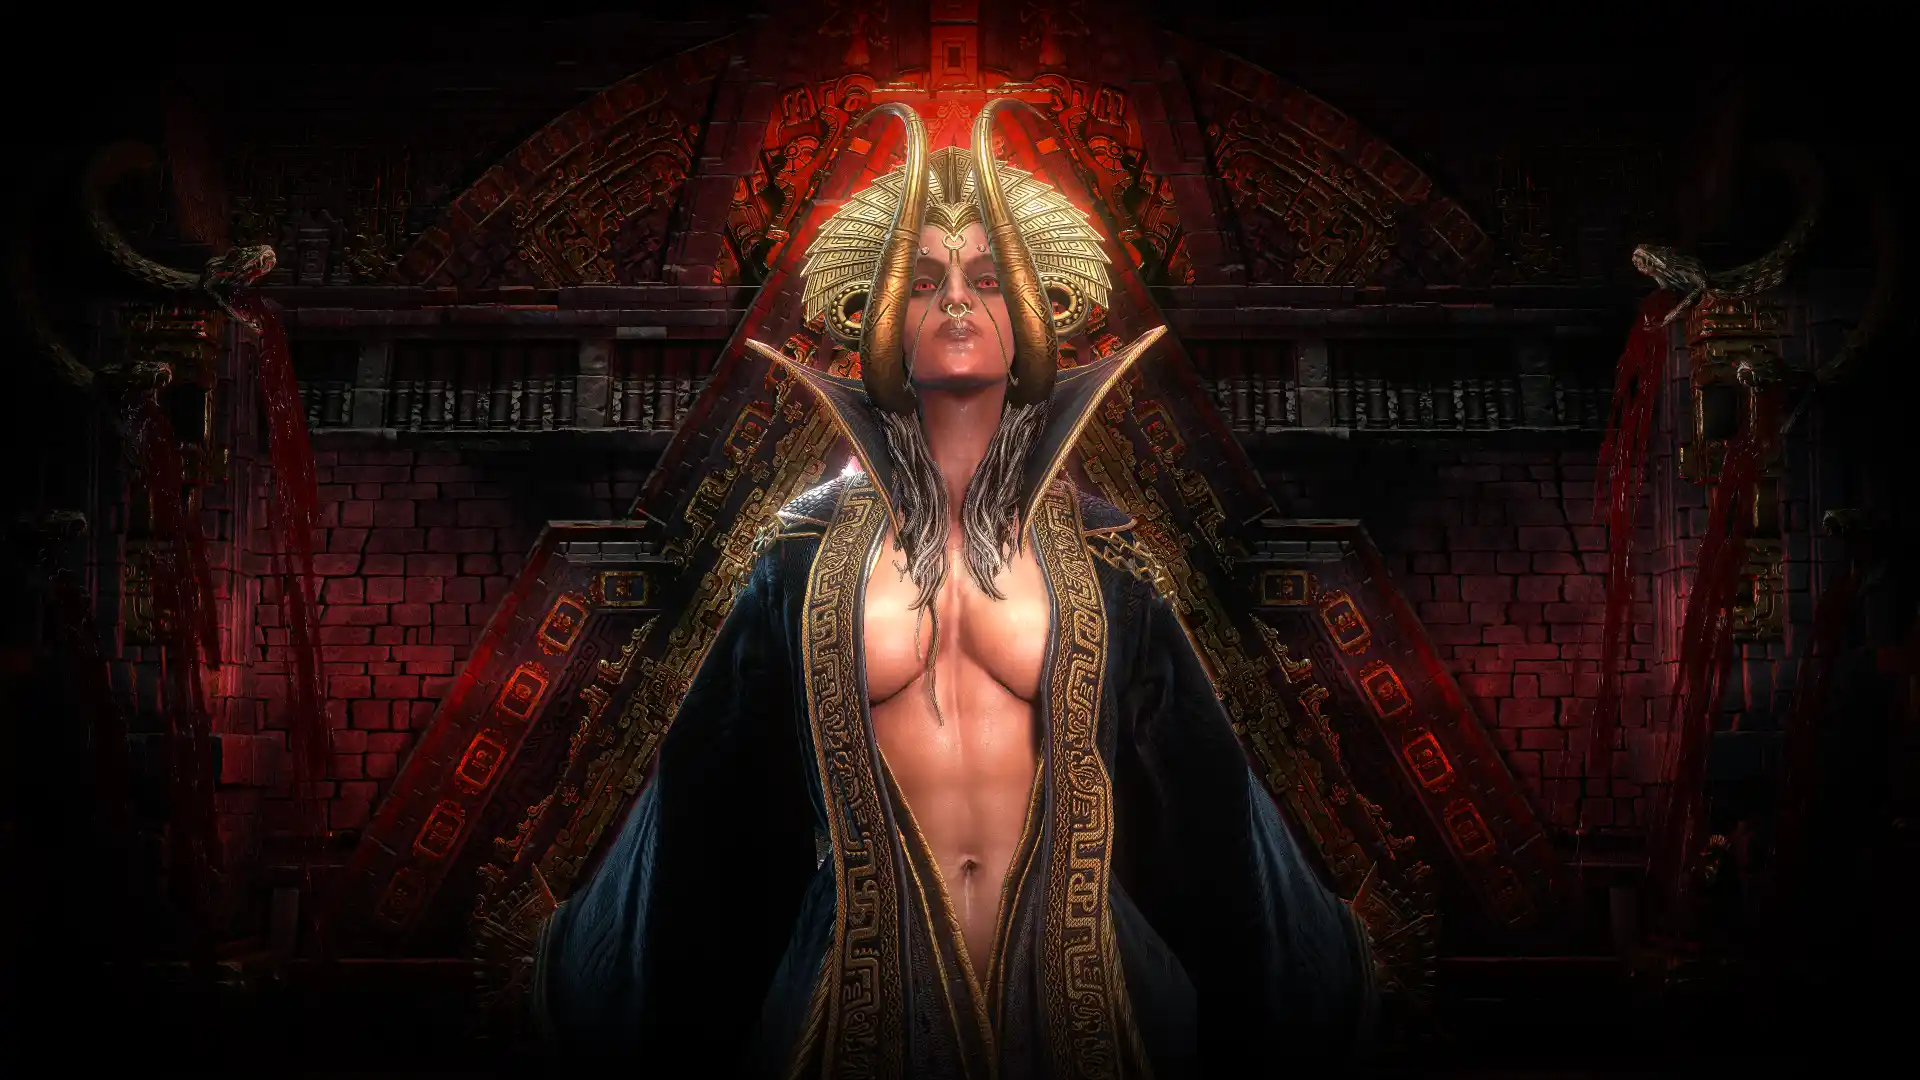

Path of Exile 2 new update dropped on December 12, 2025. Patch 0.4.0 "The Last of the Druids" introduces the game's first hybrid Strength/Intelligence class, a temple-building league mechanic that veterans of PoE1's Incursion will instantly recognize (but with major improvements), and Queen Atziri as a new pinnacle boss.
Returning to PoE 2 after a break or diving into Wraeclast for the first time? This article covers everything you need to dominate the Fate of the Vaal league.
If pushing through the campaign or mastering a new class sounds like more grind than you're interested in, our PoE 2 Campaign Carry gets you to endgame-ready status while you focus on the parts of Path of Exile 2 you actually enjoy.
What's New in Patch 0.4.0
The Last of the Druids update packs several major additions:
- The Druid Class – A Strength/Intelligence hybrid with three shapeshifting forms
- Fate of the Vaal League – Temple-building mechanics with Queen Atziri as the final boss
- Oracle and Shaman Ascendancies – Two wildly different paths for Druid players
- Disciple of Varashta – Surprise third Sorceress ascendancy revealed on launch day
- 20+ New Primal Skills – Form-specific abilities across Bear, Wolf, and Wyvern
- 35+ New Support Gems – Including 8 powerful Lineage Supports for endgame
- 250+ New Passive Nodes – Concentrated in the Strength/Intelligence section of the tree
- Abyss Goes Core – The fissure mechanic from previous leagues is now permanent
- 10+ New Unique Items – Plus temple-specific Vaal uniques
The patch also brings a free weekend (December 12-15) and free passive tree refunds for existing characters. GGG strongly recommends starting fresh in the new league to experience all the changes properly.
Druid Class Explained
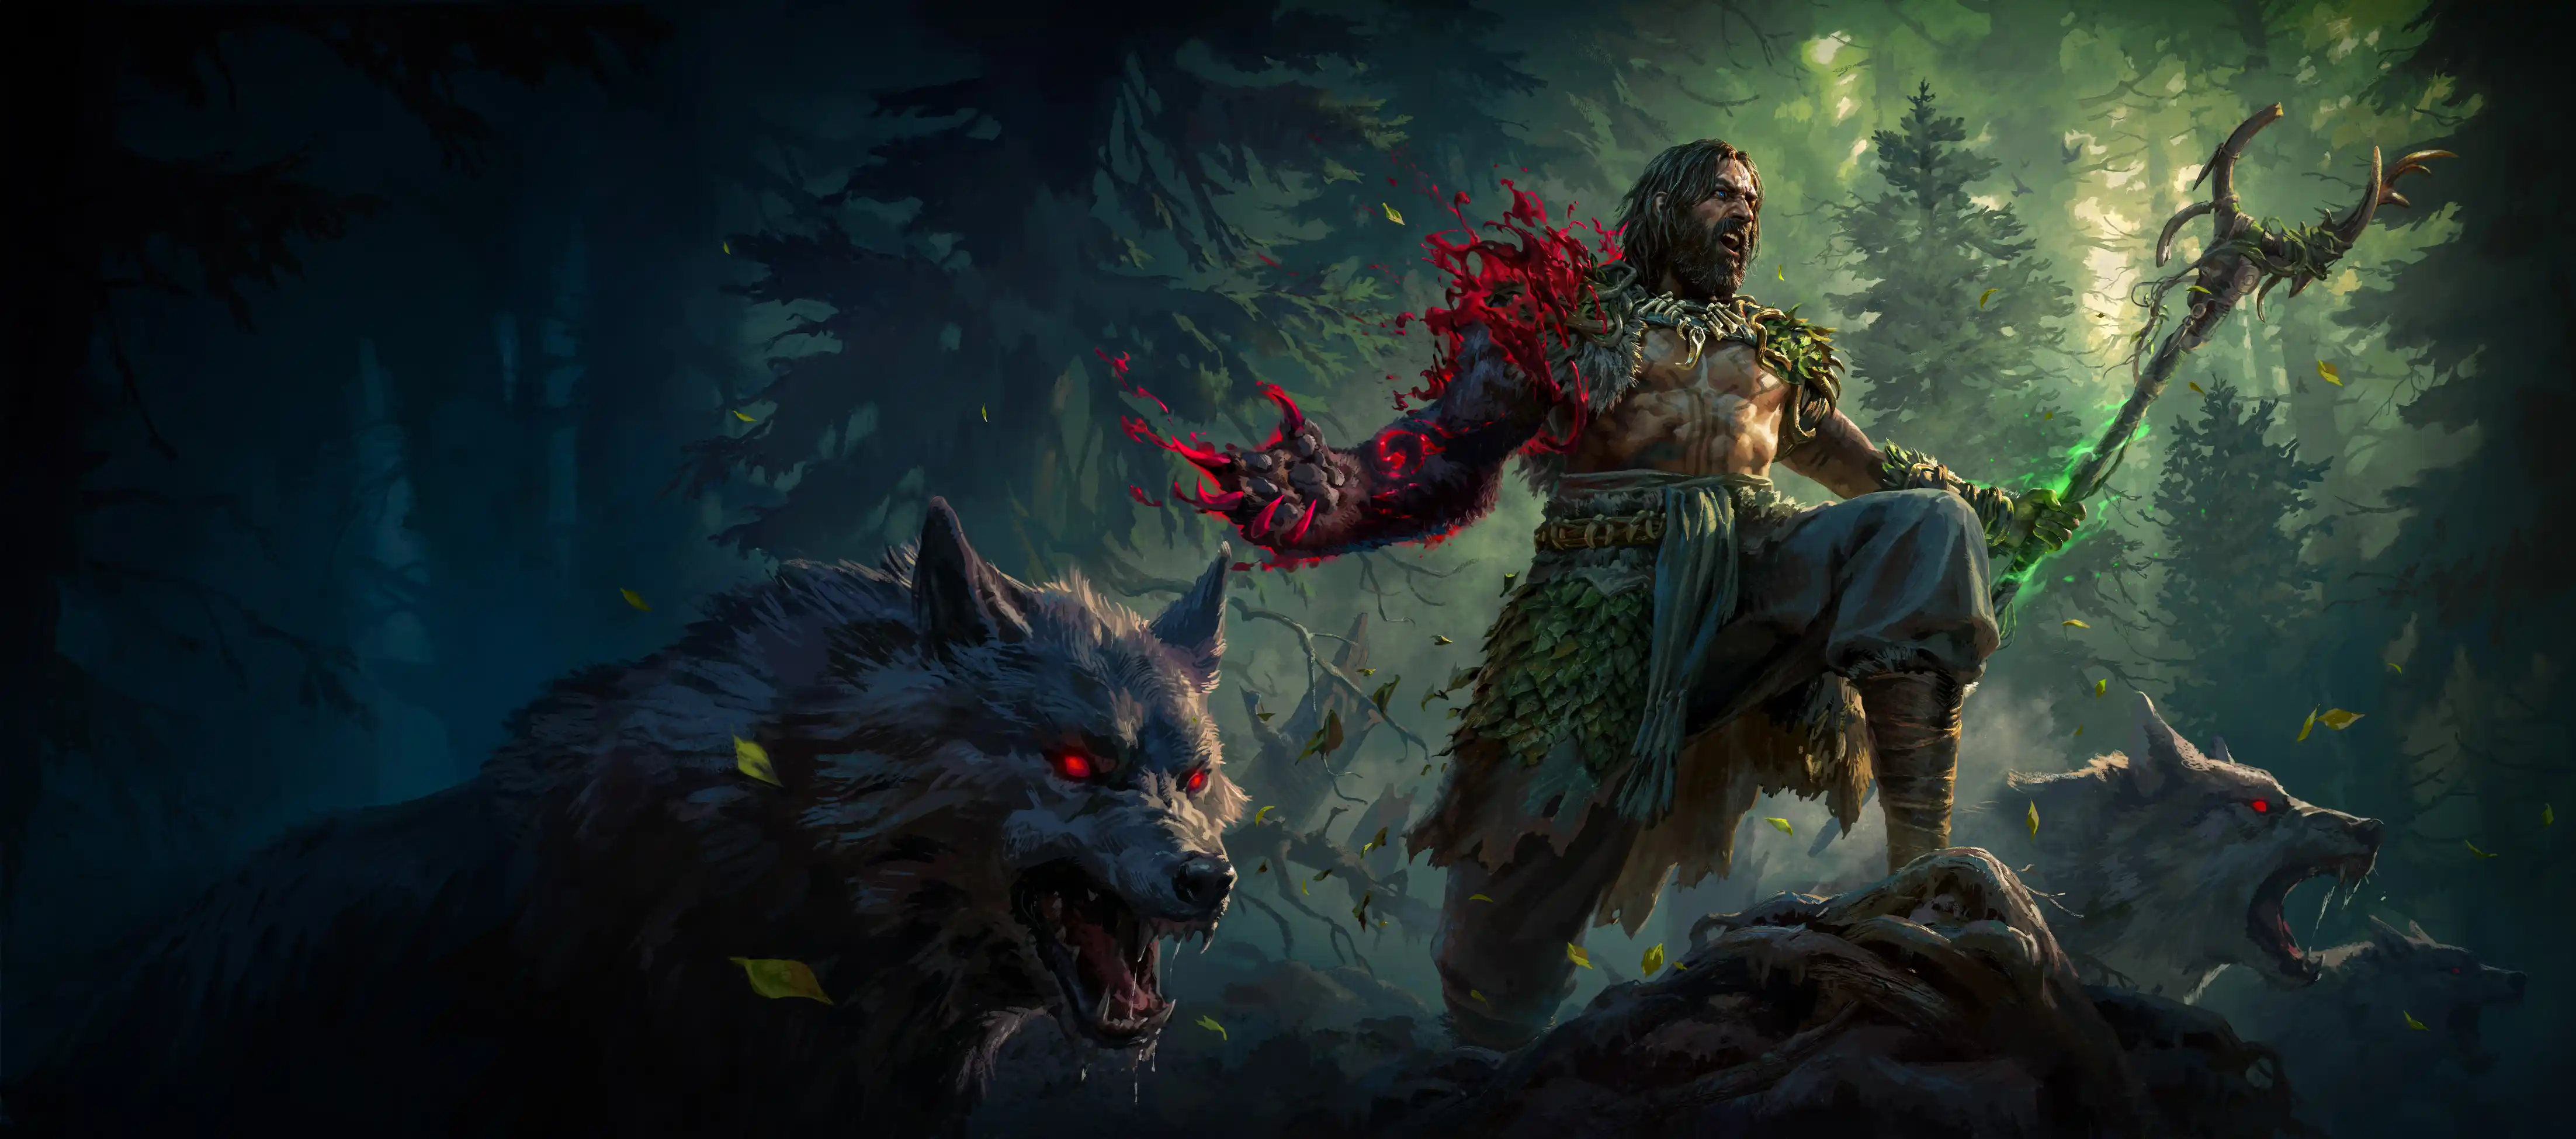
Druid is PoE2 seventh class and the first true hybrid between Strength and Intelligence. Starting in the northwest corner of the passive tree (the same position as Templar in PoE1), Druids blend elemental spellcasting in human form with devastating melee attacks in animal forms.
The Three Animal Forms
What makes Druid unique is instant shapeshifting with zero cooldowns or delays. Equip a Talisman weapon, use a form-specific ability, and you transform immediately. Cast a spell, and you're human again. This fluidity creates a gameplay loop where you're constantly weaving between forms.
Bear Form – The tanky bruiser option. Bears generate Rage through combat and spend it on devastating skills:
- Rampage – Sprint through enemies while slamming, consuming Rage for damage
- Ferocious Roar – Warcry that buffs allies and debuffs enemies
- Walking Calamity – Your signature skill. Rain meteors around you every second while moving, with a massive meteor at intervals. Perfect for the "autobomber" playstyle.
Bear builds excel at mapping with consistent AoE and strong fire/physical damage scaling.
Wolf Form – Speed and agility focused. Your basic attack becomes a leap, and you gain access to:
- Pack mechanics – Summon Wolf minions that attack alongside you
- Cold damage scaling – Freeze and shatter packs with Herald of Ice synergy
- Hit-and-run combat – Ideal for players who like mobility
Wolf builds work best for players who enjoy fast clear speed and minion support.
Wyvern Form – The ranged option with breath attacks and aerial mobility:
- Flame Breath / Electric Spit – Cone attacks for clearing packs
- Wing Blast – Knockback utility
- Corpse Devouring – Eat corpses for buffs, then do strafing runs to spread magma
Wyvern builds offer hybrid melee/ranged combat with strong elemental scaling.
Human Form Spellcasting
Don't sleep on the Druid's human form. Nature magic skills like Volcano, Thunderstorm, Tornado, and Entangle create persistent damage zones that work independently while you shapeshift. The optimal Druid rotation involves casting long-duration spells in human form, then transforming to deal damage while your spells continue ticking.
Talismans – The New Weapon Type
Talismans are two-handed martial weapons that determine your shapeshifting form. They require both Strength and Intelligence to equip and grant the basic attack for your chosen animal. Here's the key detail: Talismans don't lock you into one form. You can equip a Bear Talisman but still use Wolf or Wyvern skills – they'll automatically transform you when used.
Any class can equip Talismans and access shapeshifting. This opens interesting possibilities like Amazon shapeshifters or Blood Mage bears. However, Druid ascendancies specifically enhance form-swapping playstyles.
Shaman vs Oracle – Druid Ascendancies
Both ascendancies are viable for all content. The choice comes down to playstyle preference rather than raw power.
Shaman – Consistent Elemental Destruction
Shaman focuses on Rage-powered spellcasting and elemental synergies. The key nodes:
| Notable | Effect |
|---|---|
| Sacred Flow | +40 Spirit for each of your empty Charm slots |
| Druidic Champion | Every 2 Rage also grants 1% more Spell Damage |
| Furious Wellspring | No Inherent loss of Rage, + 7 Maximum Rage, Regenerate 6% of Rage per second and scale Rage Regeneration Rate with Mana Regeneration Rate |
| Wisdom of the Maji | Runes and Idols grant additional exclusive modifiers (Bonded) |
| Reactive Growth | Take 10% less Elemental Damage overall. Adapt to Elemental Damage. Each Adaptation grants 10% less Elemental Damage of that type. |
| Avatar of Evolution | Double Adaptation Effects. Convert 5% of Physical Damage taken as Elemental Damage of each type. |
| Turning of The Seasons | Enemies in your Presence have Exposure. Gain 10% of Damage as Extra Elemental Damage |
| Bringer of the Apocalypse | Grants Skills: Apocalypse. After dealing enough elemental damage, unleash a barrage of elemental projectiles from the sky |
Shaman suits players who want smooth, consistent damage without complex timing windows. Your rage fuels both attacks and spells, and elemental adaptations reduce incoming damage of matching types. The Wisdom of the Maji node becomes incredibly powerful with high-socket gear, as bonded modifier scaling grows with investment.
Oracle – Foresight and Burst Damage
Oracle is the technical option for players who enjoy optimization and timing-based gameplay. Key mechanics:
| Notable | Effect |
|---|---|
| Fateful Vision | See visions of your future self casting spells. Match that vision for bonus Spell Damage |
| Converging Paths | Create vulnerable clones of bosses that take damage alongside the original |
| The Unseen Path | Unlock hidden passive tree nodes exclusive to Oracle |
| Entwined Realities | Allocate passives near Keystones without connecting them to your tree. |
| The Lesser Harm | Enemy Critical Hit Chance and Damage is Unlucky. |
| Forced Outcome | Grant Inevitable Critical Hits. Reroll your Critical Hit Chance until your hit will Crit, while reducing Critical Bonus Damage each roll. |
Oracle shines in boss encounters where Converging Paths effectively doubles your single-target damage by creating a damageable duplicate. The Unseen Path opens theorycrafting possibilities no other class can access, revealing new passive nodes invisible to everyone else.
If you want to skip the leveling process and jump straight into endgame Druid builds, our PoE 2 Powerleveling Service handles the campaign while you theorycraft your perfect setup.
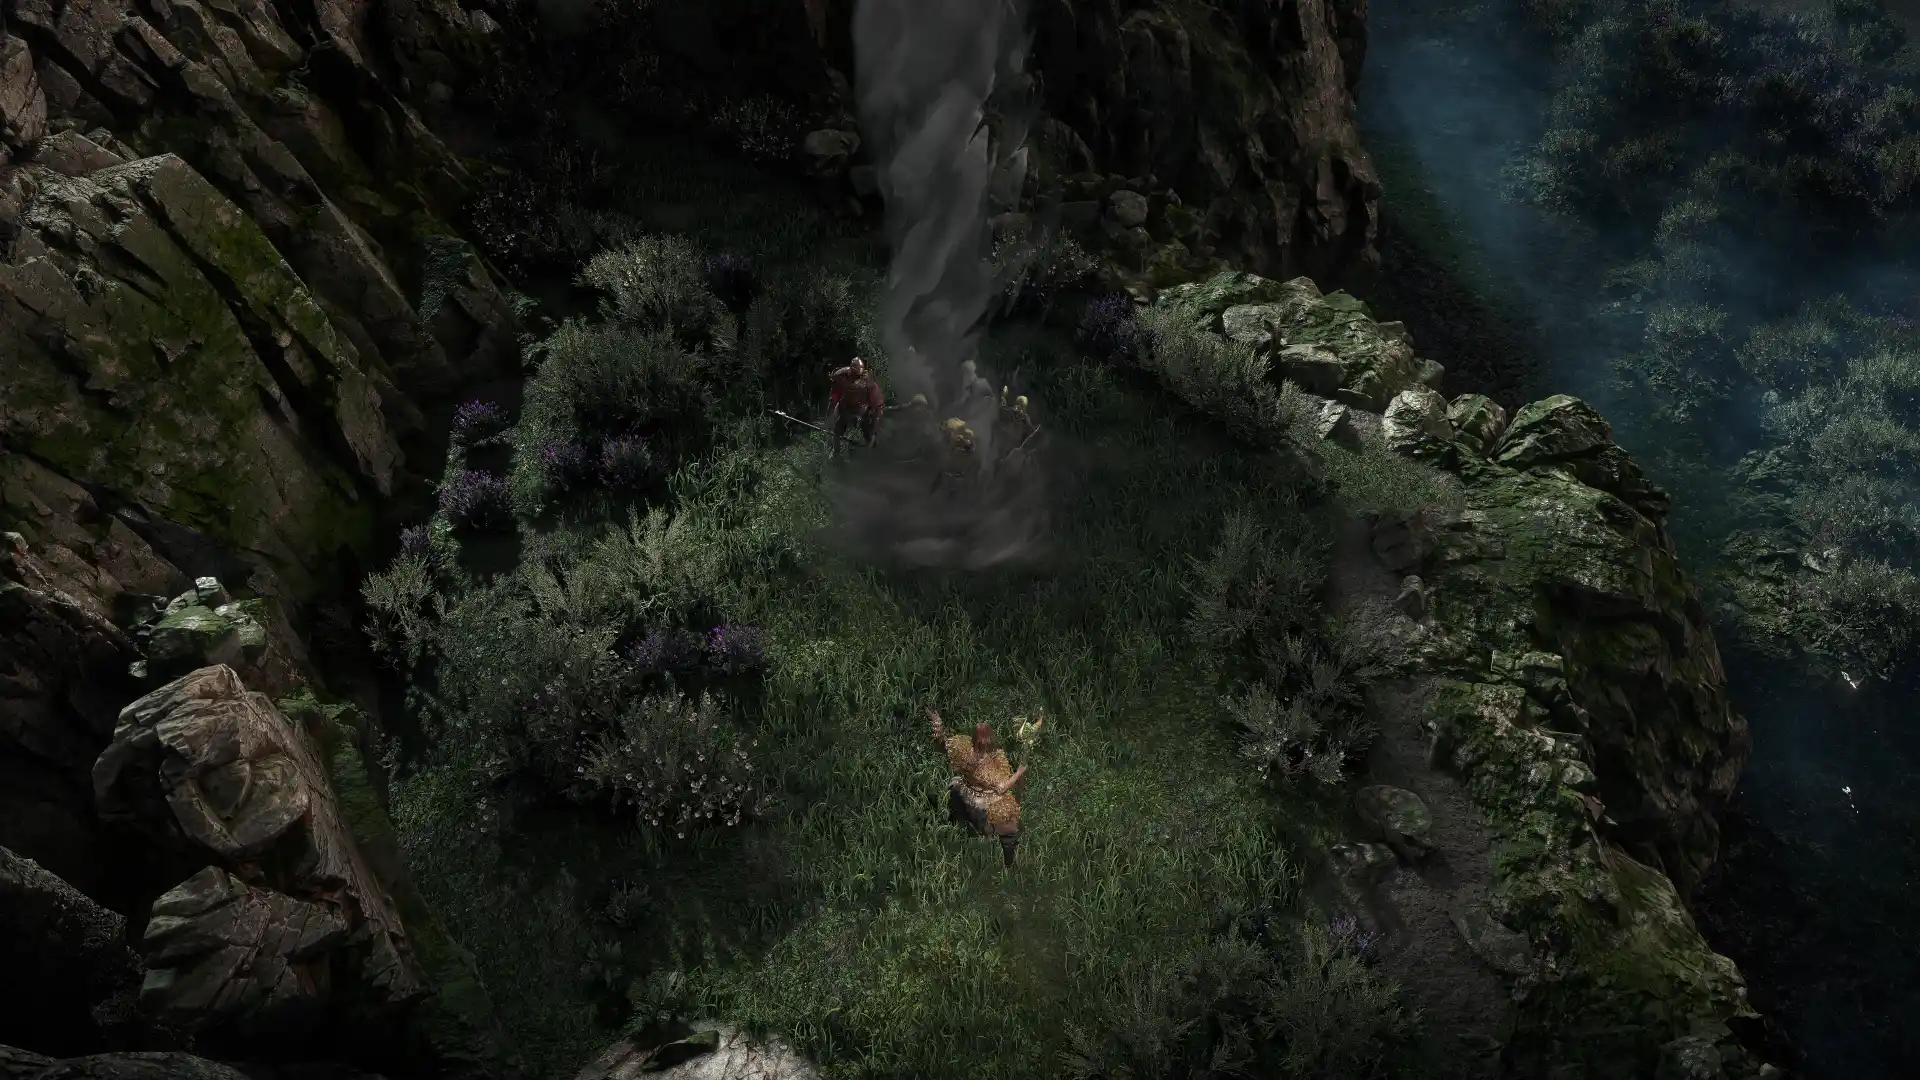
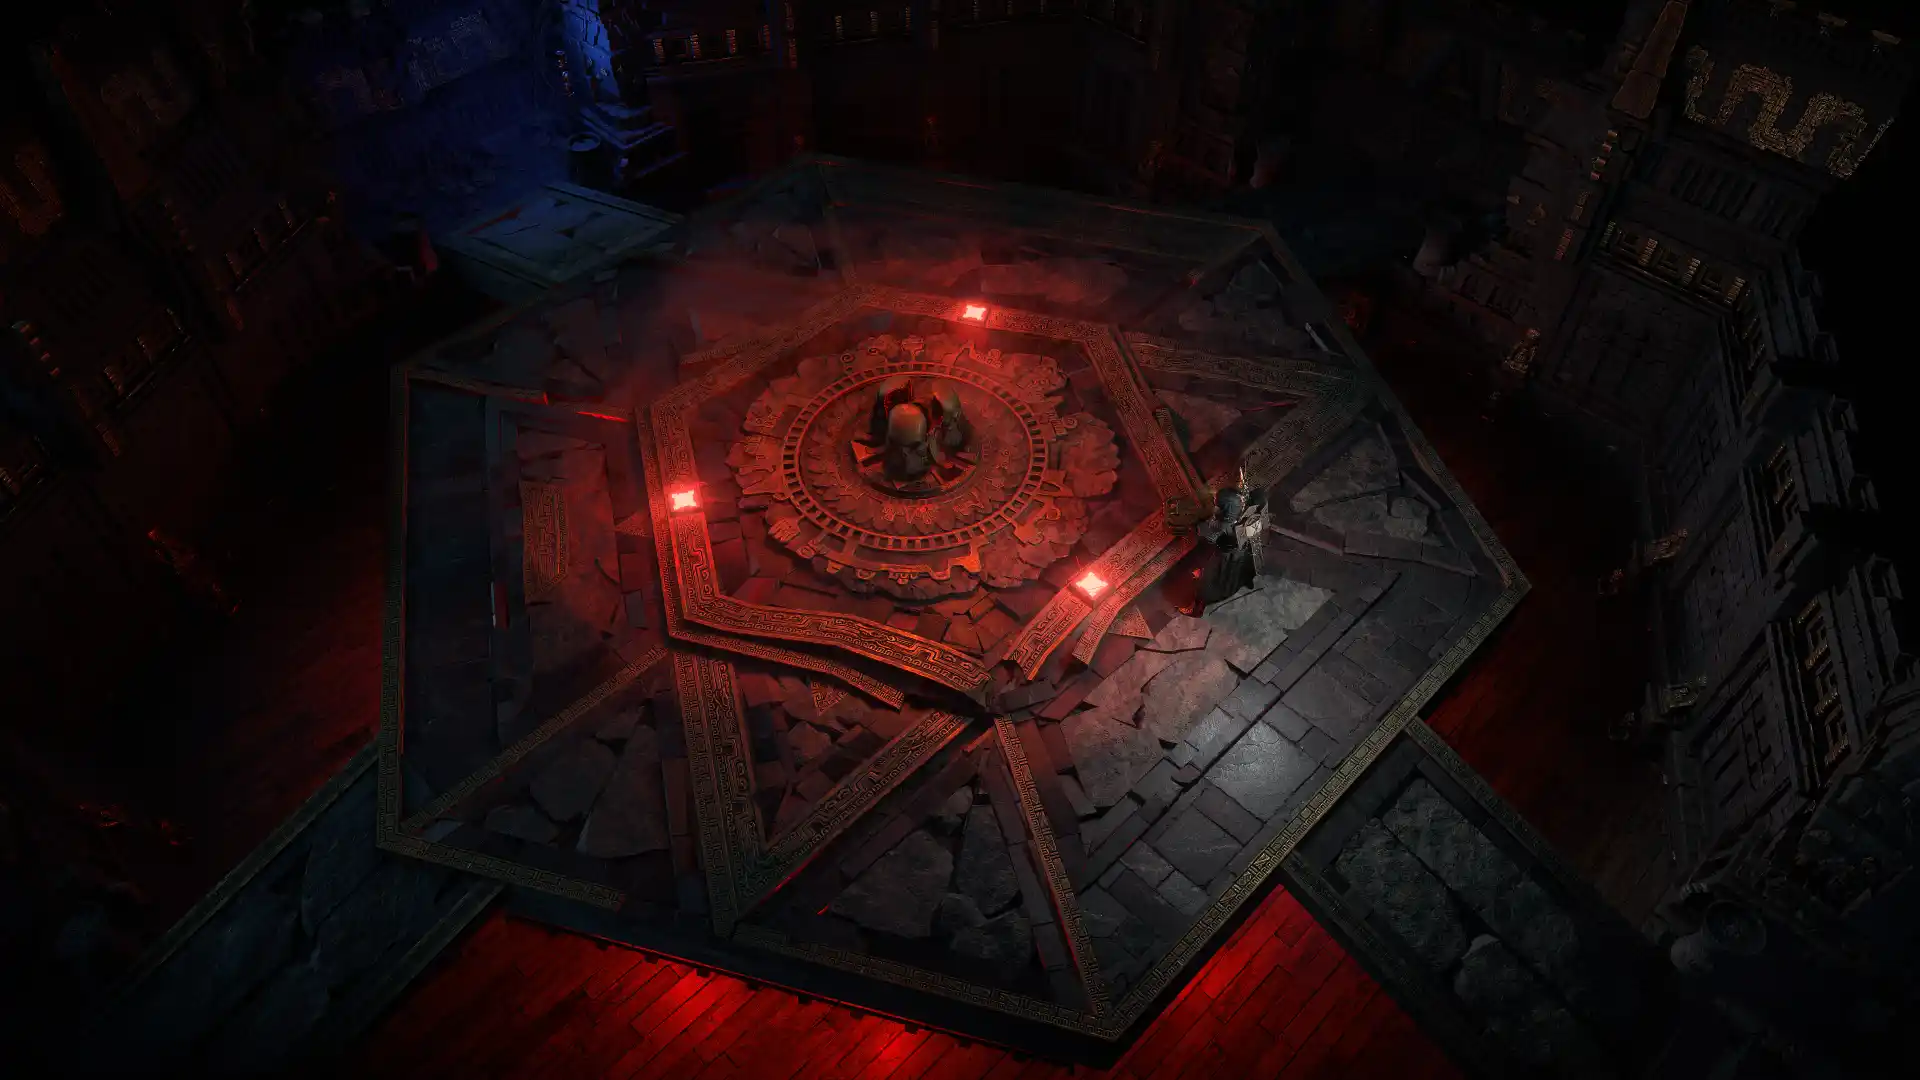
Temple - New League Mechanic
Fate of the Vaal brings back temple-building from PoE1's Incursion league – but completely reworked. Instead of time-limited incursions that force you to choose between two room outcomes, you now construct your temple room-by-room with full control over layout and progression similar to Blue Prince.
| Ready to tackle 0.4 content? LUBLOG10 for 10% off any PoE 2 service. |
Vaal Beacons – The Entry Point
In every zone, you'll find Ancient Beacons – Vaal structures that corrupt nearby monsters. The gameplay loop:
- Approach the beacon and kill all corrupted monsters in the area
- The beacon lights one of six crystals
- Occasionally, the beacon spawns extra waves or a unique monster
- After lighting all six crystals, step on the beacon to activate it
- Repeat in multiple zones until a portal to the Vaal Ruins opens
At endgame, you can stack up to 12 temple charges before running your temple, letting you grind Waystones and batch your temple runs efficiently.
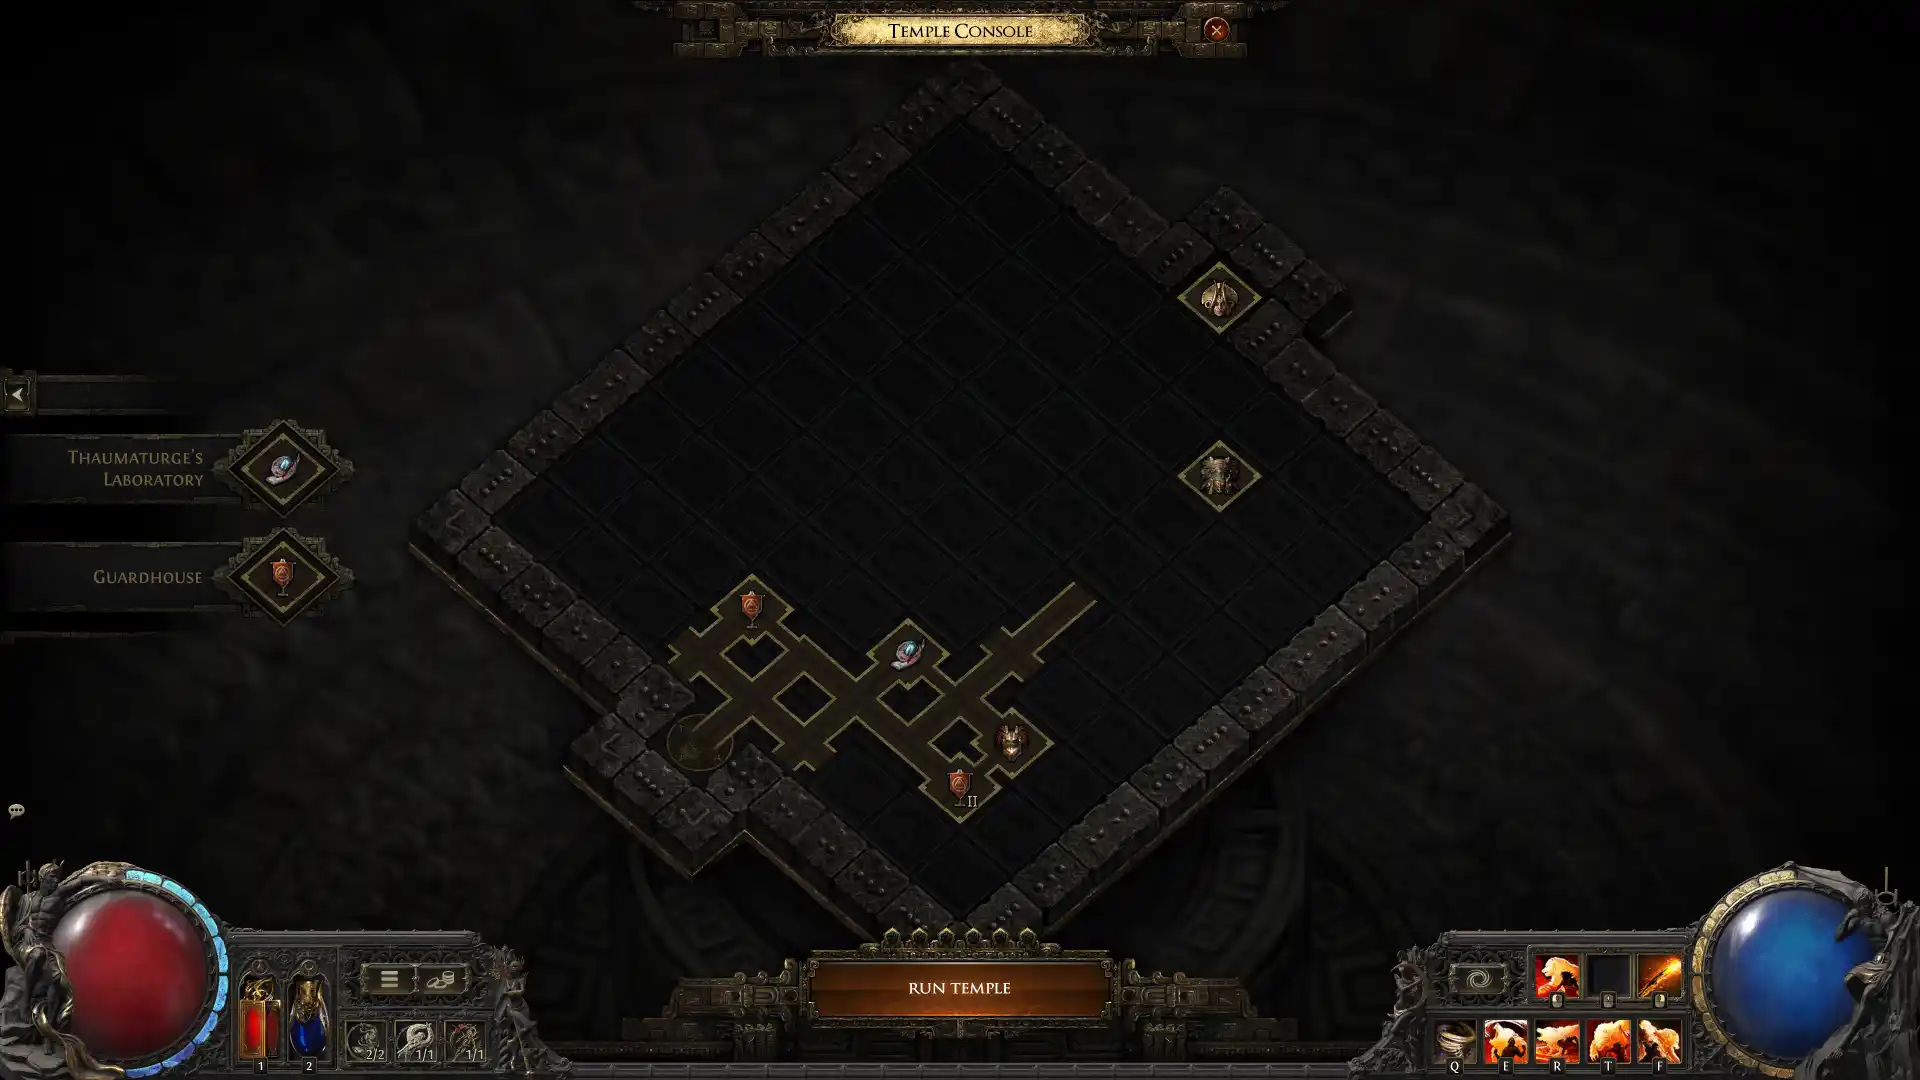
Building Your Temple
The Temple Console presents a 9x9 grid where you place 6 room cards per visit. Rooms upgrade from Tier 1 to Tier 3 when placed adjacent to compatible rooms – the game highlights valid upgrade spots in green, so you don't need to memorize combos.
Early verdict on economy: Temple rewards felt underwhelming at endgame launch. GGG acknowledged this and Patch 0.4.0c (dropping soon) doubles room modifier values, adds bonus bosses to T3 rooms, and lets you itemize Exalt/Vaal/Alchemy crafting benches into tradeable currency after Act 3. The mechanic is slightly worth engaging with now, but as per usual we will wait for more Post-Christmas buffs.
Key Rooms to Prioritize:
| Room | Tier 3 Reward |
|---|---|
|
Corruption Chamber → Locus of Corruption |
Double-corrupt gear/jewels (50% chance to destroy item). Itemizes into Architect's Orb |
|
Thaumaturge → Thaumaturge's Cathedral |
Double-corrupt gems. Itemizes into Crystallised Corruption for 21/23 gems |
|
Sacrificial Chamber → Juatalotli's Triumph |
Reroll up to 2 mods on Vaal uniques. Itemizes into Vaal Cultivation Orb |
|
Alchemy Lab → Grand Phylactery |
Soul Core drops from construct bosses Itemizes into Core Destabiliser |
| Treasure Vault | +25% item rarity temple-wide |
| Golem Works | Buffs adjacent compatible rooms. T3 spawns Royal Sentinel boss |
|
Flesh Surgeon → Surgeon's Symphony |
Vaal prosthetics – random stat bonuses for your character. Lost on death and not tradeable |
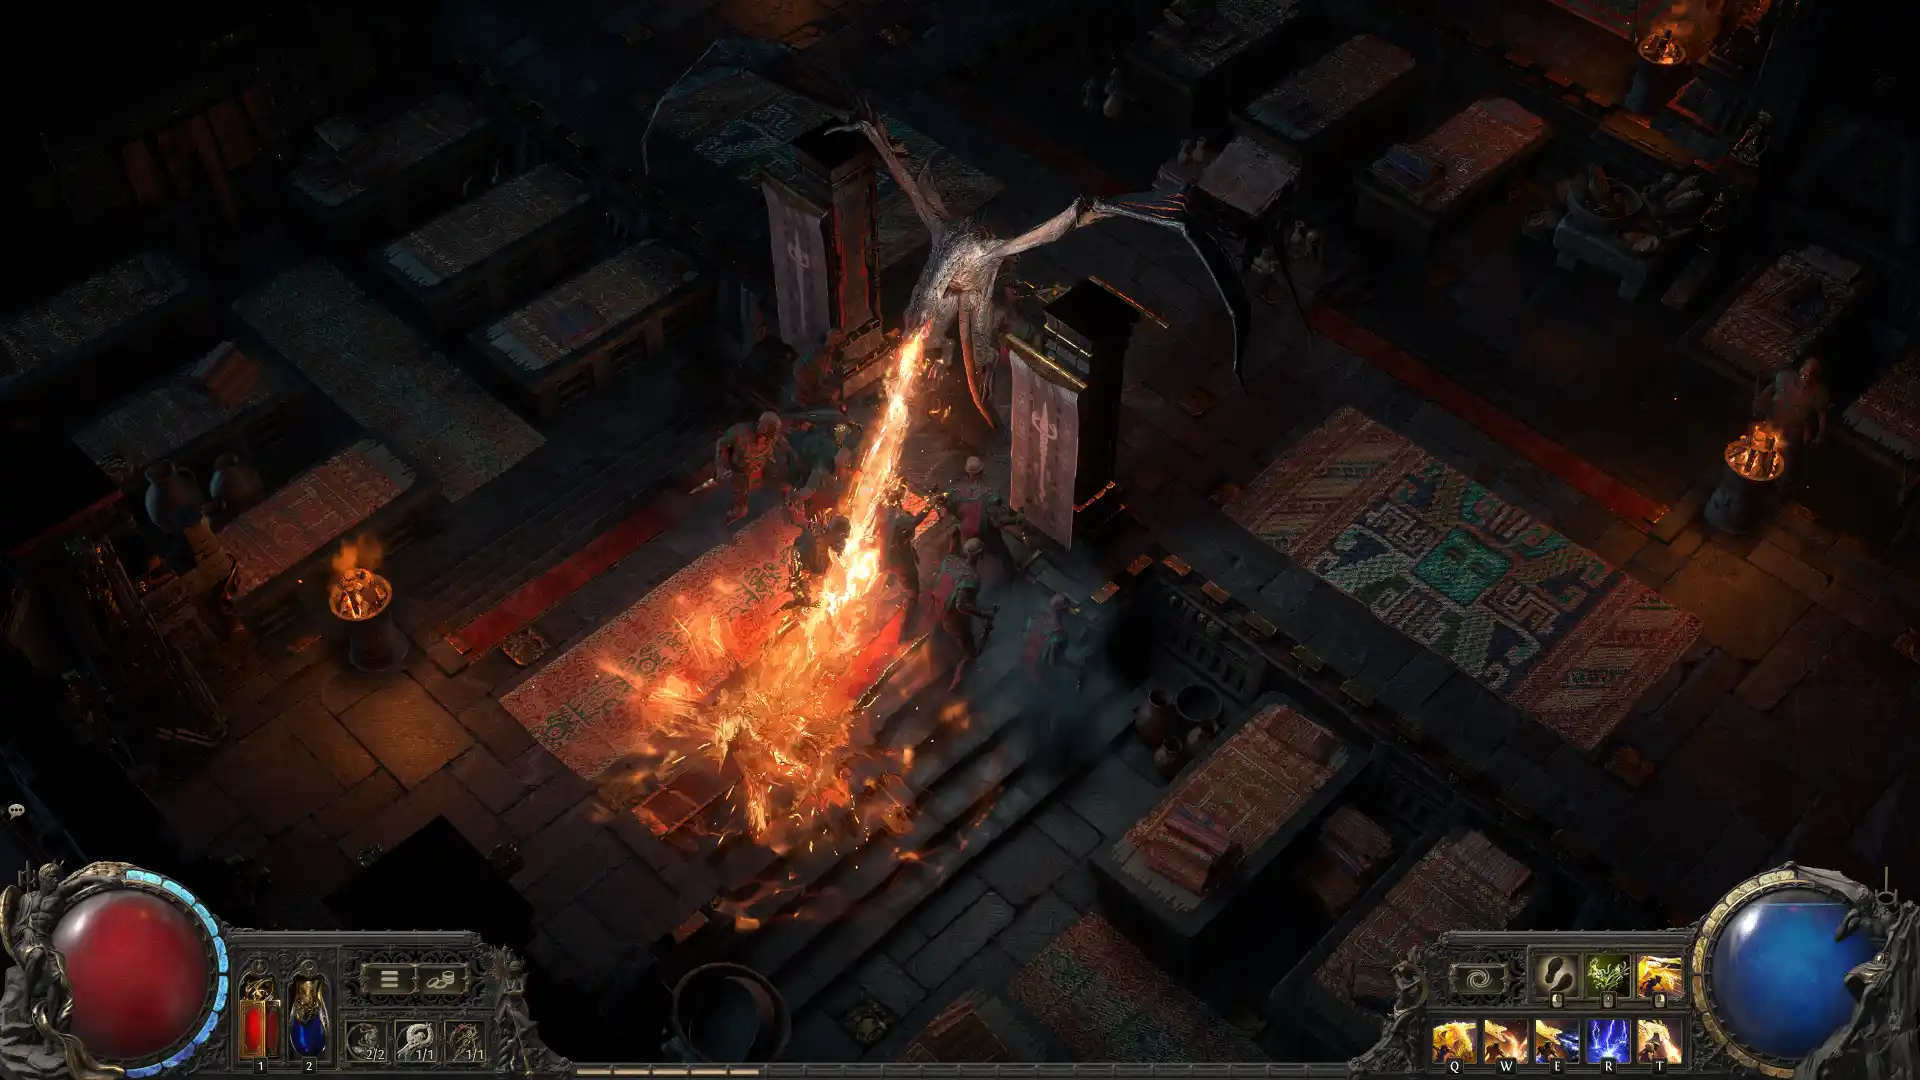
The Past Temple and Atziri
After completing Act 3, Doryani unlocks the ability to travel back in time to stop Atziri before she destroys the Vaal civilization. This opens the Past Temple – a harder version with exclusive rooms, new crafting options, and the path to Atziri herself.
To reach Atziri:
- Expand your temple to reach the Architect's Chamber
- Defeat Xipocado, the Royal Architect
- Use Xipocado's Console (unlocked after killing him) to place the Royal Access Chamber
- Build a path to the Royal Access Chamber and interact with it to unlock Atziri's door
- Navigate to Atziri's Chamber for the fight
You can path directly to Atziri's Chamber, but the door won't open until you've completed the Royal Access Chamber. Defeating the Architect also causes massive temple decay – you'll lose a significant portion of your built rooms.
Atziri's exclusive drops:
- Atziri's Rule – Staff that grants Mirror of Refraction skill (projectiles fired into mirrors split into novas), plus bonuses to corrupted spell gems and life-to-damage conversion
- Vaal Siphoner – Currency that adds a kill threshold to corrupted rare rings/amulets; hitting the threshold removes a random mod and boosts remaining mod values
- Drillneck – Penetrating Quiver with pierce synergy and projectile scaling
- Atziri's Contempt – Pronged Spear with Shattering Spite skill
- Lineage Support gems
For players who want the temple rewards without the time investment, our Fate of the Vaal Boost handles all the grind PoE 2 has to offer.
Major Balance Changes and Quality of Life
Ascendancy Reworks
Several ascendancies received major changes in 0.4.0 – some got numerical buffs, others were fundamentally reworked:
- Smith of Kitava – Heavy rework toward Body Armour synergy. Three passives removed and replaced (Kitavan Imprint for Glory generation, Spiked Plates for Thorns damage, Tribute to Utula for Spirit). Heatproofing now grants immunity to all damaging ailments. Triggered skills no longer cost mana.
- Infernalist – Shifted focus from raw fire conversion to Elemental Archon uptime
- Amazon – Elemental Surge and Surging Avatar completely reworked around charge consumption
- Deadeye – New Mirage Deadeye meta skill creates mirages that use socketed ranged attacks
- Pathfinder – New multi-choice Path Seeker lets you allocate passives from other class starting points
- Ritualist – Massive buffs to stolen modifiers and Blood Boil damage
Disciple of Varashta – Surprise Sorceress Ascendancy
GGG dropped a surprise reveal hours before launch: Disciple of Varashta, the third Sorceress ascendancy. It's a "build your own summoner" based on Maraketh lore – Varashta was a powerful leader who still commands djinn within the Trial of the Sekhemas. Prove yourself worthy, and she grants you control over these elemental beings.
The ascendancy lets you command three invincible djinn, each with a distinct role:
- Ruzhan, the Blazing Sword – Fire djinn focused on raw offense. Throws his greatsword to create fiery tornadoes, applies exposure, scales with your cast speed.
- Kelari, the Tainted Sands – Assassin djinn dealing physical/crit damage. Inflicts Critical Weakness, summons exploding beetles from corpses, leaves damaging clones.
- Navira, the Last Mirage – Water djinn for utility. Provides mana and Energy Shield recovery, creates Chilled Ground, can freeze enemies or boost your ES recharge rate.
Each djinn starts with one command skill. You can spend ascendancy points to unlock up to three additional commands per djinn – but with only 8 points total and other strong notables on the tree (like Instruments of Power letting you wield Staff + Focus together), you'll need to specialize.
The djinn stay dormant in their Baryas until commanded, which keeps visual clutter down and lets you control exactly when they strike. Early impressions call it a strong league starter with flexibility for pure summoner, hybrid caster, or support-focused builds.
Performance Improvements
GGG addressed CPU performance with significant optimizations – better multi-core utilization and faster key operations. The result: at least 25% higher framerates when CPU-bound, with fewer frame spikes during heavy combat. Game director Jonathan Rogers mentioned seeing 50%+ gains on his personal rig, but 25% is the conservative official number.
These improvements only help CPU-bound situations. If you're GPU-bound, you won't see gains – use Dynamic Resolution or lower render resolution instead. Console players (PS5/Xbox Series X) should see the most noticeable improvements since PoE2 had more severe performance issues on console.
Abyss Goes Core
The Abyss fissure mechanic from Rise of the Abyssals is now permanent. Abyss encounters appear in specific campaign areas starting in Act 2, with Abyss Tablets and dedicated Atlas passive nodes for endgame scaling.
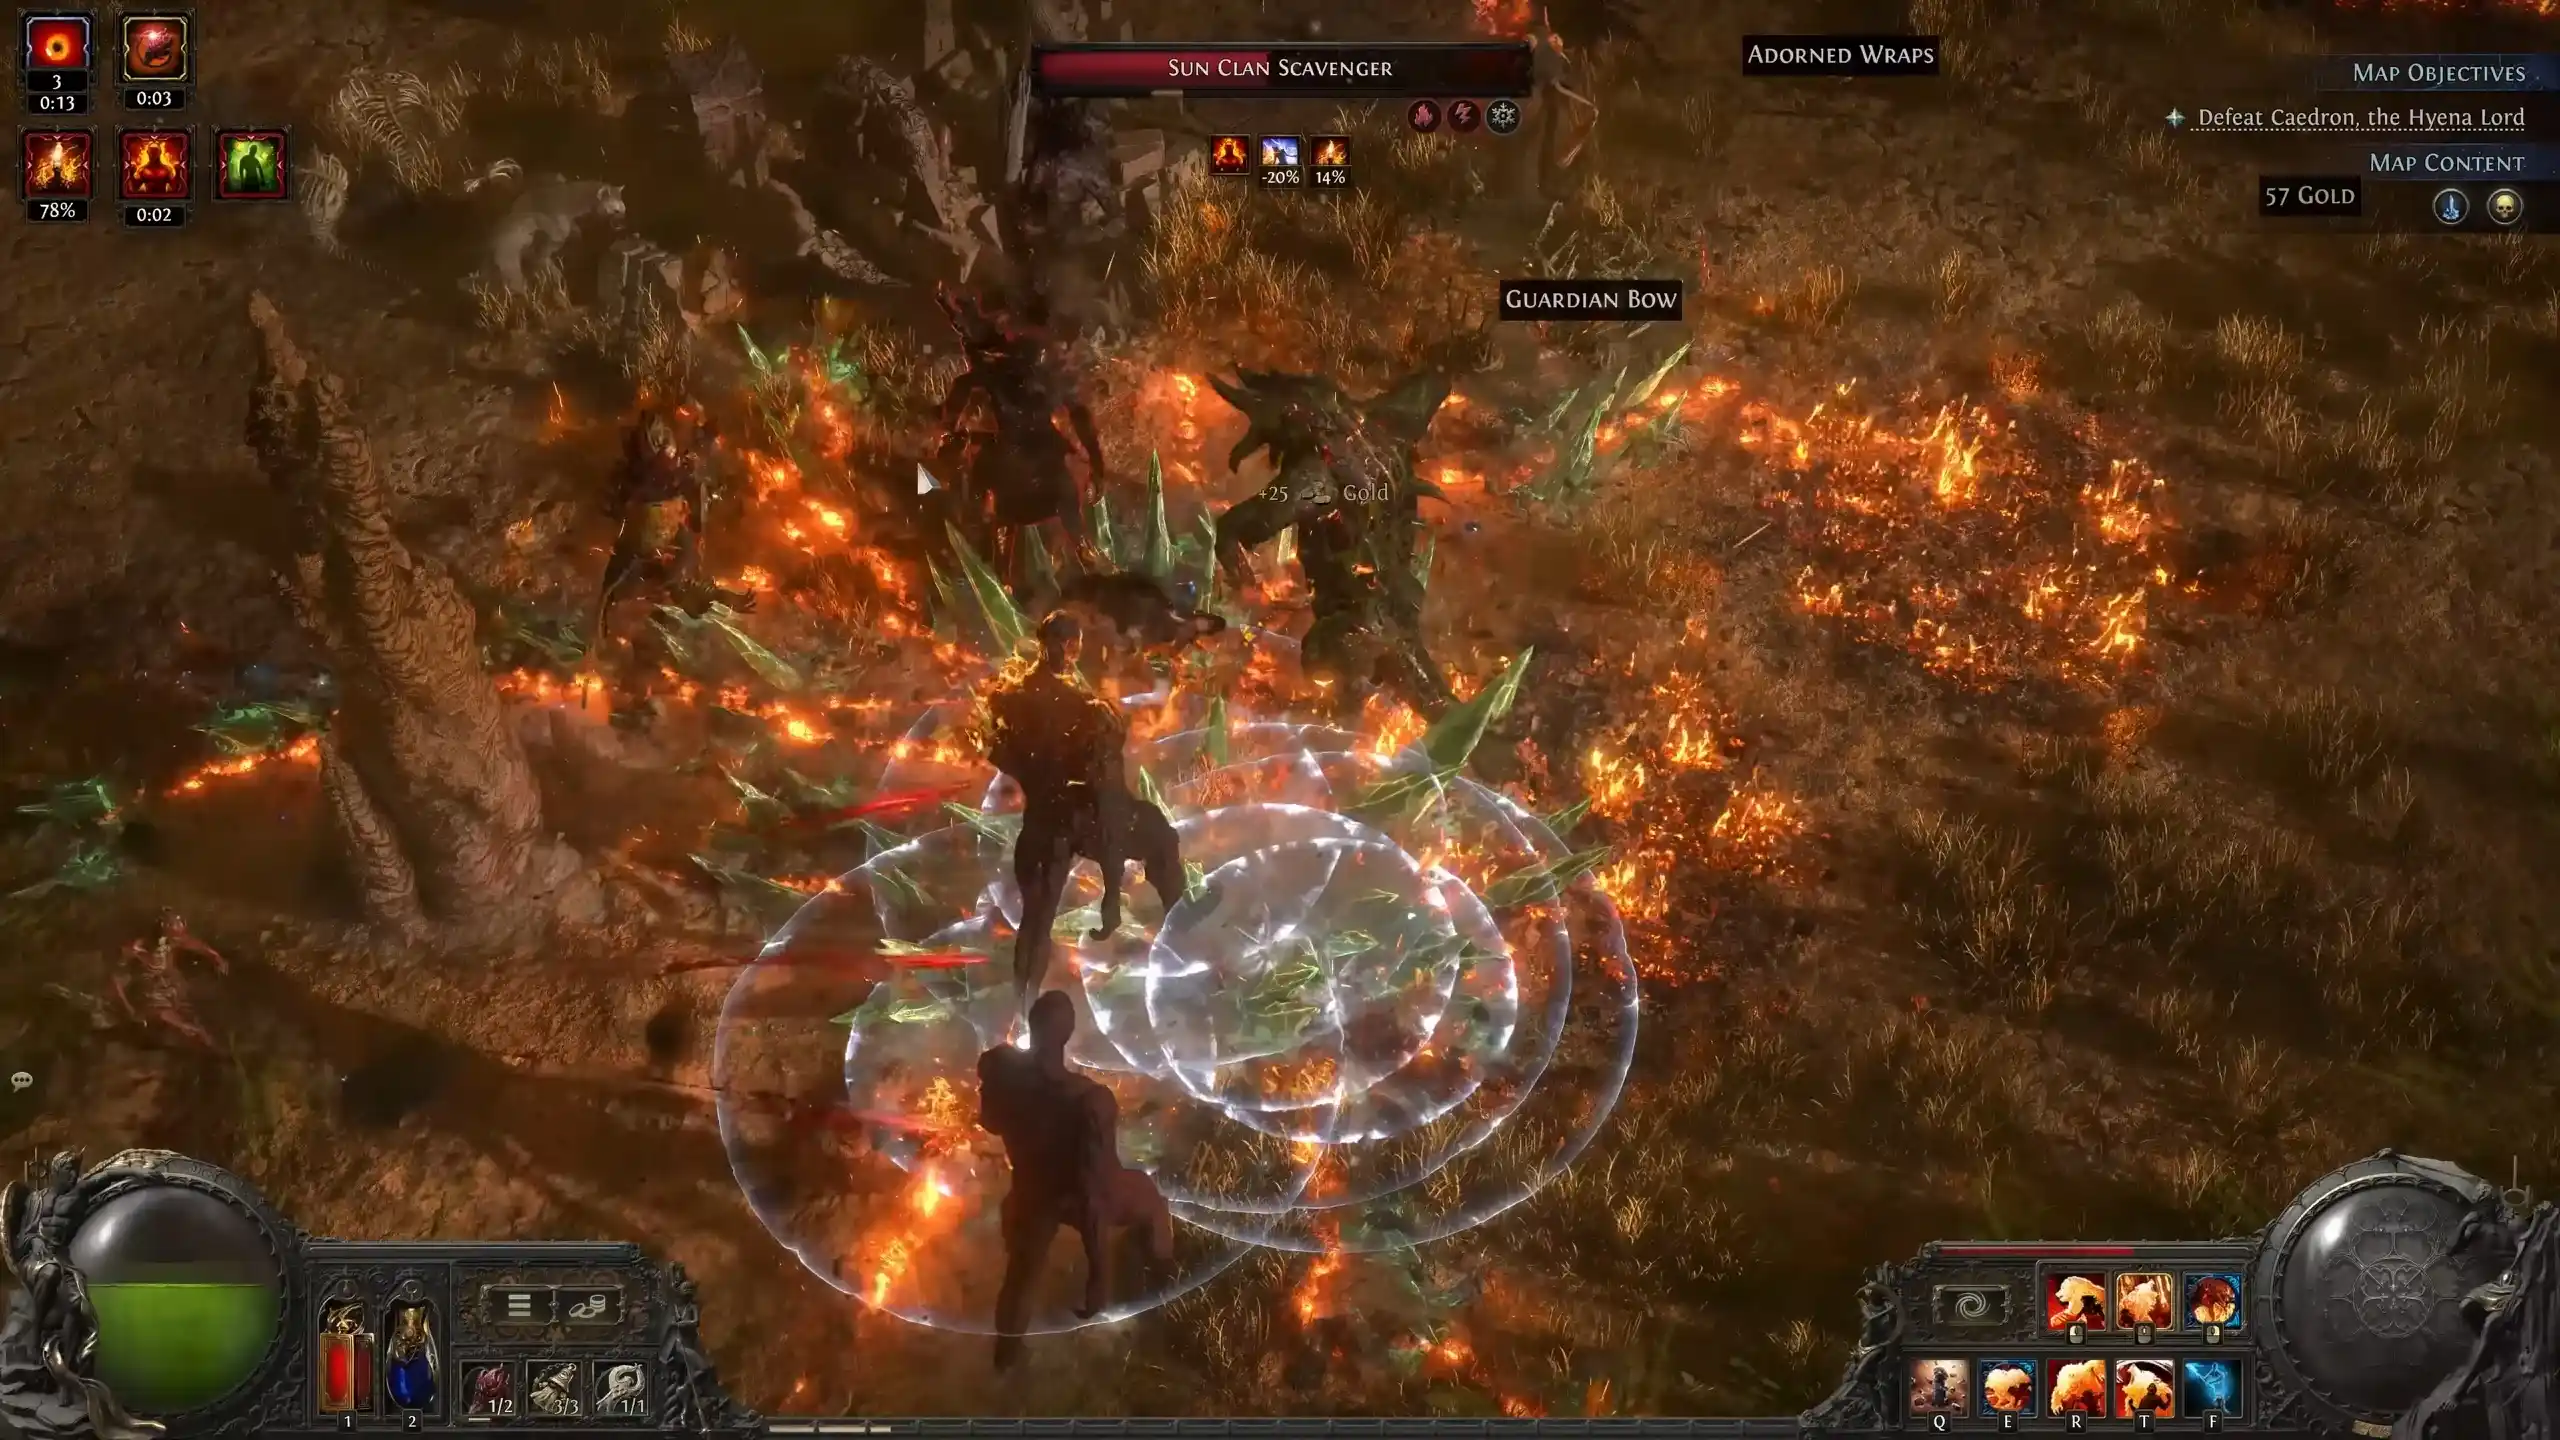
Druid Builds Actually Dominating Right Now
The meta is still shaking out, but three archetypes have emerged as clear winners based on early league performance.
S-Tier Boss Killer – Lightning Wyvern
This is currently melting pinnacle bosses. The core mechanic: stack Power Charges via Devour and Wing Blast, then dump them into Oil Barrage for massive single-target burst.
The Rotation:
- Use Rend on the boss until the stun indicator shows ~75% (small lightning symbol)
- Hit Wing Blast to stun them and generate Power Charges
- Channel Oil Barrage (empowered by charges) for absurd damage
- Devour corpses for more Power Charges and repeat
Key Support Gems:
- Oil Barrage: Rapid Attacks II + Burgeon II + Rageforged
- Rend: Stun II + Rapid Attacks + Magnified Area
- Pounce: Holy Descent + Fist of War + Momentum
For clear, Rend + Herald of Ice handles packs. The playstyle is high-tempo: Pounce in → Devour a corpse for charges → Rend sweep → Oil Barrage stragglers. Note that Oil Barrage has the "projectile" tag, so your talisman should have +projectile skill levels rather than melee.
A-Tier Mapper – Walking Calamity Bear
Your screen turns red. Meteors everywhere. The "autobomber" fantasy delivered.
Walking Calamity rains 20 small meteors per second while active, with a massive meteor at intervals. The skill requires Glory to activate – you generate Glory by gaining Rage while already at maximum Rage. Shaman's Furious Wellspring node is the key enabler: it stops natural Rage loss, grants 6% max Rage regeneration per second, and causes mana regeneration to boost Rage regeneration.
The skill unlocks at level 52 (tier 13 gem), so early leveling uses Maul → Furious Slam or Fury of the Mountain. Once Walking Calamity comes online, duration extends to 20+ seconds with proper investment, creating that comfortable "walking simulator" playstyle.
Key Shaman Nodes:
- Furious Wellspring – Core node. No natural Rage loss, passive Rage regen, mana regen boosts Rage
- Druidic Champion – Rage grants spell damage, scaling Volcano and other spells
- Bringer of the Apocalypse – Grants Apocalypse spell (elemental projectile barrage after dealing enough damage)
- Reactive Growth – Massive elemental damage reduction that scales with repeated hits
Rotation:
- Build Rage via Maul or passively through Furious Wellspring
- At max Rage, use Ferocious Roar with socketed Raging Cry to generate 50 Glory instantly
- Activate Walking Calamity and rampage through the map
- For bosses, mix in Maul + Furious Slam + Shockwave Totems during Calamity uptime
Stack mana regeneration rate (it boosts Rage regen via Shaman mechanics) and skill effect duration to extend Walking Calamity's runtime.
A-Tier All-Rounder – Plantbased Druid (Oracle)
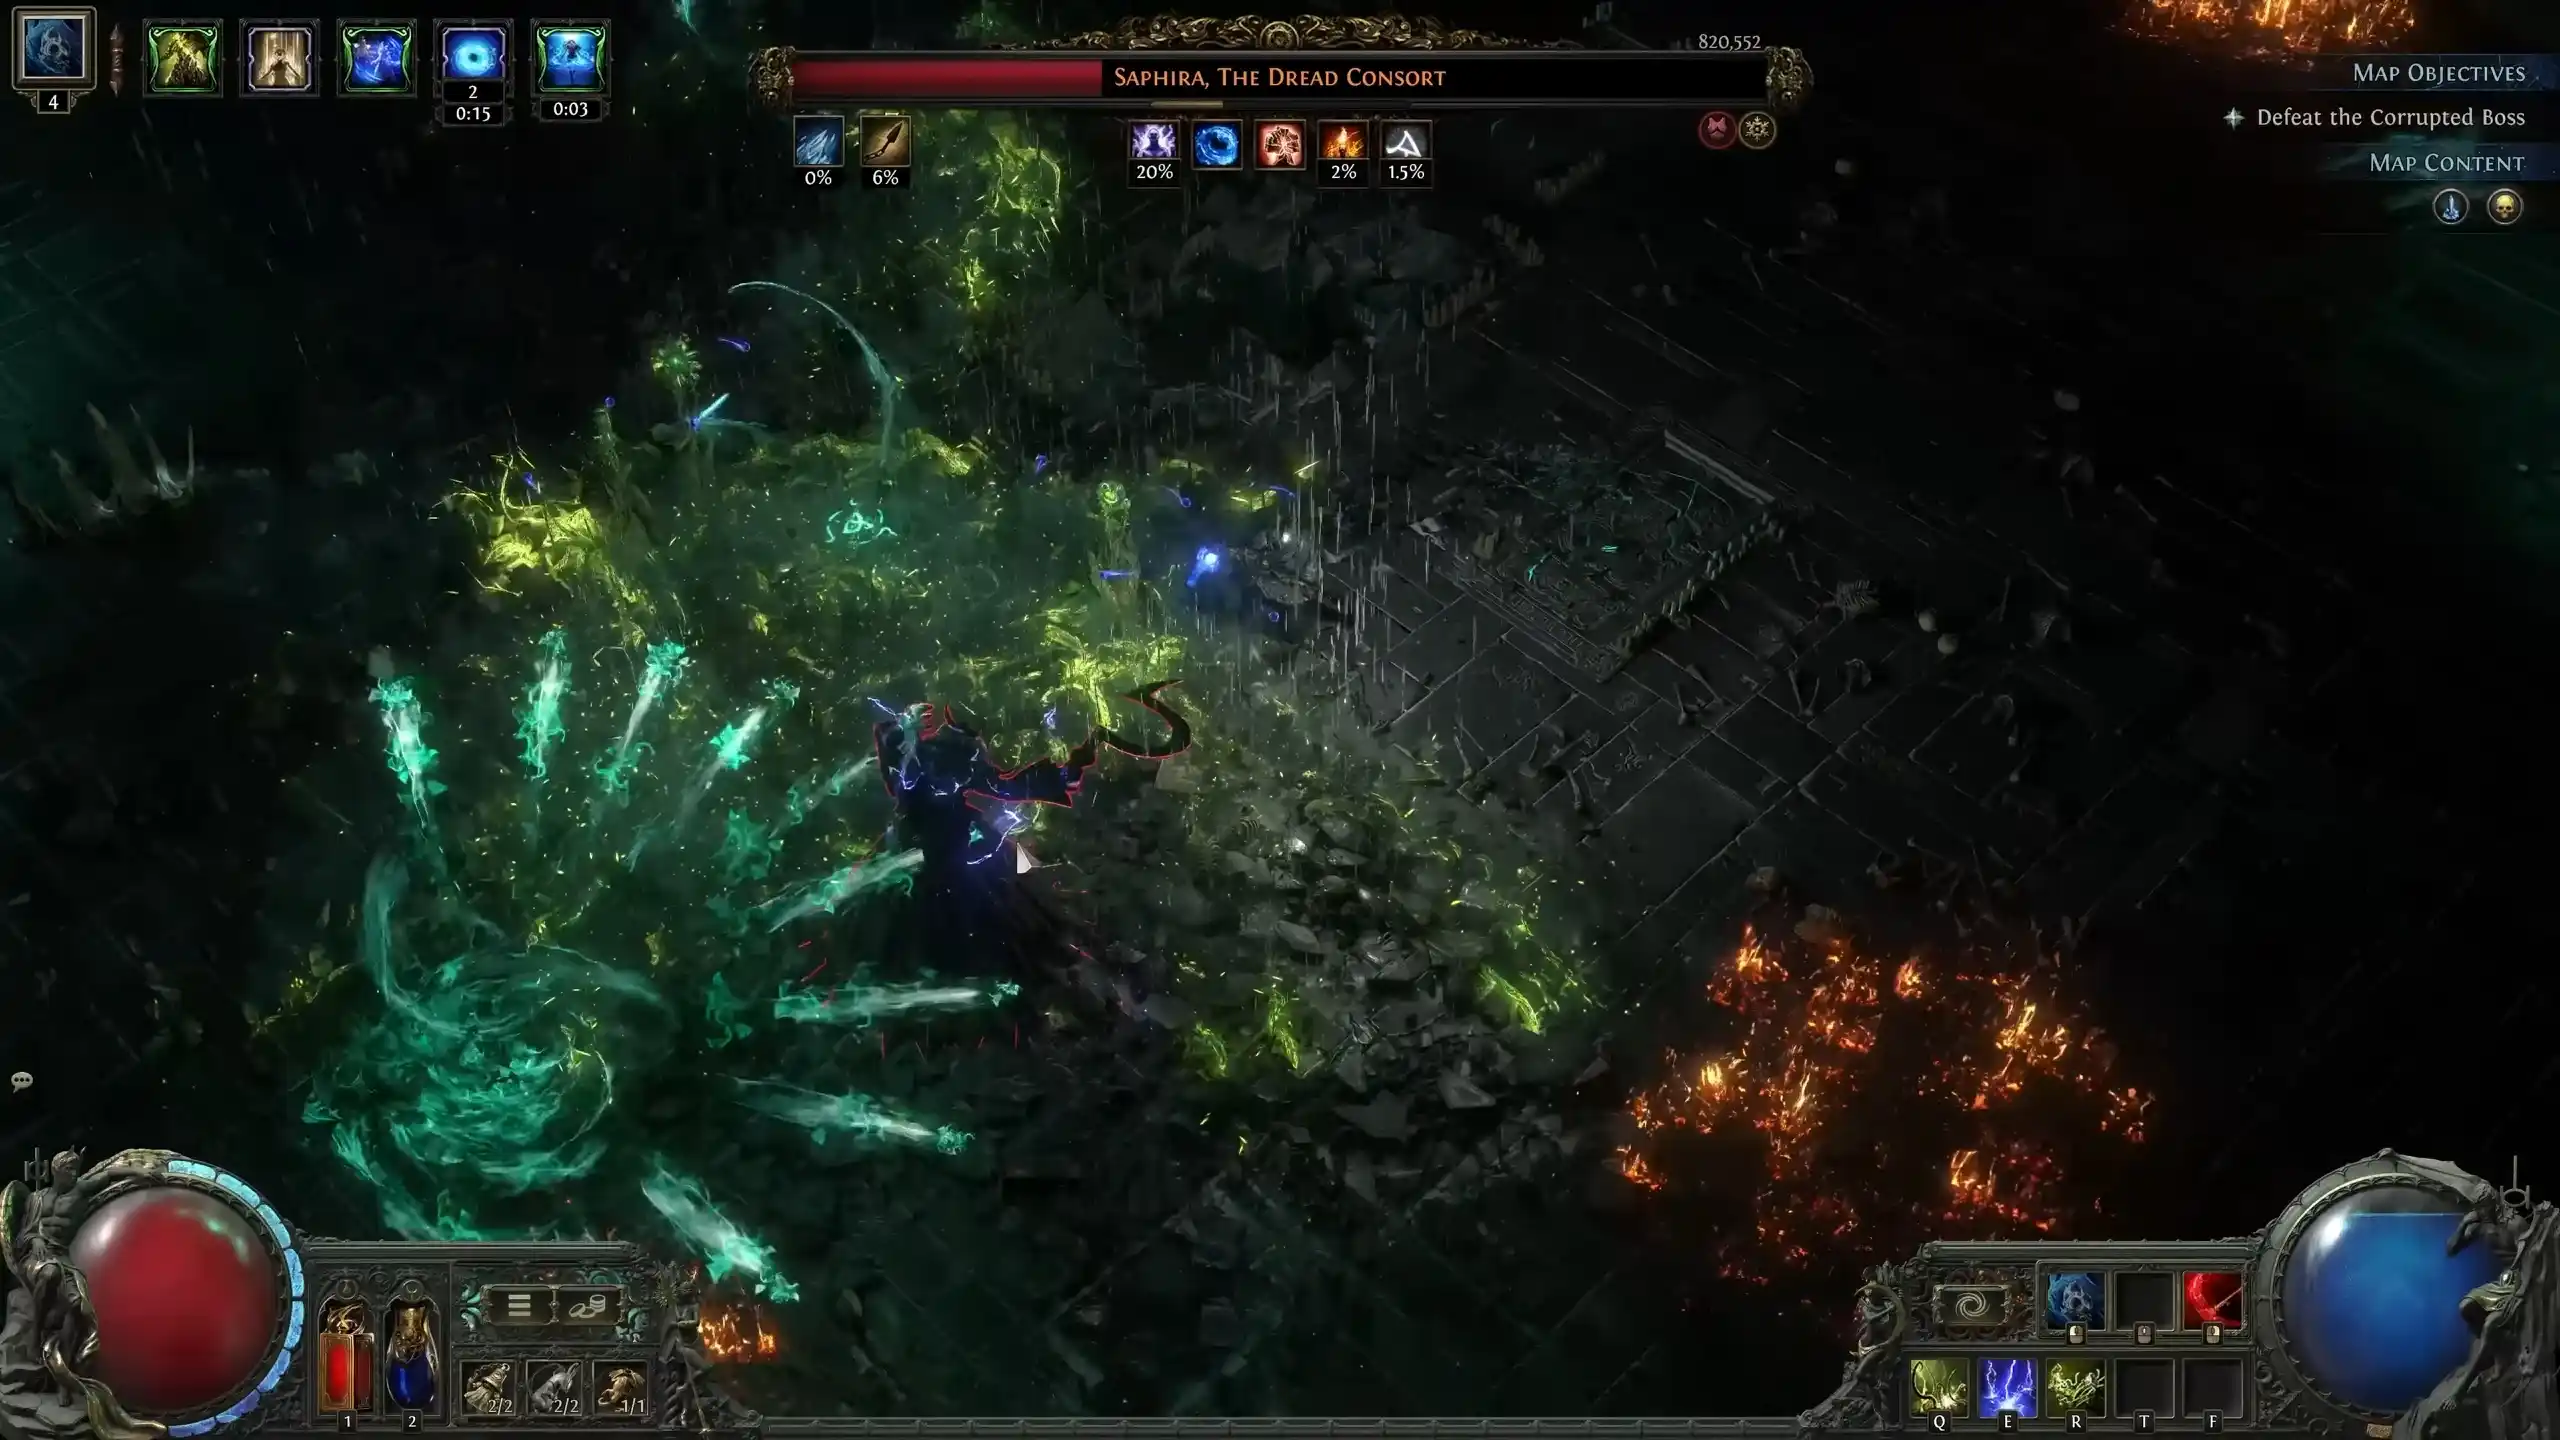
The sleeper pick that's proving extremely smooth from level 1 to endgame.
Core Loop:
- Entangle with Branching Fissures support creates spreading root fissures
- Thunderstorm drenches enemies and triggers Accelerated Growth – causing plants to Overgrow and explode
- Thrashing Vines (Act 3) becomes your main single-target damage dealer
- Everything synergizes: Thunderstorm → plants become "watered" → instant Overgrowth → massive damage
This is a physical spellcaster build. You're casting in human form, not shapeshifting. Spell Totems can automate plant explosions while you focus on positioning.
Key Support Gems:
- Entangle: Accelerated Growth + Branching Fissures I + Physical Mastery + Considered Casting
- Thrashing Vines: Rageforged + Concentrated Effect + Prolonged Duration
- Thunderstorm: Magnified Area + Efficiency
Experimental – Cast on Elemental Ailment or CoC Trigger Builds
There's serious potential here that hasn't been fully optimized yet.
The Setup: Oracle's Forced Outcome grants Inevitable Critical Hits. Every hit that fails to crit re-rolls until it succeeds, with 30% less Critical Damage Bonus per re-roll. Combine with rapidly-hitting skills like Entangle or Thunderstorm that constantly apply Shock. Socket Comet or other big spells into Cast on Crit or Cast on Elemental Ailment – they trigger automatically.
Why it works on Druid: Thunderstorm + Shock Conduction II guarantees shocks on drenched enemies. Each shock builds energy for CoA triggers. The Forced Outcome mechanic means you don't need heavy crit investment – just enough base crit that the re-rolls don't murder your damage bonus.
Early reports suggest both Shaman and Oracle work here. Shaman offers rage-spell synergies through Druidic Champion; Oracle offers the crit manipulation and hidden passive tree access. This is the kind of build that gets better as gear improves and theorycrafters optimize.
A-Tier – Frost Wolf
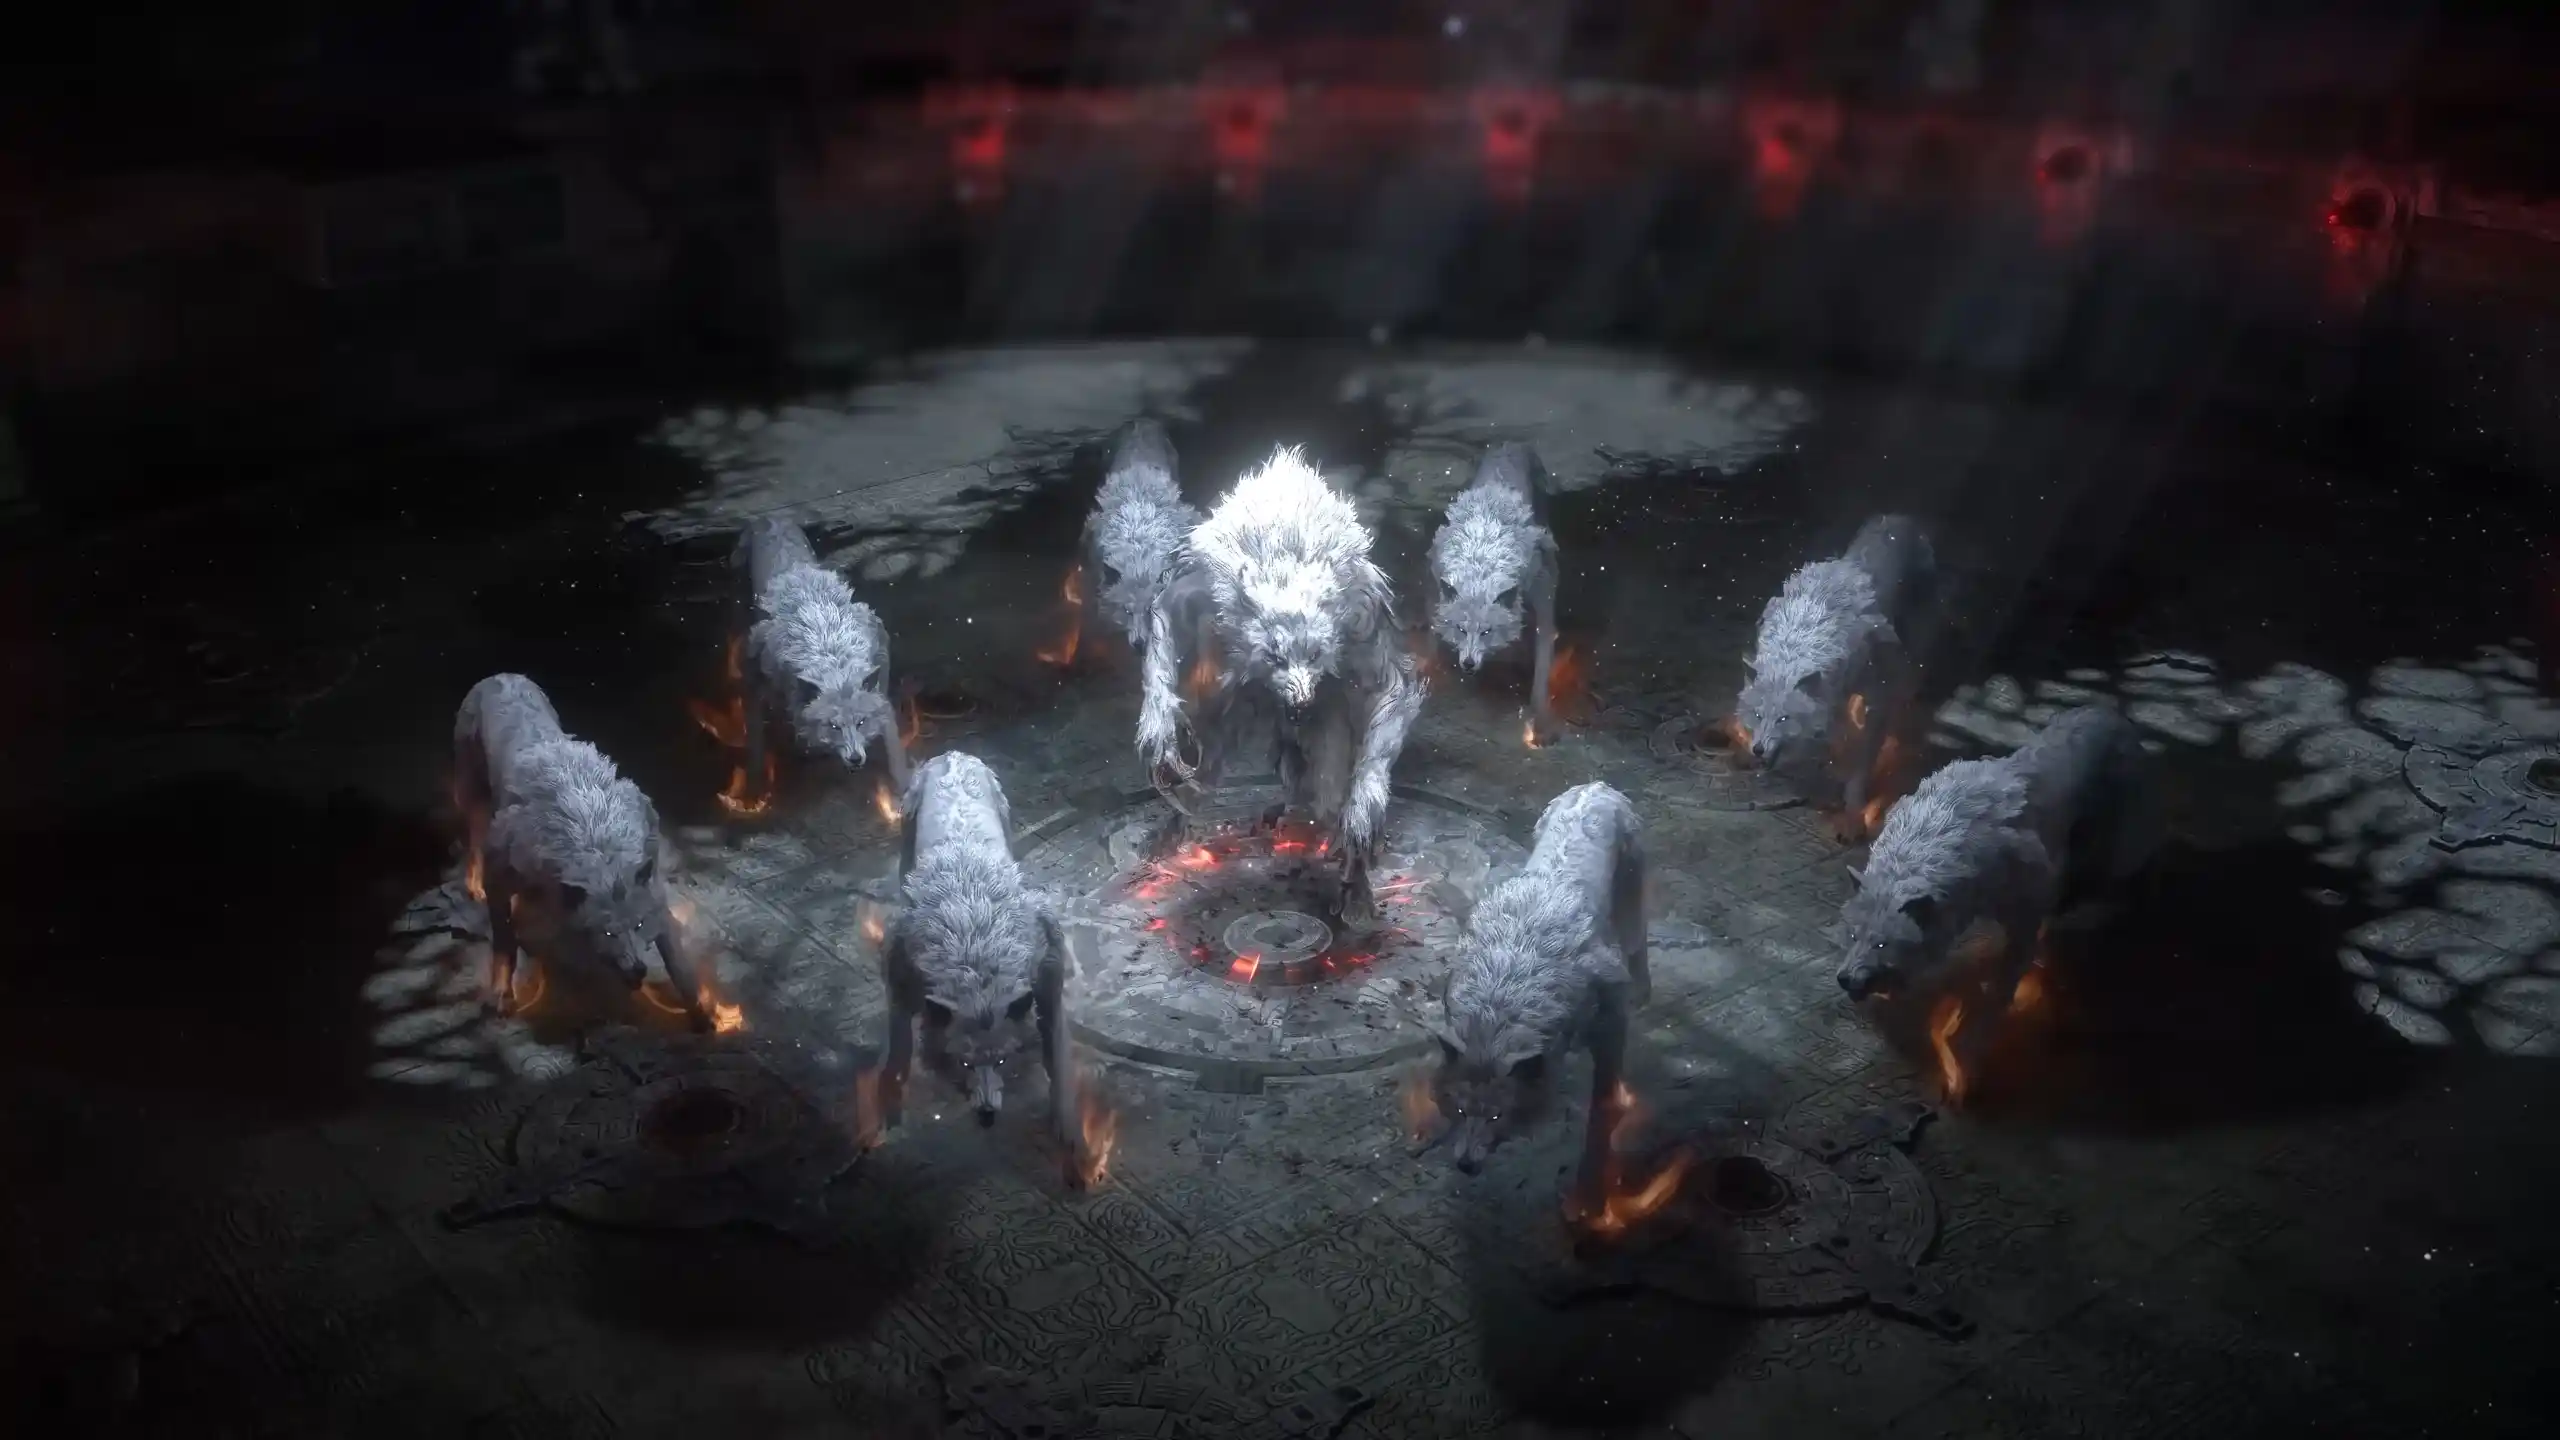
Contrary to early speculation, Wolf form is performing extremely well this league. The perma-freeze playstyle trivializes campaign and early mapping by locking enemies in place.
Core Mechanics:
- Herald of Ice + Polcirkeln for chain explosions on frozen packs
- Rapid wolf attacks generate Ice Shards that amplify freeze buildup
- Physical damage converts to cold, scaling freeze duration and damage
Rotation:
- Set up Arctic Howl and Lunar Blessing buffs
- Pounce into packs to apply marks and trigger movement
- Rake → Lunar Assault → Cross Slash for ice shard generation and spending
- Herald of Ice chains clear everything frozen
For weapons, prioritize fast attack speed since shard generation relies on hit frequency. Polcirkeln is a standout early item that pairs perfectly with Herald of Ice.
Want a specific build handed to you ready for endgame? Check our PoE 2 Build Service – we deliver characters with optimized passive trees, gear, and gems so you skip the trial-and-error phase.
Ready to Dominate the Temple?
Fate of the Vaal offers some of the most rewarding content PoE2 has seen – double-corrupted items, prosthetic limb modifications, and Queen Atziri's exclusive drops create chase items worth grinding for. The Druid class adds genuine build diversity with three distinct forms and two ascendancies that support completely different playstyles.
Whether you're pushing for world-first Atziri kills or just want to experience the new content without the time investment, LevelUpper's PoE2 boosting services handle everything from campaign completion to endgame progression. Skip the grind, keep the rewards.
See you in the Temple, Exile.