

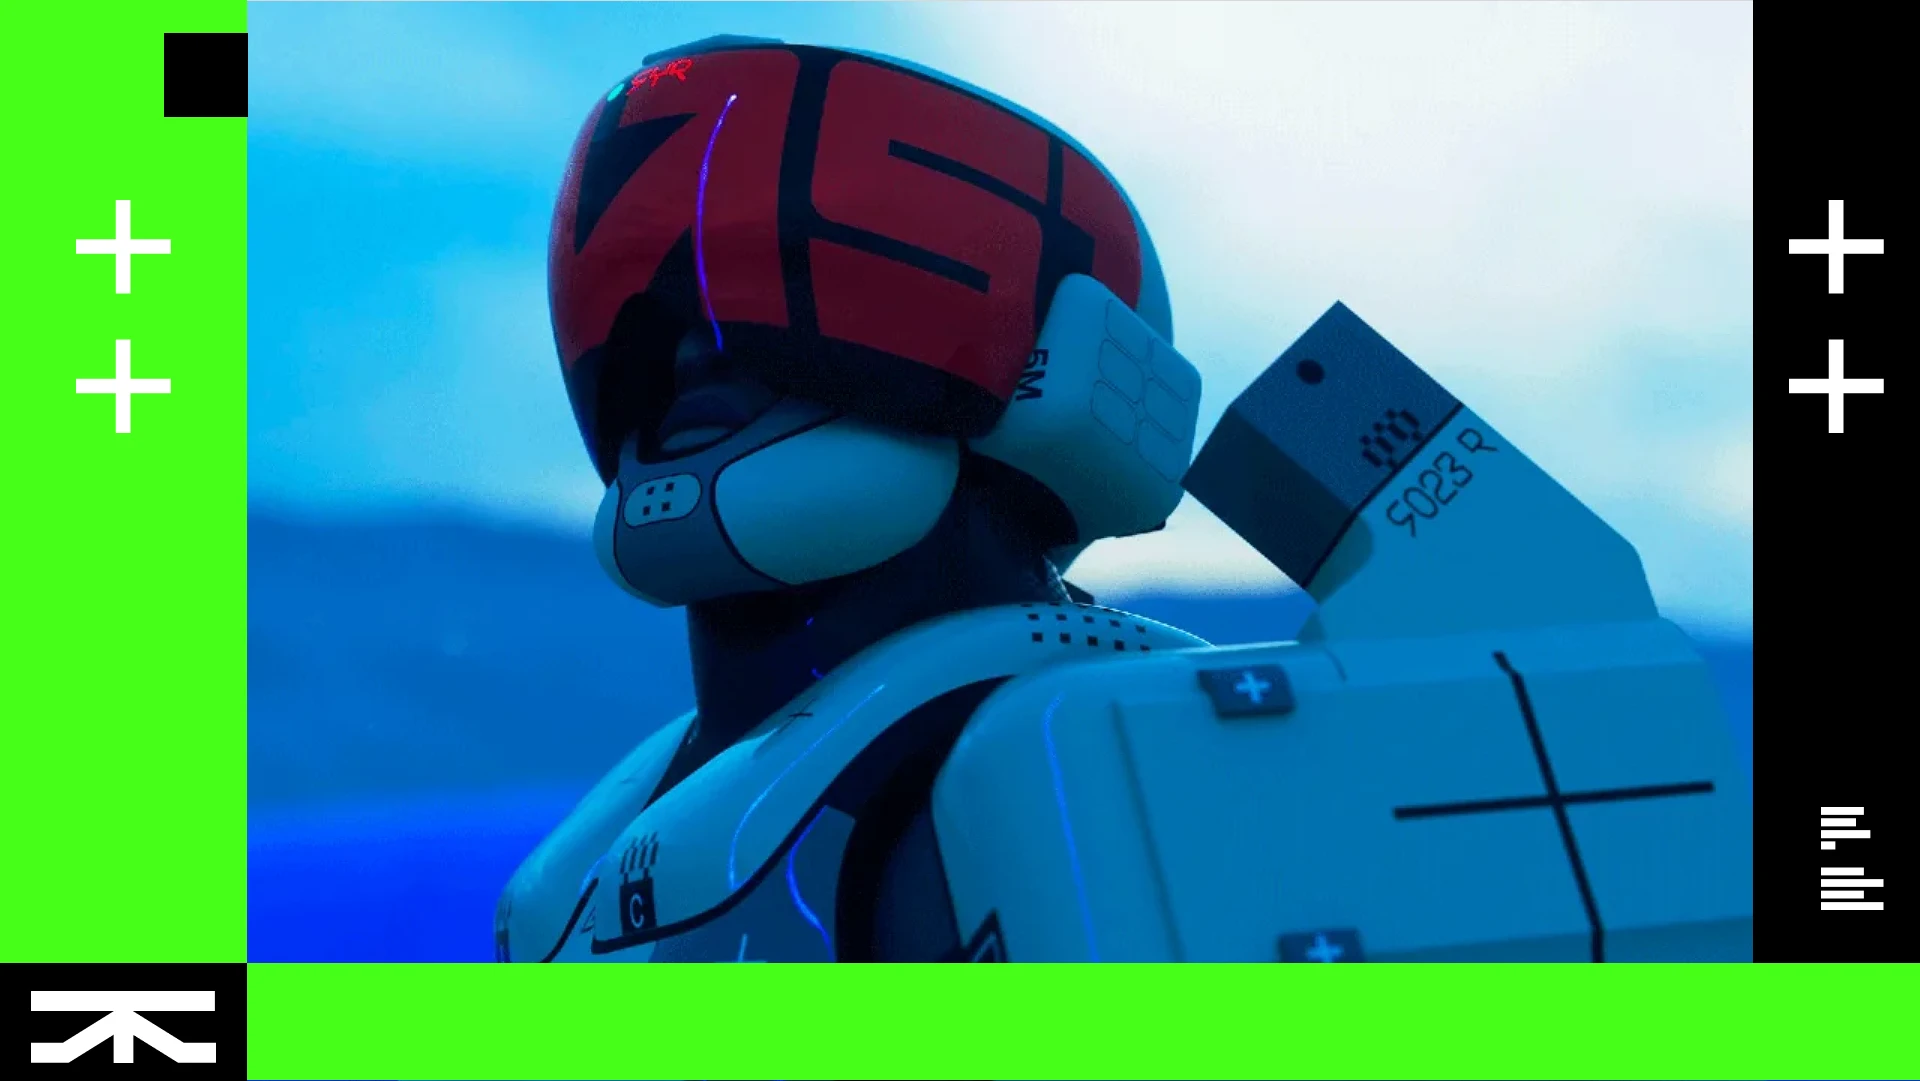

Destroyer was previously known as Locust during the Alpha, so if you've followed early testing, that's the same Shell with an updated name and tuning.
If you've played Destiny, you understand how Titan class plays and feels. Destroyer is the closest thing Marathon has to that feeling.
If you've touched an extraction shooter before, you understand that walking in first is dangerous. Destroyer is a Shell that does it anyway.
On this page, you'll find a clean breakdown of this character's abilities, stats, builds, and a general guide on how to play as Destroyer.
Destroyer Pros and Cons
Quick overview so you know what you're getting into before we go into details.
Pros
- Strong base resistances plus Riot Barricade functioning as a shield.
- Very mobile for a heavy shell with Thruster and Tactical Sprint.
- Prime can flip fights when missiles start landing.
Cons
- You cannot shoot while Riot Barricade is active.
- Feels weaker in open spaces with multiple long sightlines.
- Prime cooldown is 5 minutes, so swing windows are limited.
Short version: if you played Trials and used Titan skate to blast people in the face with a shotgun and get back out, this is it.
Stats
This is a Shell built mostly for combat.
Destroyer is built to:
- Take first contact
- Recover quickly
- Fight up close
Destroyer is a heavy frontliner, but in real fights he is also extremely fast. With both Thruster and Tactical Sprint, he can crash into opponents and disengage just as quickly, including in solo queue.
This stat spread shows where Destroyer is already strong, where he is clearly not designed to excel, and which strengths are worth reinforcing through Cores and Implants.
Like every other runner in Marathon, Destroyer gains additional stats through faction upgrades. We only cover the baseline in this guide so you'll know what to look for from the get-go.
-
Loot Speed
How quickly items are revealed when looting containers.
Be aware of your surroundings when looting.
-
Prime Recovery
Recovery speed for Prime ability.
Search and Destroy has an enormous cooldown.
-
Fall Resistance
Fall damage negation.
Be very careful when using Thruster.
-
Ping Duration
How long ping stays on enemies.
Not an intel shell.
-
Agility
Movement speed and height.
You are not slow. You can change lanes quickly and pressure from off-angles.
-
Tactical Recovery
Recovery speed for Tactical ability.
Barricade returns reasonably, but wasting it hurts.
-
Revive Speed
Revive speed for teammates and self revive.
You stabilize in fights well.
-
Finisher Siphon
How much shield is regained after performing a finisher on a downed Runner.
Finishers restore shield and maintain pressure.
-
Heat Capacity
Increases the number of movement actions, such as sprinting or sliding, you can perform before overheating.
Your movement budget. Overheat at the wrong time and you lose mobility.
-
Melee Damage
Self explanatory.
Strong in tight engagements.
-
Self-Repair Speed
Speed at which you recover health and shield.
You reset faster than many expect.
-
Firewall
Reduces duration of status effects applied to you that degrade your Runner's electronic systems (EMP, Hack).
Electronic debuffs are shortened.
-
Hardware
Duration of status effects applied to you that affect your Runner's physical chassis (Immobilize, Overheat, Toxin).
Physical debuffs don't control you long.
Build rule for Destroyer: reinforce what already works. Prioritize Agility, Melee Damage, and close-range pressure, and do not be afraid to take penalties on stats that are already weak.
Abilities and Traits
Below is a practical overview of each ability - what it actually does in fights, where it works best, and where using it at the wrong time backfires.

Ability Description
Activate an energy barricade that blocks incoming damage, draining tactical ability energy over time.
Taking damage drains additional energy.
Base Cooldown: 30 seconds.

Ability Description
Activate while airborne to fire boosters that thrust you in the direction you are moving.
How To Use It
Thruster is strongest in close fights where horizontal repositioning wins the duel.
Use It To
- Snap across doorways and corridor openings
- Break someone's crosshair with sudden lateral tracking
- Dodge heavy ability bursts by changing direction mid-air
- Close the final few meters or cut across exposed gaps instantly
It can also be used for traversal. Bursting across lanes, clearing gaps, and changing vectors with timing. That matters more in solo queue, where you may need to reposition independently.
In team play, excessive traversal can split you from your squad. Use directional mobility with intention.
And remember: fall damage exists. You have low Fall Resistance. Thrustering over drops without a plan will punish you.
Ability Description
Double-press sprint to move faster at the cost of generating additional heat.
How To Use It
Use It Intentionally
- Crossing exposed ground
- Rotating before another team
- Chasing a weak target
- Escaping a third party
Do not treat it as default movement.
Overheat removes your mobility. In a close fight, that often decides the outcome.
Combined with Thruster, this is what makes a heavy Destroyer feel extremely fast on both engage and disengage.
Key discipline: Destroyer is fast only when heat is managed.

Ability Description
Activate your shoulder-mounted missile pods.
Dealing sustained damage to targets launches homing missiles, immobilizing and dealing damage upon impact.
Base Cooldown: 300 seconds (5 minutes).
How To Use It
Best Used When
- A real fight is about to start
- You expect sustained trades
- Multiple enemies are exposed
When Immobilize hits, that's the push window.
In team fights, it creates collapse moments.
In solo queue, it becomes psychological pressure.
Even if rockets don't fully trigger, most opponents understand that prolonged head-on fights during Prime are dangerous. That changes how they approach you. It discourages reckless pushes and rewards sustained pressure.
If a duel drags out while Prime is active, Destroyer often wins.
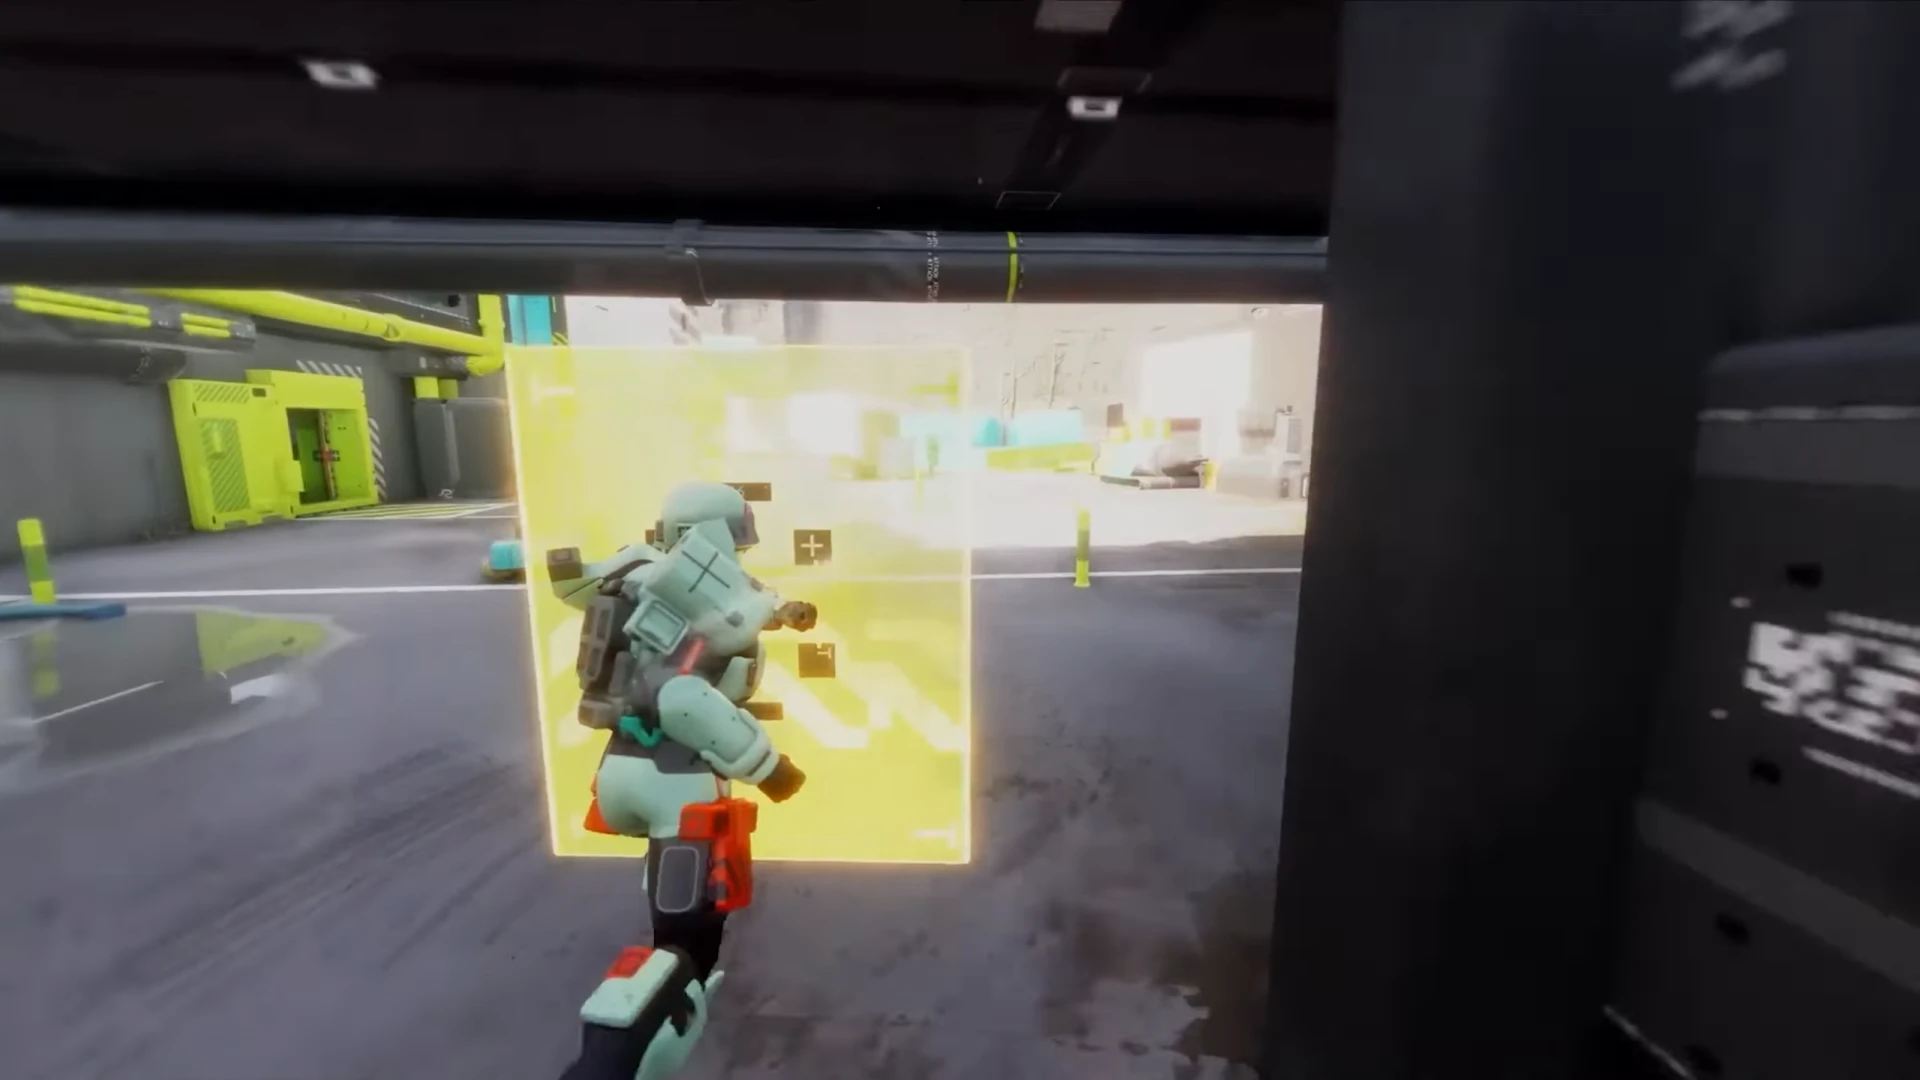
How To Play Destroyer
You're up against the wall, and Destroyer is the wall.
Destroyer is heavy, but he is not slow. With Thruster and Tactical Sprint, he can enter fights at high speed and break contact just as fast.
He steps forward, absorbs the first wave of pressure, and shifts the enemy's focus onto himself. While they deal with him, his team gets better angles. If they try to fight him head on during Search and Destroy, rockets turn that decision into a mistake.
This section shows how that actually plays out in real fights. First in team play, then in solo queue.
Team Scenario
You and your team approach a building. You know someone is inside, and they know you're outside.
Nobody wants to step through first, so you activate Barricade and walk forward. When bullets hit the shield, enemies have three options: keep shooting, back up, or swing around. If they shoot, they're not shooting your teammates. If they back up, you gain ground. If they swing, they expose themselves.
You drop Barricade once you've crossed the threshold and angles tighten. One enemy peeks wide. You jump and Thruster hard across the lane. Their crosshair drags sideways and you win the trade. If you overheat here, you die here. You keep heat under control while Tactical Sprinting in short bursts to maintain pressure. You activate Search and Destroy. Every sustained bullet now matters. Missiles trigger, immobilize lands, and that is your push window.
Doorways, corridors, and staircases are where Destroyer lives. Your stats, recovery, melee, and pressure align there.
Solo Scenario
Same building and same doorway, but now without teammates.
Barricade becomes your safe entry because one opponent cannot shred it instantly. Inside, Thruster is a pure duel tool. One hard horizontal burst across an angle often decides the fight. You do not overheat, and you do not spam sprint. You activate Search and Destroy when the duel is real, not during random poke.
If the fight stretches, your recovery and sustained pressure begin to favor you. Opponents hesitate when Prime is active. That hesitation is value. In solo, your speed on entry and exit is one of your biggest advantages.
Destroyer in solo is not weaker, just less forgiving. Without backup, prolonged engagements still favor you if heat management is disciplined.
Best Cores and Implants
We are focusing on true best-in-slot options here, primarily Prestige cores. For Destroyer, that means Impact Siphons and Counter Attack first.
For implants, we think the listed setup fits Destroyer best. Outside of these picks, most options feel weaker for this playstyle, but feel free to experiment.
Cores

Incoming damage dealt to your Riot Barricade is returned to you as shield energy.

When Riot Barricade takes damage, you periodically release a retaliatory missile at your attacker.
Implants

While affected by a negative status effect, defeating a hostile cleanses it.
- Tactical Recovery+40
- Firewall-5
Tactical Recovery +40 is the real value here because it accelerates Barricade uptime. Firewall -5 is acceptable since Destroyer already starts with strong firewall stats.

When your shield breaks, hostile pings are immediately removed.
- Melee Damage+40
- Fall Resistance+15
- Agility-10
- Hardware-10
- Loot Speed-35
Melee Damage +40 and Fall Resistance +15 are excellent for close pressure. Agility -10 is not a real issue in this full setup because Bionic Leg Upgrades V5 adds Agility +50. Hardware -10 is also manageable because base hardware is already high.

Sprint faster briefly after leaping from height. Reduces incoming explosive and melee damage.
- Agility+50
- Finisher Siphon+20
- Self-Repair Speed-10
Agility +50 is the anchor of the entire implant package. It boosts entry speed, chase, and disengage, while also covering the agility loss from Knife Fight V3. Self-Repair Speed -10 is a fair trade for that movement spike. Just in case: Bionic Leg V4 works also just fine here!
If you want alternatives, the most practical non-Prestige options are Myrmidon for post-Thruster melee bursts, Adaptive Barrier for stronger shield sustain with Barricade, and Heavy Ordnance or Explosive Payload for a more missile-focused plan.
Ankle Breaker, Missile Barrage, and Bombardier can still save runs and are better than running no core at all. But in our opinion they are still a tier below strong Prestige setups for consistent wins.
How This Setup Works
In our opinion, this is the strongest Destroyer build available right now. There are other viable setups, but if your goal is to win space and survive real pressure, this one performs the most consistently.
This build works as a package, not as isolated pieces. The stat gains and losses are intentionally paired across slots.
Impact Siphons turns incoming damage into shield sustain. When enemies focus your Riot Barricade, they are effectively helping you stay in the fight longer. Instead of pushing you back, they risk extending the engagement in your favor.
Counter Attack makes that decision even worse for them. Shooting your shield now triggers retaliatory missiles. Teams that try to brute-force through your position start taking damage just for committing.
Energy Harvesting V4 dramatically improves Tactical Recovery, meaning Barricade comes back faster. The cleanse on kill prevents status effects from snowballing fights against you, and the Firewall penalty is acceptable because your base firewall is already strong.
Knife Fight V3 ensures that if someone pushes into your space, it becomes dangerous for them immediately. The melee boost makes close trades decisive, and removing pings when your shield breaks denies tracking during disengage or reposition. Its agility and hardware penalties are covered by the rest of the setup.
Bionic Leg Upgrades V5 rounds everything out. The large Agility increase improves movement and angle control, and directly offsets the agility tax from Knife Fight V3. Finisher Siphon strengthens your reset after a down. Extra explosive and melee resistance reinforces your frontline durability.
That is why this setup should be judged as one stack. You are combining stat profiles so the upsides compound while the downsides are buffered by Destroyer's base strengths and the other slots.
If you cannot access the highest-tier versions, running lower variants of Implants is completely fine. The build concept remains intact, but the overall power ceiling will be lower.
This build makes Destroyer very hard to remove once he commits to a position and very punishing to fight up close.
Best Weapons for Destroyer
We will update this section once Marathon fully releases, since we still do not have enough final data to lock a complete weapon tier list. From what we have seen so far, we strongly believe shotguns are the best primary style for Destroyer.
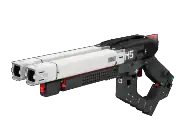
- Weapon ClassShotguns
- Ammo TypeMIPS Rounds
Ballistic double-barrel shotgun. Packs high damage in close quarters.
For your secondary, run something that covers mid-to-long range so you are not forced into every fight at point-blank distance. Beyond that, weapon choice is still your preference.
Need Help Building Destroyer?
Destroyer only feels strong when the build is right.
If you don't want to grind vendors for weeks or gamble on random drops, we can help you move faster.
We can:
- Leveling services, including Faction leveling
- Ranked boosting and rating climb
- Farming for Cores, Implants, Weapons, and other key materials
- Any custom request in Marathon
If it exists in the game, we can get it done.
Ready to speed things up? Check out our Marathon Boosting Services and tell us exactly what you need. Use code LUBLOG10 at checkout for 10% off any service. We usually reply in under 60 seconds and get your run scheduled fast.
FAQ
The strongest competitive setup is:
Impact Siphons + Counter Attack
Energy Harvesting V4
Knife Fight V3
Bionic Leg Upgrades V5
This setup converts shield pressure into sustain, punishes focus fire, boosts melee threat, and significantly increases mobility. It consistently performs better than missile-only or generic sustain builds in structured fights.
Lower-tier variants work, but the ceiling drops.
Shotguns fit his kit naturally.
The WSTR Combat Shotgun complements his ability to force close engagements and punish pushes. Pair it with a mid-range secondary so you are not forced into every fight at point blank.
Impact Siphons converts shield damage into sustain, while Counter Attack punishes attackers with missiles. Together, they turn focus fire into a liability for the enemy team.
That synergy is why double-Prestige is currently the most consistent setup.
Agility, Tactical Recovery, Melee Damage, and Finisher Siphon.
Destroyer already has strong base Hardware and Firewall, so reinforcing mobility and close-range pressure yields better results than stacking raw resistances.
He is very hard to kill.
You have a shield plus two movement tools for chase or escape. That alone gives you control over most 1v1s.
If you manage heat and avoid wide open fights, Destroyer is one of the strongest solo Shells in the game.
How To Use It
Use It To
When you activate it, you should be moving. If you stand still, you're wasting energy.
Where It Fails
In solo queue, Barricade becomes a safe first-contact option. One opponent has a harder time burning it. That lets you check angles or disengage without immediately losing half your health.
But if you use it early and waste it, you will feel it later.